Monday 30 November 2015

Deck the Tree with lots of Snowflakes

Hi there :)

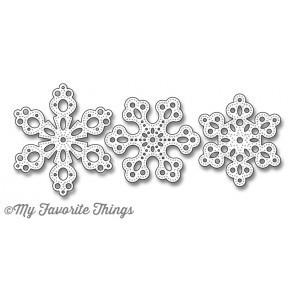
I have a few extra decorations to add to my Christmas tree this year thanks to the Pierced Snowflake dies from MFT. They are just gorgeous dies, there are three different shapes and sizes with beautiful pierced detail patterns on them.... I made two sets to show you just how lovely they are...


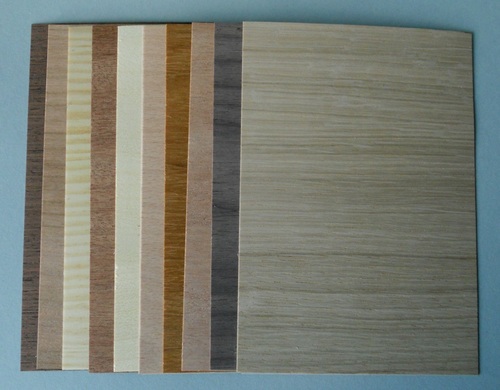
The first set are cut and layered brown card stock with the top layer of the stack cut from the Peel and Stick Wood Veneer paper in store... these are my favourite as the colours and texture are what Christmas is all about to me :)

I think I layered at least four brown snowflakes plus the wood paper layer... this gave them enough thickness and of course they are super lightweight too :)


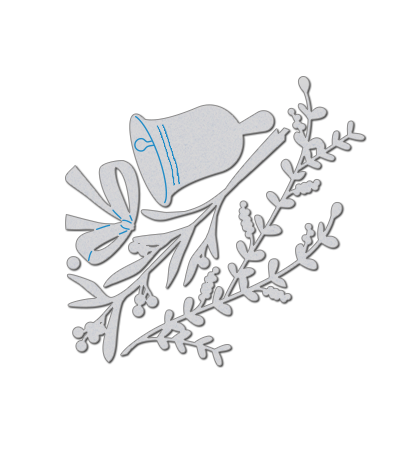
I have inked the edges of the wood paper with dark brown ink but you could easily go to town with white gel pen highlights instead and give them a very Scandinavian feel. The greenery at the top is made using the Under the Mistletoe dies from Wplus9..... I cut a few branches from card in two different greens, trimmed them into smaller segments and arranged them on the tops of the snowflakes. The red berries are dots of red liquid pearls but glitter glue or small gems would work too :)


The second set are more traditional snowflake colour and texture......


...for these I cut and layered white card with a glitter paper as my top layer..... if you wanted you could have a glittery layer on the back too... easy to do as they're symmetrical :)
To stick them together I used little spots of wet glue as it gives you extra wiggle time to line the layers up ;)


For these, I just felt a white ribbon bow and silver bells finished them off perfectly... I used white thread and a needle to attach the bells to the bows.


This little project was a whole lot of die-cutting but totally worth it... oh and be prepared for your desk and floor being covered in all those little waste shapes that pop out of the snowflakes too!!

These were tricky little things to photograph staggered on the branches and the gloomy weather didn't help so I put them onto patterned paper for a group shot ;)
I'm sure you can think of lots more materials and themes for these dies and of course you can easily match them to your own Christmas colour scheme by making them yourself ...... or how about making them as a gift for friends and family on the run up to Christmas :)


Thanks for stopping by :)
Jenny x

Sunday 29 November 2015

Concord and 9th

I've been having fun with our new brand this week - I know you all want the trees and we're hoping to get them back again in time for Christmas, but in the meantime, I wanted to highlight some of their stamps which are fabulous quality and have some unusual quirky designs.

I wanted to focus on Love You, Mean It as I adore the wreath base in that set as it is so versatile.  So I have four projects using the wreath as a base.   Two for Christmas and two for all year round.


For the first one, I went as simple as you can with just black stamping, and introduced colour using another one of Concord and 9th's innovative products - "paper route".  These are sheets of newsprint style paper (huge sheets!) with fabulous designs printed on them.  This one is a double sided "washes edition" with lots of interesting patterns - you could cover about 15 cards from a single sheet and you get 4 per pack.

The second one I did back wreath again and used some of the flowers also in black with the  trend of stamping the colour deliberately off centre for the retro look.  I stamped the wreath less times here for a cleaner finish.


For the Christmas versions I added some extra sets.  The card uses the wreath stamped 3 times in brown onto kraft with baubles from Mama Elephant's Jingle Greetings stamped and embossed in red.  The greeting is from Jingle Greetings too.

Then finally - I give lots of bottles of wine at Christmas and hate wine bottle bags so I am always looking for interesting ways to add a gift tag and I thought the wreath would make a fun tag to just sit over the bottle.   Here I started with embossing the gift sentiment from another Concord and 9th set called Lots of Blots in gold, masking it off and then stamped the wreath 4 or 5 times until I had a nice thick circle.  I trimmed the centre with a craft knife and cut the outside with scissors.  To finish I added a sprig of holly using my favourite holly die from Reverse Confetti - its a great size for decorating presents and the dotted fold line gives the leaves lots of extra dimension.


NEWS FROM THE STORE:

  • We have Altenew restocks in transit - should be here this week at some point.
  • Avery Elle have a new release on 3rd December - we have it ready to go as soon as they release in the USA.
  • Lil' Inker Designs have a new release on 9th December - again we'll have it on release day.
  • We have ordered the last two releases from PaperSmooches and hope to receive them this week too.
  • There will also be new releases from MFT, Mama Elephant, Lawn Fawn and Wplus9 before we close for Christmas.


Saturday 28 November 2015

A Copic Colored Christmas Globe

Today I am showing you this project for a one-layer Copic colored card that features a super cute stamp by Stamping Bella.


I actually colored this one twice – one has an English sentiment on the inside, and one a German sentiment on the front. In total, the coloring took me 29 minutes (I know, because my photo camera stops recording after 29 minutes and I was hustling to finish). So, it's not even all that difficult and doesn't take terribly long! (If you want to see the coloring process, hop on over to my blog - link in the sidebar to the right - and check out my video)


As you can see, I enjoyed creating the blue sky on the inside of the shaker. Usually, you would put it on the outside, but that's the beauty of coloring – you can decide which way you take this. And I wanted to create a little world inside of this globe.


The other difference between the cards is that for one I used a light blue shading on the snow, for the other one purple, which contrasts a bit better with the blue on the snowman. And on the second card I used a dark grey to deepen the shadows in the hat of the snowman, whereas I kept it lighter in the card you see me color.


For the background, I stamped some silver stars around the shaker on one card, and on the other one I drew my dots with a Stardust gel pen. Slightly different effect but I like both.

Thanks for stopping by today. I hope you have a great weekend!

Friday 27 November 2015

Patterned Paper Smooches Wreath

Hi everybody,

Jill here, and this week, I'm building a wreath...


Using Patterned Paper and Paper Smooches.


I used the brilliant Paper Smooches Wreath Builder Dies, with the beautiful Simple Stories Claus & Co 6x6 Paper Pad to create my wreath.  These Paper Smooches dies are amazing.  They're designed to 'Build-a-wreath', obviously, but you could use them for so much more - Christmas Trees, Winter Sprigs, all year round foliage, they're incredibly handy to have in your stash!  
I cut the various dies from a mixture of papers from the Claus & Co pad alongside a simple 'ring' shape, and built up my wreath.  Once I was happy with how it looked, I adhered all the pieces down.
I then cut my sentiment using Lawn Fawn's Scripty For You die from white card, and heat embossed in red, giving it a couple of coatings to achieve this really high gloss effect.


I dry embossed a panel of white card, using a wood grain folder from my stash, to use as a backdrop, and added a twirl of bare twine before sticking everything in place.  I then decorated my wreath with a scattering of pearls and gems, and added a simple twine bow to finish.

I really hope you like it, and only wish I'd had a more time to really stretch what these little cute dies can do!

As always, everything I used is linked below.

See you next week.

Jillx


 Wreath Builder Dies   Simple Stories Claus & Co 6x6 Paper Pad   Scripty For You Lawn Cuts

Thursday 26 November 2015

Tons of Christmassy Thanks!


Hi there!
Thanks to Lydia kindly swapping with me, you've got me today instead! If you've come to see Lydia, just check back to Tuesday!

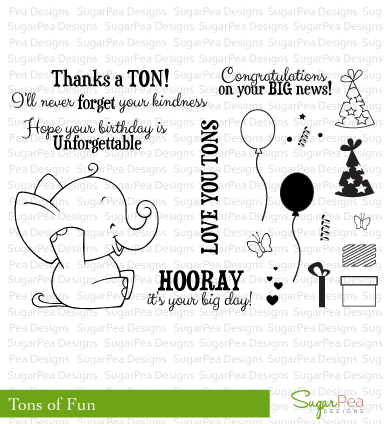
So, I decided to make a non- Christmas set, a little seasonal. I saw this adorable elephant and knew she would just look perfect in a Christmas jumper
http://www.makethedayspecial.co.uk/shop.php#!/Tons-of-Fun/p/54809010/category=9064880

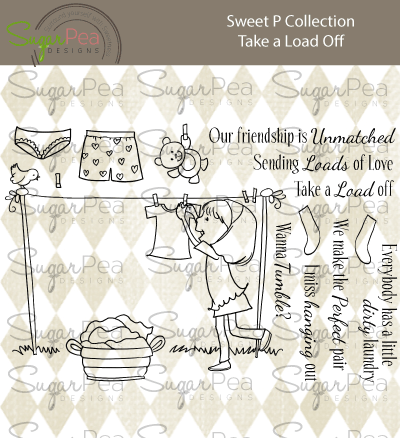
I am totally not one of the ugly-Christmas-jumper-wearing club, but I have to admit that this jumper is cute. I've used the tiny stars from the set to make the stars on his jumper and also the stars on the little socks that are festooned on the tree. Speaking of socks.. I used these ones from the 'Take A Load Off' set
http://www.makethedayspecial.co.uk/shop.php#!/Take-A-Load-Off/p/35349270/category=9064880
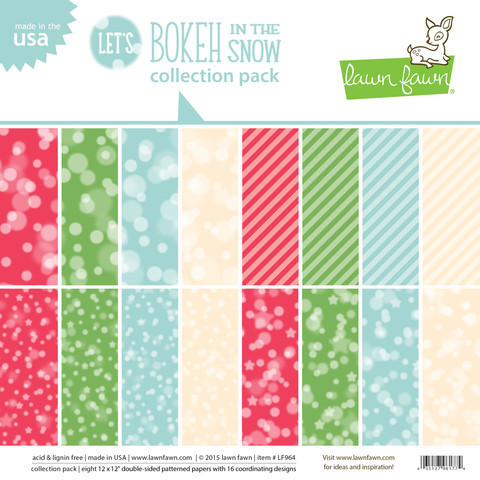
I had the little scene in my mind and so used one of the presents from the Tons of Fun set as the base for my tree. I used this fab Lawn Fawn paper pack 'Let's Bokeh in the Snow'. Usefully, the paper makes it look like the Christmas tree has lights on- so even better!

http://www.makethedayspecial.co.uk/shop.php#!/Lets-Bokeh-In-The-Snow6x6-pad/p/53952005/category=10168036
I simply cut out a simple tree shape, added foam pads underneath it and then added it to the card. Using the socks from the other set, I coloured them, added a white embossed star on each one and placed them on the tree. I even cut into Ellie's trunk so she could hold one of the socks in her trunk which just gave a little bit of cohesion to the scene.
I chickened out with the sentiment. Yes, I was wanting to say thanks and this card will come in handy for saying Thankyou after Christmas, but I stamped on a piece of spare cardstock whilst deciding where the sentiment was going to go and then worried I'd mis-stamp it so just adhered the sentiment onto the card! (a handy tip for newbie stampers...and old-hands too!).

Well, hope my sock-hanging Ellie made you smile and gave you some ideas for using your non-Christmas sets in a new and fresh way!

See you next week!


Wednesday 25 November 2015

Sparkly Christmas shaker card.


Hello.
I'm loving these Christmas stamps from Newtons nook  and wanted to get some  more  cards made using them.
I had already planned a shaker card although this one changed a bit as i saw the inky paws challenge on the Newtons nook blog and change to kraft.
You have time to order and play along :) 


Its a basic shaker card kept simple in design.
I started my card by adding stripe of glitter tape to my kraft card base.
I the cut my frame using lawn fawn stitched rectangles and stamped the snowflake from Newtons Christmas cuddles in gold ink. 


I had made the sky/snowy background using distress inks and added the fussy cut image before putting all the elements together.
The image is coloured with copics.

Newton's Christmas Cuddles

Thanks for looking.

Tuesday 24 November 2015

A Baby Zoo Baby Set


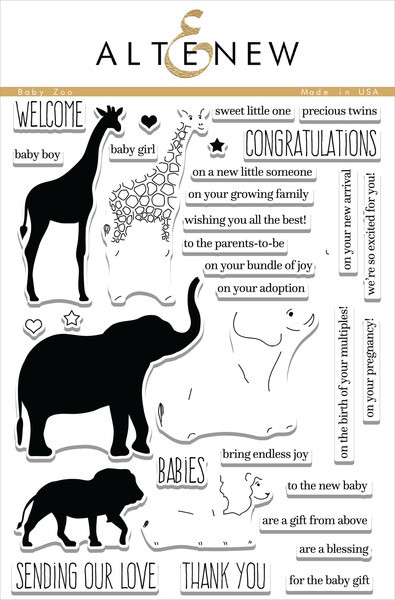
Hello there! It's Lydia here with you today, so your clever Keren fix will be with you Thursday ;) . In the mean time I have a really cute baby set using Altenew 'Baby Zoo' , I know this is for a baby boy but if you just swap out the blue for pink it is quite easily for a baby girl.

Warning-this post is a little picture and text heavy :)


So in this set I have a card, a gift bag, tags and wrapping paper. I just love that by having a stamp set like this you can make everything coordinate.

Firstly the card and gift bag.....


I created the card by taking my card blank and adding a masking tape border around the outside, that way when I removed the tape I would have a clean white border around the edge of my card. I stamped the sentiment from the set first in black and then stamped the animals in blue, green and yellow.

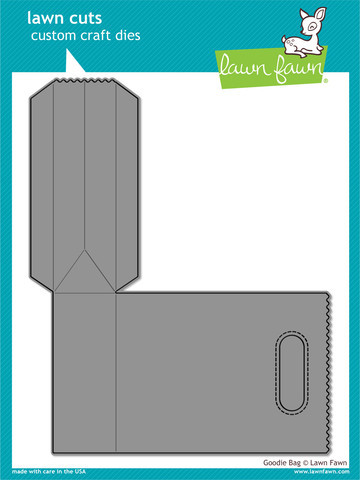
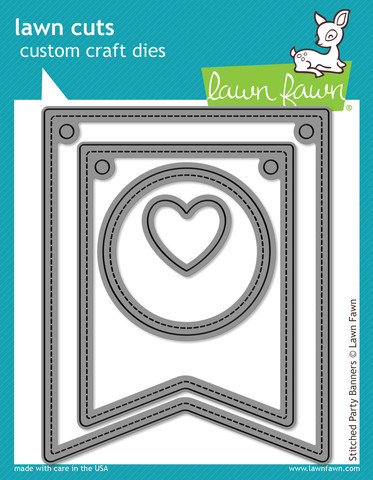
For the gift bag I cut two of the Lawn Fawn 'Goodie Bag' dies and then stamped the animals all over them before sticking them together. The circle tag is from Lawn Lawn 'Stitched Party Banners', I stamped the elephants head and sentiment to it before punching a hole and adding it to the gift bag with some lemon twine.

Onto the tags and wrapping paper....


For the tags I cut some tag shapes from white card (you could use this set ). I stamped the animals and then added their detail layer in grey so as to not take too much attention from the sentiments that I then stamped in black. I love the sentiments in this set , they are so varied and some of them are quite unique! I added some lemon, lime and aquamarine twine to these.

For the wrapping paper I took a big piece of plain white paper and then stamped the animals randomly all over it before wrapping the gift and adding some more twine.

Thank you so much for stopping by today!

Hugs Lydia xxx