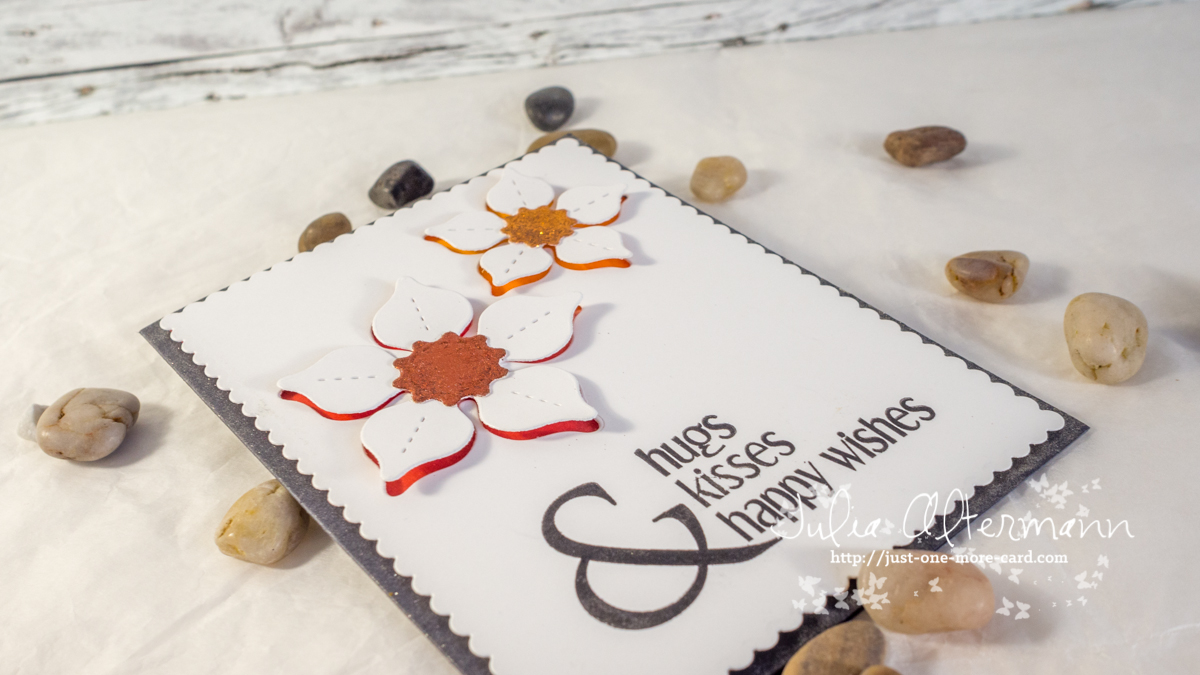
Hi crafters, Julia here!
I wanted to give my flower dies a nice workout, and I also wanted to create a high contrast card. I usually shy away from dark colors, but I think they work beautifully with vibrant colored card stock and the glitter.
For some additional highlights, I used double sided adhesive tape and some Stick It sheets (if you don't have double sided adhesive tape, you can just cut a strip from the Stick It sheet).
I first put down the strip across the card and poured some Elizabeth Craft Microfine Glitter in Antique Silver on it. You need to gently rub the glitter into the adhesive to make it stay there permanently and guess what – you can use one of your ten always-present-tools for that: your finger ;)
For the sentiment – that took a while to figure out. I won't bore you with a description of my failures. Suffice to say: the good reviews for the Stick It sheets didn't exaggerate in the slightest. I was absolutely unable to die cut my other adhesive sheets with my word die so I could just put the adhesive on the card. It just didn't cut, even with a shim. The Stick It sheet worked like magic. I peeled off one side, stuck it onto the card, rubbed it to make it stay, and then peeled off the other side. Once more my glitter came out and – voilĂ !
I hope you enjoyed the card and have a great weekend! Cheers!
Showing posts with label Lil Inkers Spring Flowers Dies. Show all posts
Saturday, 11 April 2015
Saturday, 21 March 2015
Stretch Your Dies for Easter Cards
Hi crafty friends, Julia here!
I hope you are having a fantastic start into the weekend! Let's take a second look at some dies and check out how I turned the leaves of the Spring Flowers Dies set from Lil Inker into little Easter Eggs:
I wanted to create a little easter basket with some grass and the eggs tucked neatly inside of it. Out came my new Lawn Fawn Grassy Border die, which is just as lovely as I had hoped:
I die cut a piece of green card stock for the grass, and then cut it down to fit into the little nest I created. All you need to do is cut two slits into your card stock, and then fiddle your twine through a few times. Finally, I stamped some florals onto another panel in colors that matched the ones I had used for the eggs, but muted that by layering some vellum on top. Mount that on your card base and you're done!
Thanks for stopping by! If you want to check out the video of how I created this card, hop over to my blog, you'll find the link in the sidebar to your right.
As always, I'm listing more supplies below than I actually used to give you some alternatives in case the products I mentioned are out of stock. If they are: since recently, the store has a very neat feature where you can sign up (right in the product's description) to be informed when something is back in stock. That gives Tara a great indicator of how much stuff she should order and you can place an order as soon as the items are loaded in the store.
As always, you can find a video tutorial on how to create this card on my blog. Click on my name below after checking out the products in the store to have a peek.
Julia xoxo
I hope you are having a fantastic start into the weekend! Let's take a second look at some dies and check out how I turned the leaves of the Spring Flowers Dies set from Lil Inker into little Easter Eggs:
I wanted to create a little easter basket with some grass and the eggs tucked neatly inside of it. Out came my new Lawn Fawn Grassy Border die, which is just as lovely as I had hoped:
I die cut a piece of green card stock for the grass, and then cut it down to fit into the little nest I created. All you need to do is cut two slits into your card stock, and then fiddle your twine through a few times. Finally, I stamped some florals onto another panel in colors that matched the ones I had used for the eggs, but muted that by layering some vellum on top. Mount that on your card base and you're done!
Thanks for stopping by! If you want to check out the video of how I created this card, hop over to my blog, you'll find the link in the sidebar to your right.
As always, I'm listing more supplies below than I actually used to give you some alternatives in case the products I mentioned are out of stock. If they are: since recently, the store has a very neat feature where you can sign up (right in the product's description) to be informed when something is back in stock. That gives Tara a great indicator of how much stuff she should order and you can place an order as soon as the items are loaded in the store.
As always, you can find a video tutorial on how to create this card on my blog. Click on my name below after checking out the products in the store to have a peek.
Julia xoxo
Saturday, 10 January 2015
Glitter Up Your CAS Card
I love the CAS style, but once I start doing a card clean and simple, I always feel the need to add something – I simply cannot leave the project well enough alone and just stop. So, I knew ahead of time with this project that I needed to curb my enthusiasm of embellishing and fiddling – and the Elizabeth Craft Silk Glitters were super handy in this case.
I started by die cutting a panel for my card, from which I then die cut the Spring Flowers with the Lil’ Inker dies. Once I knew where the openings in the front panel were, I sponged some Distress Ink in vibrant colors onto the actual card base, so it would peek out underneath the die cut shapes. It took some fiddling, since I needed to make sure the reds wouldn’t show up in the yellow flower and vice versa, but by working slowly and checking now and then, it worked out just fine. I’m working on a white card card stock that was cut slightly smaller than the front panel; it wouldn’t have worked to sponge the color onto the grey card base.
I die cut two flower centers from paper which I had put on double sided adhesive tape, and then I took off the liner paper and dipped the sticky shapes into the Elizabeth Craft glitter. You want to burnish this glitter afterwards – I simply rub my finger over it for about 10–20 seconds. You will see a noticeable difference – the glitter becomes really shiny and the color intensifies. Nice side effect – it also doesn’t come off anymore (and it won’t come off your hands and face either, which is why you want to have a cheap antistatic cloth ready).
Before I mounted the front panel on the card base, I used my Wink of Stella clear pen to make it shine (a lot). I really went over it a few times until it looked almost like a pearlescent card base. The flowers were mounted on two layers of foam tape so they’d be slightly raised and you could see the background color peek out from underneath.
I hope you liked the card and got inspired! Have a wonderful weekend!
Subscribe to:
Posts (Atom)