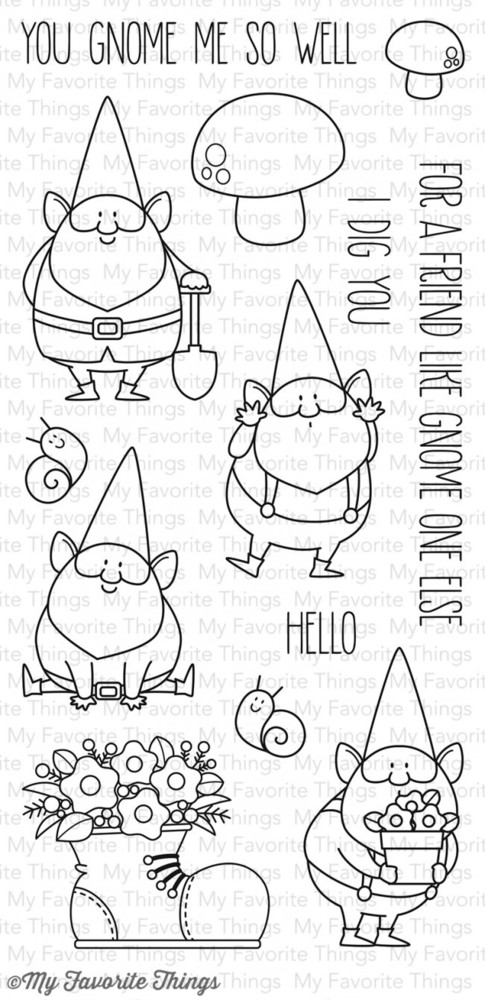
Are you sick of Christmas cards yet? I sure hope not, but I thought that it would be fun to do something non-Christmas related today. It's the season of snow and cold and mulled wine, but also the season of running noses and sore throats. To be prepared for the inevitable cold, which this year will hopefully not strike me down at Christmas, I decided to prepare a few "get well" cards, just to have them handy.

There are a few aspects to this card that I would like to point out, specifically because I have struggled in the past a bit to make sure that my cards have a strong focus point but not a lot of distraction. I either ended up with cards that were too white with a focal point that was not interesting enough, or too much clutter on my card.
First and foremost, I tried to create interest for my focal point (the boot with the flowers) with my Copic markers. You know that I like high contrast coloring, which means I have deep shadows and light highlights. I tried to do this on this board here and I also added a few black dots, simply to give the boot more character.

I could have just mounted it on the white card base, but I decided to use some sponge daubers to create a blended background. I kept with a fall color scheme that would complement of the colors of the boot and flowers. I had the images fussy cut with my Scan ’n Cut machine and the slim white border helps for additional contrast against the background.
By having such a strong colored image and the colorful background, it's much easier and pleasing to the eye to leave the rest of the card white. You have one area on the card that draws in your attention. I even accentuated it by adhering some half pearls to the scallops on the diecut circle.

I had originally intended to add another butterfly on the front panel of the card, outside of the circle, but when I had placed it on my card I saw immediately that it wouldn't work. To have a contained area of color helps to draw the attention and to make that area pop even more against the rest of the card which is stark white.
I hope you have enjoyed this project and have a fantastic weekend!

There are a few aspects to this card that I would like to point out, specifically because I have struggled in the past a bit to make sure that my cards have a strong focus point but not a lot of distraction. I either ended up with cards that were too white with a focal point that was not interesting enough, or too much clutter on my card.
First and foremost, I tried to create interest for my focal point (the boot with the flowers) with my Copic markers. You know that I like high contrast coloring, which means I have deep shadows and light highlights. I tried to do this on this board here and I also added a few black dots, simply to give the boot more character.

I could have just mounted it on the white card base, but I decided to use some sponge daubers to create a blended background. I kept with a fall color scheme that would complement of the colors of the boot and flowers. I had the images fussy cut with my Scan ’n Cut machine and the slim white border helps for additional contrast against the background.
By having such a strong colored image and the colorful background, it's much easier and pleasing to the eye to leave the rest of the card white. You have one area on the card that draws in your attention. I even accentuated it by adhering some half pearls to the scallops on the diecut circle.

I had originally intended to add another butterfly on the front panel of the card, outside of the circle, but when I had placed it on my card I saw immediately that it wouldn't work. To have a contained area of color helps to draw the attention and to make that area pop even more against the rest of the card which is stark white.
I hope you have enjoyed this project and have a fantastic weekend!