Showing posts with label Wplus9 Happy Trio Dies. Show all posts

Saturday, 6 June 2015

Through the Annals...

Hey! I'm just switching around with Julia so apologies if you've come to the blog expecting her. She's back next Saturday with something awesome!
I thought I'd just post some cards done with older sets...not such very old stamps, but easily forgotten with the excitement of the 'new'

 
Year Four is a tiny set that packs a real punch! These little hippos are perfect for colouring with markers and I've added in the fab sentiment dies from WPlus9
http://www.makethedayspecial.co.uk/shop.php#!/Year-Four/p/33108543
http://www.makethedayspecial.co.uk/shop.php#!/Happy-Trio-Dies/p/35090614
 
Speaking of WPlus9- remember this set? 
And on the inside? ....
 
http://www.makethedayspecial.co.uk/shop.php#!/Milk-&-Cookies/p/24370300
 
Keeping the Lawn Fawn sets in mind, how about a simple gift bag for a birthday boy? 
Do excuse the slightly dodgy colouring-I've improved a little since I created these!- told you I was going through the annals!
 
http://www.makethedayspecial.co.uk/shop.php#!/Critters-from-the-Past/p/33080914
 
Hope you've enjoyed a little peer through some of the older sets-
do have a rummage around some of the sets from a year or two ago. They need love too! ;-)
 
See you next week!
 

Monday, 1 June 2015

Embossed Balloons


Hello there... pinch and a punch and all that!! it's the first of June :)

Well I've been playing with the fabulous Balloon Stencil by Echo Park for todays blog post and I've used it in two different ways...


As soon as I saw this stencil I knew I wanted to try black glossy embossing paste through it on black card... I think it has such a classy look. I split the panel, placed a strip of red cardstock behind it and used one of the Happy Trio dies to make a glittery sentiment focal point. The Red Balloon from Paper Smooches was an afterthought so I could add the word 'Birthday'.
Just look how those balloons shine :)


After cleaning my stencil I tried dry emboosing it using my Sizzix Big Shot, it gives a much more subtle look than regular dry embossing but I quite like the effect...


It's hard to photograph in bright light so I snapped the shot above on the angle.
I finished this card using the Birthday basics dies which I cut twice, one in black and one in white. I have trimmed away the wording on the white piece and coloured the candles in rainbow shades. For the black piece I embossed the word birthday with glossy clear embossing powder before layering them together.


The rainbow chevrons are from the Stitched Journalling dies set by Lawn Fawn and the sketch I'm following gave me the idea to use them .... I think they balance the design well in rainbow colours too :)

            Balloons Stencil (6x6)  Happy Trio Dies  Big Balloon Dies
            Birthday Basics Dies  Whole Lotta' Happy  Stitched Journaling Card


Thansk for stopping by :)
Jenny x

Sunday, 5 April 2015

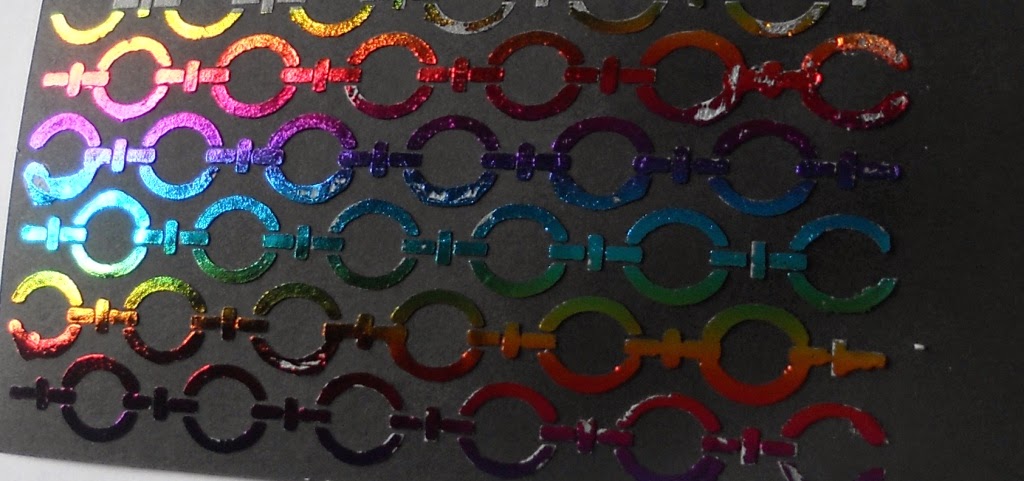
Experiments with DecoFoil

Good Morning and Happy Easter!    Hope you're all making the most of the extra time to craft if you're not at work this long weekend.

I was really hoping to have my video on the many varied and exciting uses of our new foils ready for you today but as I'm new to video making I have hit a number of technical hitches along the way and now I need to buy another bit of kit and as all the stores are closed today I can't go and get what I need so I'll try again later.  Sorry - it is coming I promise (can't promise it will be worth the wait but it will probably be worth a giggle!)   Anyhow - I thought I'd tackle a couple of things in print today that aren't too complex to show that they need a video.

Foil Application No 1 - Die Cutting

OK - so this is probably the easiest of all the applications for the foil and the one you probably already have everything you need to play already.  You just need some kind of flat adhesive and you're good to go - you could use the foam sheets that thermoweb designed to work with their foils or, as I have done in my example, you could also use Stick-It.


For this card I used some oldie-but-goodies from Wplus9 - the Whole Lotta Happy range (the happy trio dies are currently oos but will be back this week).   I thought the centre p in the die looked like it was being lifted by balloons so that was my inspiration.

I die cut the happy from thick white card that I covered on both sides with stick-it 4 times to get some dimension - using stick-it makes it soooo quick and easy to stack your die-cuts up.  Once I got to the top layer I just removed the backing sheet and laid a piece of rainbow foil over the top and rubbed it gently and hey presto - a foiled die cut!

The balloons were done in pretty much the same way, but this time I cut 3 squares of foil from the turquoise, pink melon and lime green colours and stuck them onto one layer of card covered with stick-it before I did the die cutting.  In this case I didn't peel the plastic away from the foil until after I did the die cutting so that it didn't damage the foil.  I wanted to experiment to see which method was best and to be honest - both work equally well so whichever suits you best would be fine.

I finished the card by attaching the die cuts to a panel cut with a stitched rectangle using some sewing thread to attach the balloons to the die cut and adding a little white highlight to each balloon using a gel pen which worked over the foil surprisingly well.

Foil Application No2 - Using Texture Paste!

Now I'm quite proud of this one as I thought it up myself whilst I was experimenting.  You can basically use the foils with anything "tacky" so for example a two-way glue pen which "dries sticky" is great for freehand drawing or lettering.   So I thought that texture paste might just work - and it does!

I decided to try the look with one of new Hero Arts stencils - Repeating Loops on black with the rainbow foil for a dramatic effect.


Applying the foil gently so you don't squash the texture paste and then leaving it to dry full is the key to this technique.  If the paste is still wet then it will pull away with the foil and leave white gaps (ask me how I know.........)

As you can see - I was a little to eager to do the reveal - so there are one or two gaps in this that shouldn't be there - but if that happens - let it dry fully and then use a two way glue pen to do any touch ups - this is a trick you can apply to whatever method of foiling you use ;-)


It's also quite hard to photograph foils in their full glory but trust me - in real life the effect is VERY dramatic.  You can do lots of of exciting things with this technique so I do hope you give it a try!

I will be showing lots of other uses for foil as soon as I get my technical issues with videoing sorted.

NEWS FROM THE STORE:

  • We got a new brand this week - Art Impressions Inc which have some great stamps and dies for people looking for cards with a sense of humour!
  • We will be getting Wplus9's latest release this week along with lots of restocks (but sorry quite a few of the more popular items like the elephants were out of stock when I ordered so I will have to get them next time)
  • We will be getting some Hero Arts restocks this week and hope to have the ombre ink pads back in a couple of weeks
  • We are also getting another new brand - Echo Park - I've always loved their papers but they are now adding stamps, dies, embossing folders and stencils to their range and we are getting them too!  They will be here in a week or so.
  • We also have the latest releases from Waffle Flower and Reverse Confetti which will be available to buy mid-April.


Wednesday, 24 September 2014

Happy birthday wishes


Hello.
I have two cards today using Wplus9's happy birthday wishes stamps and dies.
For my first card i stamped the large happy in shades of blue.
I stamped at an angle for a different look.
I stamped and due cut the balloons and added with foam tape and some twine.
The sentiment was stamped on vellum and adhered to the card using glossy accents.
I finished with some card candy in matching colours


The next card is almost the same as the first but instead of stamping the happy i die cut it from balsa wood
.The balsa wood is currently out of stock but we do have the Wood veneers and they will work just as well.
Click the images to go straight to the products :)

Whole Lotta' HappyWhole Lotta Happy DiesBalsa Wood


Peel & Stick Veneer PackHappy Trio Dies

Thanks for looking.

Friday, 1 August 2014

Oh Happy Day Card- Faux Watercolour Effect


A very happy Friday to you! I hope you are all well the weather in North Wales has been a lot cooler this week and it is now raining :( Really hoping on getting some sun as there is nothing better than lazy summer days spent outside with the kids... ok .. add in a bit of crafting ... and then there nothing better ... oh and coffee ;)

Today I'm sharing with you a card using a fun faux watercolour technique.....


*Using the large rose shape from Wplus9 'More Fresh Cuts' , ink it up using Picked Raspberry Distress Ink first stamp it off onto some scrap paper before using the second generation ink to stamp onto some watercolour card.
*Using the rose detail stamp from the set ink with Festive Berries Distress Ink and use the second generation ink again to add the detail over the already stamped solid image.
*Then onto the leaf using the same second generation stamping technique with Evergreen Bough Distress Ink.
*Spritz over the stamped piece to add texture and the watercolour effect.
*Make a stacked die cut using the Wplus9 'Happy Trio Die' and add the rest of the sentiment using Lawn Fawn 'Sally's ABCs'.
*Ink the base card and add the layer.


I really love how this turned out! The beautiful faux wtercoloured image patterned paper is so fun to make and will work with lots of different images. 


Thanks so much for stopping by!

Hugs Lydia xxx

More Fresh Cuts  Happy Trio Dies  Sally's ABC

Tuesday, 15 July 2014

Really, Superbly, Greatly, Perfectly Happy!

Good morning! Are you happy?!
Hopefully this card will bring you a bit of rainbow brightness and leave you with no doubt that the sender is wanting to wish you a ton of 'happy'!!
Now the 'Happy' set has just slipped out of stock but there are these alternatives- perfect for recreating the stacked die cut look-
or even these

It's a super-easy technique- just die-cut to your heart's content in a plethora of rainbow colours and simply stack, shifting each word slightly to the right (or left!) until you have a big chunky statement piece that leaves little extra embellishment needed.

For the balloon stack I simply layered up a few of these from the Whole Lotta Happy dies
Well, that's enough 'happy' for one day (yeah, right!)- I hope you pick up a couple of word dies from the shop, dust off your die-cutting machine & get stacking!

See you next week-
Keren xx