Tuesday, 24 March 2015

Pac-Man Pie!


Hi! Hope you're all ok today? Today I've gone back to the 80's.
80's gaming in fact. That time when Pac-Man was totally cool and I remember trying to master the game before the monsters got me.
This card came about as I was looking at this set Humble Pie from Avery Elle
                                       
See the pie/PacMan? 
I needed some fruit and so immediately thought of the Milk and Cookies set from WPlus9
                                         
Simple, a little cool and perfect for that bloke or even a teen into gaming.
It made me smile making it...altho you don't want to see my first attempt! ;-0
                  
See you next week..

Keren x

Monday, 23 March 2015

Coloured pencils

Good Monday morning to you :)
Today I've got a splash of rainbow colours to brighten your day and a fun technique to make your own background patterns....

I was totally inspired by a card in our monthly challenge gallery entered by the talented Kate who had used the Hero Arts cactus stamps to make a faux textile effect pattern... I love the retro feel and minimal colours to shade them :)

I chose a simple pencil shape from Paper Smooches Just a Note and made myself quite a few masks (you'll need something with all-over low tack for this job) I trimmed them out, not being too fussy about keeping on the lines as this adds to the effect, then adhered them in a random pattern to my card panel before sponging with a soft brown ink over the whole piece...

Next step was to remove the masks and stamp the pencil with Memento ink roughly on or in the space left by the mask, for the best effect you need to try and get some more off-set than others..

Then, having experimented on a scrap piece of card with how much colour to add, I used the chisel end of my Promarkers to colour the pencils... that was the best bit :)

I chopped the finished piece into two so I could make a second card... each was matted onto black card and uses a sentiment from the same set :)


I love this chubby pencil image and there are quite a few images in this set that would work well for this technique ... plus it's at a bargain price in the sale *wink* :)
                                                            Just A Note

Thanks for stopping by :)
Jenny x


Sunday, 22 March 2015

Hey Foxy Lady

Good afternoon - sorry I'm a bit late posting today but I had to revise my plans on what I was posting today.  I had planned an extensive demonstration of all the exciting things you can do with our new foils from Thermoweb but I hit a few snags (they are new to me too!) and rather than post something which won't help you understand what they can do or help you avoid the pitfalls I found (and therefore waste foil - better that I do that so it doesn't cost you!) I thought I'd postpone it until I try some tips I found.  My issues were related to the printing and foiling with a laminator - it seems that because I have a colour laser rather than a black and white one, it can cause some issues so I want to try a black and white one to compare before I show you what to do.   I am also trying to video it, not something I have ever done before so bear with me (and don't laugh when you see and here me!) and I will try and have it sorted for next week.

So, for today I decided to do a little bit of foil but also to show off my favourite new stamp and die set that has just arrived from Lil' Inker Designs.


I adore this fox - it is such a versatile set as the stamps that match the die have different sets of eyes so you can do girls, boys and different experssions.    I die cut her from orange and white card and simply used 3 pencils to add a little shading a furry texture.  Stamp the face and stick him together (I added stick-it to the back of the card before I started to make it super quick and easy!)

I wanted to sit her on a little hill so I die cut a blue back ground using the rectangle dies.  For the green hill I wanted to add foil so I covered a strip of green card with Stick-it and then simply pressed the lime foil onto the sticky surface and it you get super shiny foiled card -yummy!  To make it hill shaped I die cut with the rectangle to get the stitched edge and then rather than using the standard grassy border die I used the grassy cupcake die and sat the bottom edge just inside so it wouldn't cut the bottom but cut a slightly curved top to make a hill shape.

The sentiment comes as two lines but I did a little stamp surgery and cut in between the lines with very sharp scissors so I could stamp it as one long banner across the card.  This isn't as scary as it sounds and it just goes back together as originally intended but gives you more scope from your stamps.

NEWS FROM THE STORE:

  • Lil Inker Designs are live in store
  • Thermoweb ICraft foils are in store and some colours are already selling out
  • Altenew have FINALLY shipped the order I placed around 10 weeks ago and I hope it will be in store by Tuesday.
  • Mama Elephant's latest release and massive restocks will also be here this week
 Catch you next week


Saturday, 21 March 2015

Stretch Your Dies for Easter Cards

Hi crafty friends, Julia here!

I hope you are having a fantastic start into the weekend! Let's take a second look at some dies and check out how I turned the leaves of the Spring Flowers Dies set from Lil Inker into little Easter Eggs:


I wanted to create a little easter basket with some grass and the eggs tucked neatly inside of it. Out came my new Lawn Fawn Grassy Border die, which is just as lovely as I had hoped:


I die cut a piece of green card stock for the grass, and then cut it down to fit into the little nest I created. All you need to do is cut two slits into your card stock, and then fiddle your twine through a few times.  Finally, I stamped some florals onto another panel in colors that matched the ones I had used for the eggs, but muted that by layering some vellum on top. Mount that on your card base and you're done!

Thanks for stopping by! If you want to check out the video of how I created this card, hop over to my blog, you'll find the link in the sidebar to your right.

As always, I'm listing more supplies below than I actually used to give you some alternatives in case the products I mentioned are out of stock. If they are: since recently, the store has a very neat feature where you can sign up (right in the product's description) to be informed when something is back in stock. That gives Tara a great indicator of how much stuff she should order and you can place an order as soon as the items are loaded in the store. 

As always, you can find a video tutorial on how to create this card on my blog. Click on my name below after checking out the products in the store to have a peek.

Julia xoxo

Friday, 20 March 2015

Not-So-Shabby Cupcake

DSC04294

Hello and happy Friday everyone! I hope you are all good. We had a little one sick last night but good news this morning as he seems to have gotten it all out of his system and is running around like crazy again now :) I should have been expecting it as he said no to chocolate yesterday… hehe.

Today I have a card to share using some of the new Winnie & Walter stamps from the last release….

DSC04291

I thought I would try and go a bit on the ‘Shabby’ side for this card. Just by adding the same paper to the cupcake wrapper as I have on the back layer really brings the design together. The stitched and scalloped layers I have cut using Mama Elephant ‘Basic Set’.

I have used two sets from Winnie & Walter, ‘Sugar Rush’ for the cupcake and stand and ‘The Party’ for that awesome sentiment.

DSC04295

I would really love to know what you think of my card!

I hope you have a beautiful day and I will see you again soon.

Hugs Lydia xxx


Sugar Rush   The Party   Basic Set - Creative Cuts

Thursday, 19 March 2015

Beautiful Butterflies

Hello!

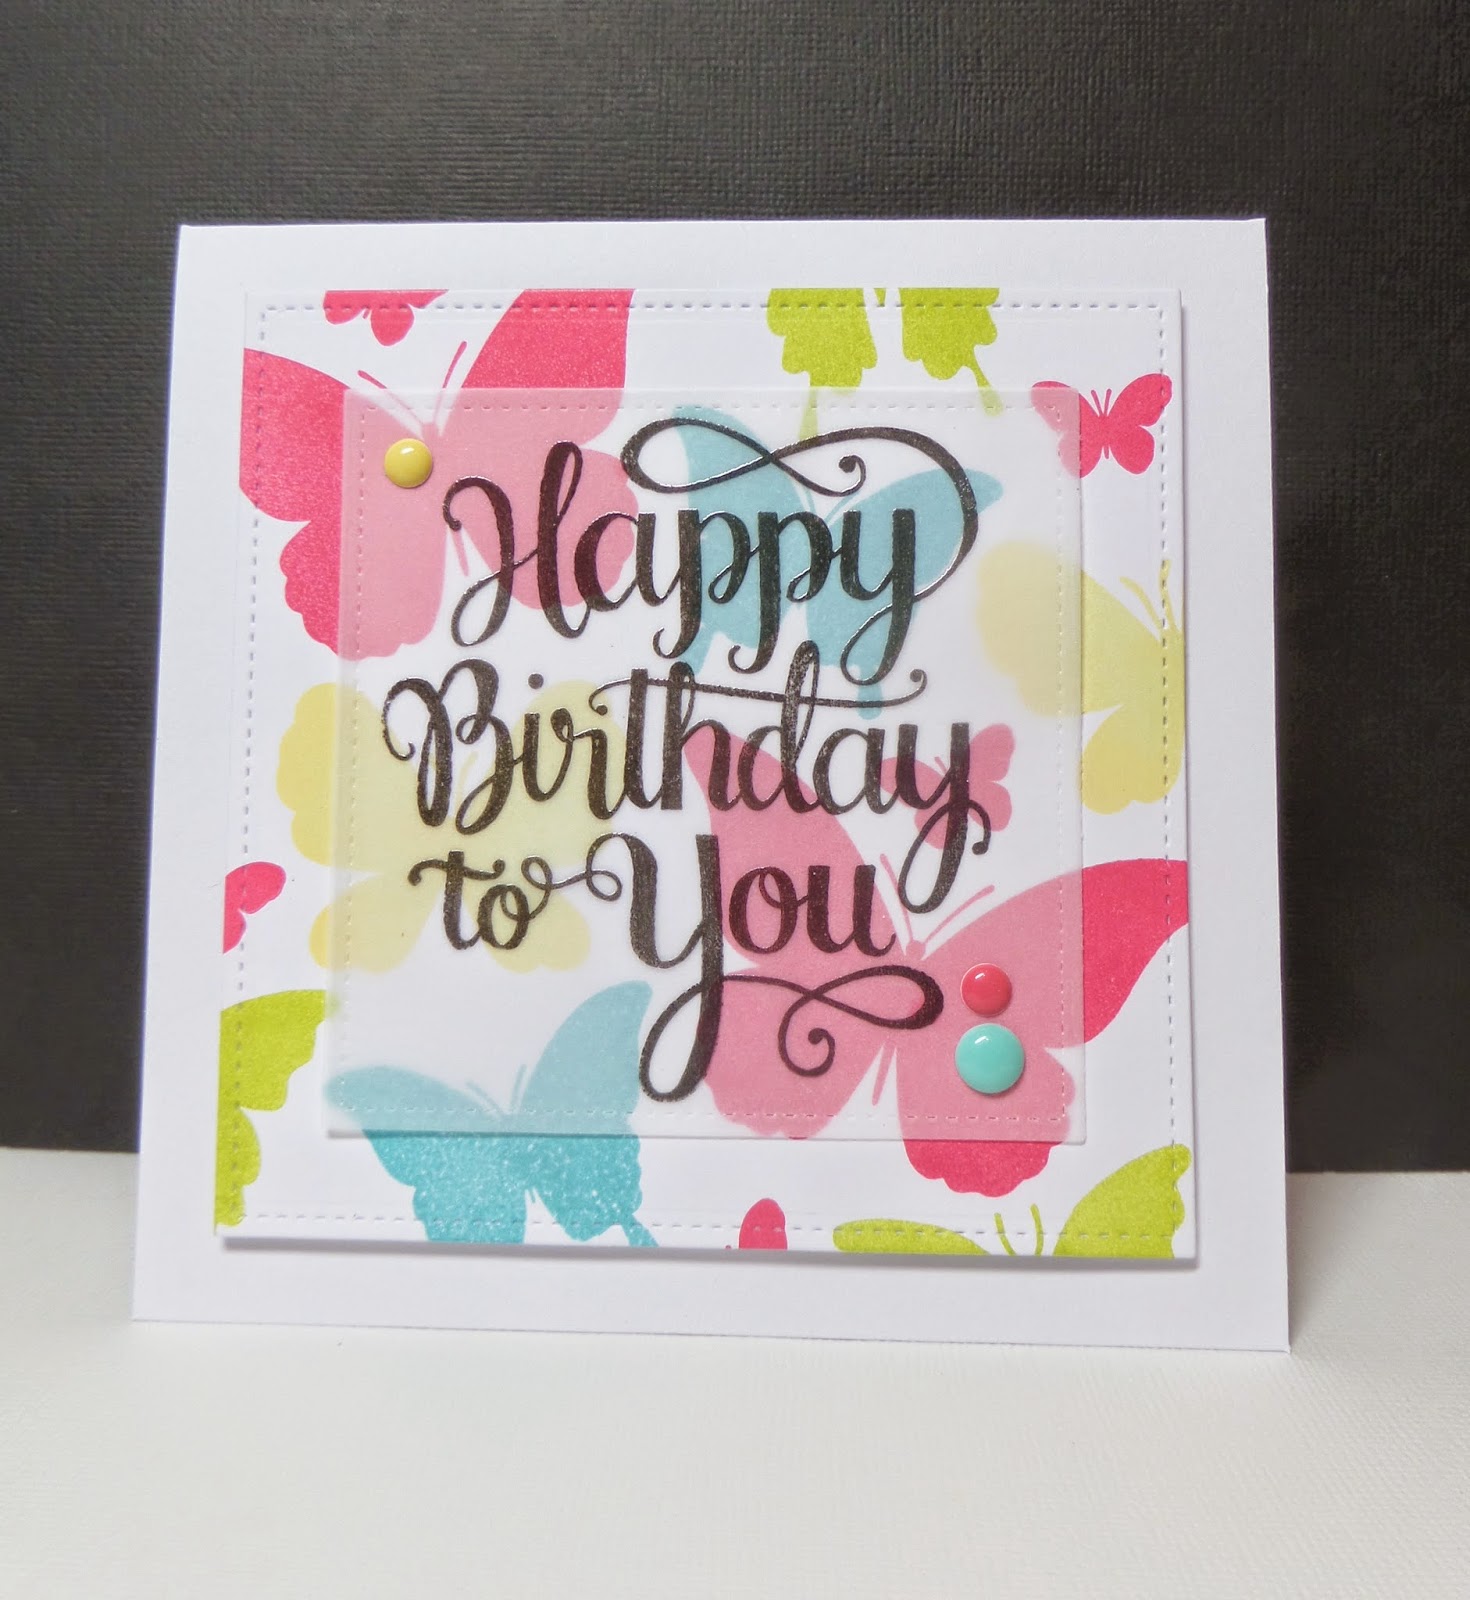
I have a few cards to share with you today using Paper Smooches Graceful Beauties set.  I am a sucker for a butterfly stamp and the fact that these are silhouette stamps make them so versatile.

I decided to go colourful:


I basically stamped the butterflies in shades of my favourite inks and used touches of black as contrast.  The sentiment on the first card is from Paper Smooches Bold Buzzwords and on the second card it is from Mama Elephant's Make A Wish, black embossed on to vellum.

I hope you like these fun and fresh cards :)

Sarah x


Graceful Beauties   Bold Buzzwords   Make A Wish  Large Stitched Square Lawn Cuts


Wednesday, 18 March 2015

Rainbow Backgrounds

Kate is having computer problems today so I'm filling in with a quick CAS card using some brand new Hero Arts/Kelly Purkey background stamps.


I used a variety of Mama Elephant and Avery Elle pigment inks and stamped them rainbow fashion down the new Kelly's Background Squares and stamped it onto some Fig cardstock from our new special offer Bazzill cardstock.

Once trimmed to fit my card I just added some black striped washi tape for contrast and stamped a simple bold black sentiment using Altenew's Label Love.

There are lots of these new background stamps in store that would work for this kind of design - check out the New In Store section before they go.


Catch you Sunday

Tara