Good Morning and Happy Easter! Hope you're all making the most of the extra time to craft if you're not at work this long weekend.
I was really hoping to have my video on the many varied and exciting uses of our new foils ready for you today but as I'm new to video making I have hit a number of technical hitches along the way and now I need to buy another bit of kit and as all the stores are closed today I can't go and get what I need so I'll try again later. Sorry - it is coming I promise (can't promise it will be worth the wait but it will probably be worth a giggle!) Anyhow - I thought I'd tackle a couple of things in print today that aren't too complex to show that they need a video.
Foil Application No 1 - Die Cutting
OK - so this is probably the easiest of all the applications for the foil and the one you probably already have everything you need to play already. You just need some kind of flat adhesive and you're good to go - you could use the
foam sheets that thermoweb designed to work with their foils or, as I have done in my example, you could also use
Stick-It.
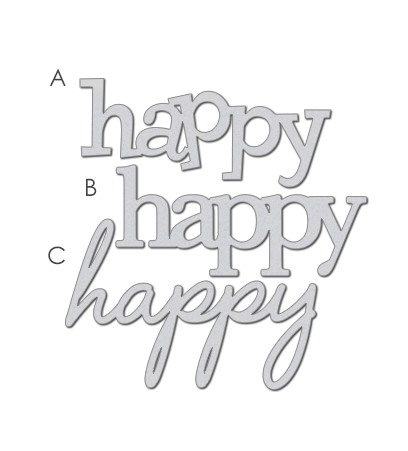
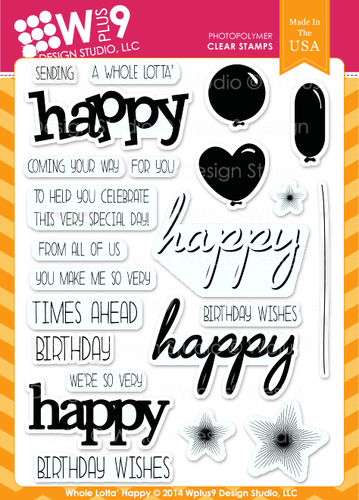
For this card I used some oldie-but-goodies from Wplus9 - the
Whole Lotta Happy range (the happy trio dies are currently oos but will be back this week). I thought the centre p in the die looked like it was being lifted by balloons so that was my inspiration.
I die cut the
happy from thick white card that I covered on both sides with stick-it 4 times to get some dimension - using stick-it makes it soooo quick and easy to stack your die-cuts up. Once I got to the top layer I just removed the backing sheet and laid a piece of
rainbow foil over the top and rubbed it gently and hey presto - a foiled die cut!
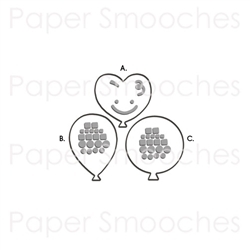
The
balloons were done in pretty much the same way, but this time I cut 3 squares of foil from the
turquoise,
pink melon and
lime green colours and stuck them onto one layer of card covered with stick-it before I did the die cutting. In this case I didn't peel the plastic away from the foil until after I did the die cutting so that it didn't damage the foil. I wanted to experiment to see which method was best and to be honest - both work equally well so whichever suits you best would be fine.
I finished the card by attaching the die cuts to a panel cut with a
stitched rectangle using some sewing thread to attach the balloons to the die cut and adding a little white highlight to each balloon using a gel pen which worked over the foil surprisingly well.
Foil Application No2 - Using Texture Paste!
Now I'm quite proud of this one as I thought it up myself whilst I was experimenting. You can basically use the foils with anything "tacky" so for example a two-way glue pen which "dries sticky" is great for freehand drawing or lettering. So I thought that texture paste might just work - and it does!
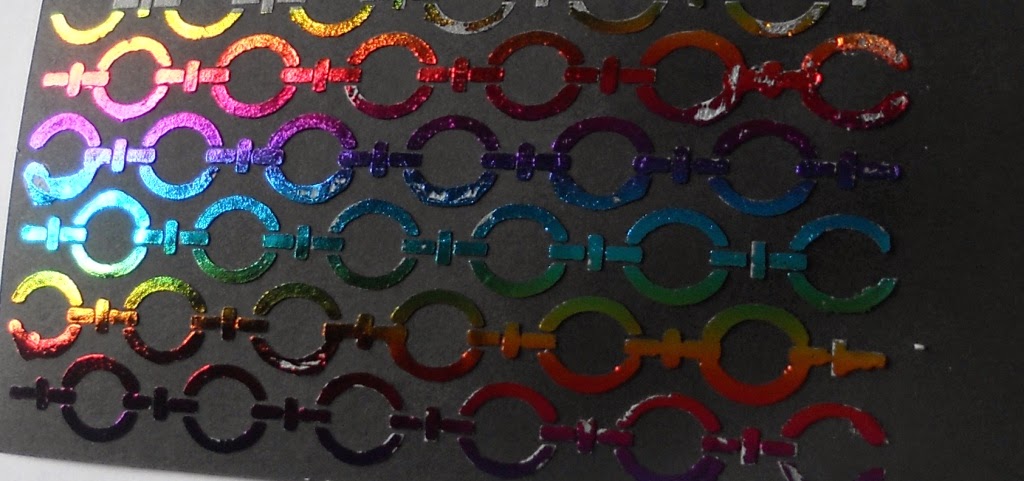
I decided to try the look with one of new Hero Arts stencils -
Repeating Loops on black with the
rainbow foil for a dramatic effect.
Applying the foil gently so you don't squash the
texture paste and then leaving it to dry full is the key to this technique. If the paste is still wet then it will pull away with the foil and leave white gaps (ask me how I know.........)
As you can see - I was a little to eager to do the reveal - so there are one or two gaps in this that shouldn't be there - but if that happens - let it dry fully and then use a two way glue pen to do any touch ups - this is a trick you can apply to whatever method of foiling you use ;-)
It's also quite hard to photograph foils in their full glory but trust me - in real life the effect is VERY dramatic. You can do lots of of exciting things with this technique so I do hope you give it a try!
I will be showing lots of other uses for foil as soon as I get my technical issues with videoing sorted.
NEWS FROM THE STORE:
- We got a new brand this week - Art Impressions Inc which have some great stamps and dies for people looking for cards with a sense of humour!
- We will be getting Wplus9's latest release this week along with lots of restocks (but sorry quite a few of the more popular items like the elephants were out of stock when I ordered so I will have to get them next time)
- We will be getting some Hero Arts restocks this week and hope to have the ombre ink pads back in a couple of weeks
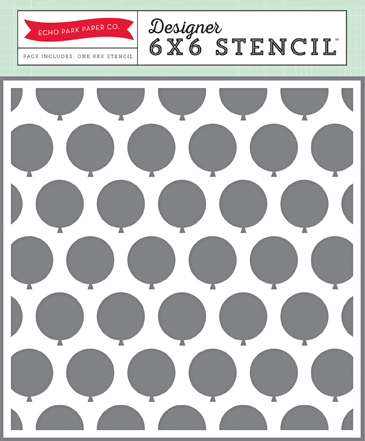
- We are also getting another new brand - Echo Park - I've always loved their papers but they are now adding stamps, dies, embossing folders and stencils to their range and we are getting them too! They will be here in a week or so.
- We also have the latest releases from Waffle Flower and Reverse Confetti which will be available to buy mid-April.