Showing posts with label Paper Smooches Botanicals 2. Show all posts

Tuesday, 15 September 2015

September Challenge Week 3

This is your final reminder for our colour challenge this month - the deadline to play is 10pm next Tuessday for your chance to win £15 to spend in store.


Julia
Paper Smooches "Botanicals 2", for the sentiment Paper Smooches "Blossoming Buds"
and a whole bunch of inks by Hero Arts


Jill
using a whole bunch of watercoloured 'Lawn Fawn Stiched Leave Dies',
and a sentiment from Paper Smooches, 'Group Hugs


We hope that's inspired you to play along - once you've made your creation - link it up here http://makethedayspecialcards.blogspot.co.uk/p/challenges.html
You can play along as many times as you like and feel free to combine with other challenges as long as you stick to our rules too!   You have until the 22nd September to play.


Monday, 9 February 2015

Potted Plants

Hello ... Jenny here :)

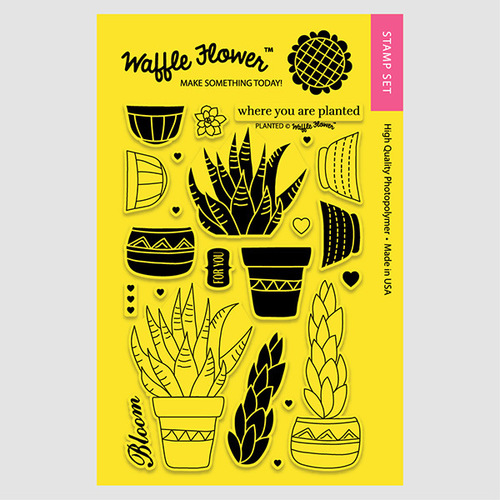
I'm stepping away from the luuuurve theme this week and back to birthdays with a lovely stamp set from Waffleflower called Planted. I'm really loving this newish brand to the store as the sets are very well designed and offer something a little different too...


Now, I used to shy away from solid stamps as they seemed to be very restricting and flat but by harnessing the ability to see through them for repeat stamping and the variety of ways to ink them you can add some depth to your solid images :)
Here I've used dye inks to stamp the pots and then re-stamped with a second layer, having only inked the areas of the stamp that would be in the shadows... this can be done with the rockin and rollin technique but I find it easier to ink the whole stamp and then remove ink from certain areas with a piece of cloth or paper towel.

The leaves are a little more tricky but you can easily add extra colour using stamp friendly markers straight to the stamp and re-stamp or, by using your dye inks like watercolours by pressing the pad against a wipeclean surface and picking up colour with a slightly damp brush. You could even try using pencil crayons or alcohol markers instead.
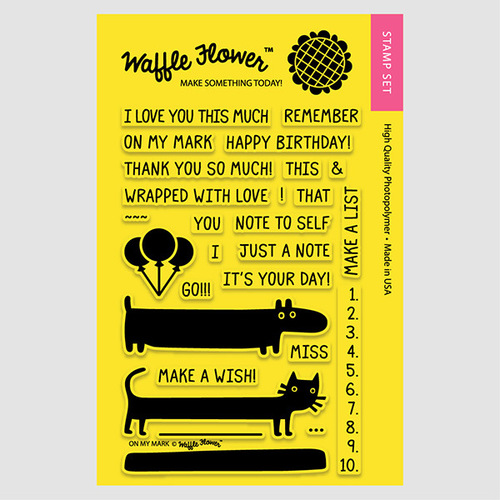
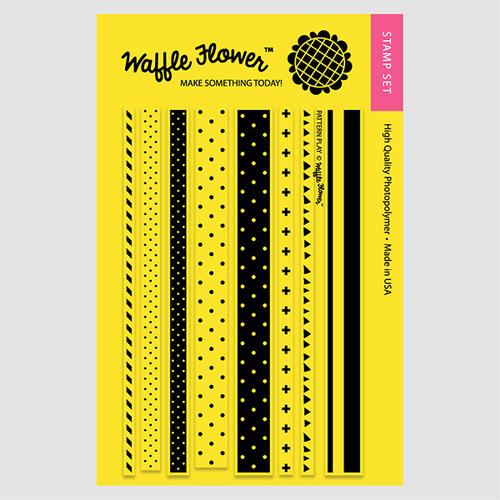
You may have spotted a rogue plant amongst my line up, I wanted to use a different shape leaf so I selectively inked a sprig from Paper Smooches Botanicals 2 to change it up a bit. The sentiment is from another Waffleflower set called On My Mark and the triangular border from Pattern Play

                                       Planted  On My Mark
                                            Pattern Play Botanicals 2
Its a lovely floral photo inspiration challenge this week over at Paper Smooches Sparks... please check out the details an my teamies inspirational projects here :)

Thanks for stopping by :)
Jenny x

Saturday, 3 January 2015

Glamorous Stamping with Paper Smooches

Hello and happy new year everyone!  I don't know about you, but I've just about had it with christmas themes and christmas colors. I'm a traditional red & green gal, and I wanted to depart from the color combo and do something fresh and new.


Recently, I stocked up on Perfect Pearls and while most people use them with water, I wanted to use them on my stamped images directly. All you need: your stamp, Versamark, and some Perfect Pearls powder.

The trick – at least for me – when applying the Perfect Pearls to the image you just stamped with Versamark is a combination of patience and a light hand. Ironically, I possess none of these two things in large quantities ;)

By pouncing on the powder softly with a brush, it sticks to the Versamark. Were you to make painting motions with the brush (drag it across the surface) you could smear the ink below and mess up your image. At least that keeps happening to me, so I'm going with the pouncing.  It looks like a real hot mess at first, but after you brush off all the excess at the end with another clean brush, it just looks awesome.


The Perfect Pearls shine best on a dark background, that's why I used the dark grey card stock. I die cut the word from bright yellow card stock and stamped my card base with a wide stripe in a matching bright yellow color. The color combination and the stripes give the card a super modern look and the yellow offsets the dark grey.

When you tilt it in the light, the Paper Smooches Botanicals shimmer and shine, adding some elegance to the bold contrasts. And you can never go wrong with Wplus9's dies – they are elegant and fit almost every style.

I hope you got inspired and that your crafty mojo was refreshed over the holidays. Happy crafting!

If some of the supplies I've used on my card are not available in the store, I link to alternatives that allow you to achieve similar results.