Showing posts with label lawn fawn critters in the snow. Show all posts

Tuesday, 25 November 2014

Pic'n'Mix Christmas!


Morning! I thought I'd do a bit of a combo card - there are a fair few products on this project but I wanted to show that not having Christmas sets shouldn't ever be a problem.
Let's play spot the set again!!
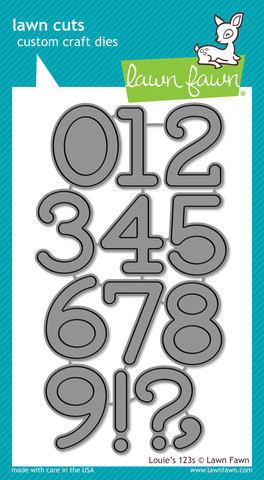
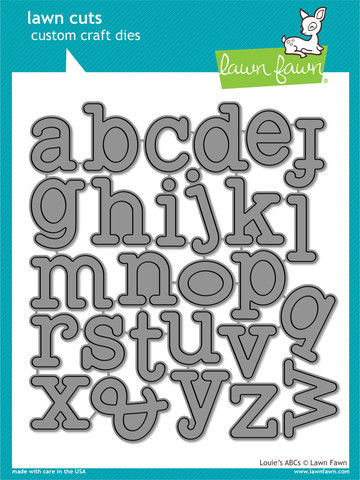
First up..Louie's ABC's. It's size is just brilliant - I've used it for both cards and layouts and it's one of my most used die sets.
http://www.makethedayspecial.co.uk/shop.php#!/Louies-ABCs-Lawn-Cuts/p/36694226/category=5302074
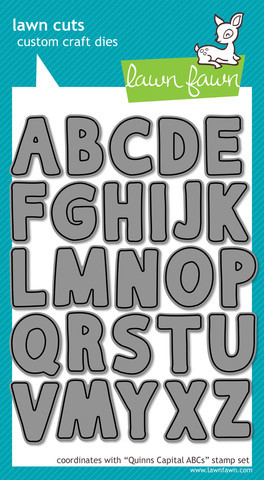
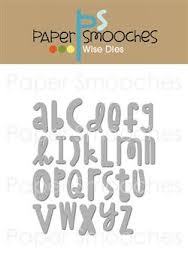
The Cole's ABC's dies are not in stock right now- but a perfect substitute for 'world' would be Quinn's die set or Paper Smooches 'Alphawhimsy'.
http://www.makethedayspecial.co.uk/shop.php#!/Quinns-Capitals-ABCs-Dies/p/33461032/category=5302074
http://www.makethedayspecial.co.uk/shop.php#!/Alphawhimsy-Die/p/21462420/category=5169117
 
I love the Snow Days paper, that I've used to back the die-cut negative space and also die-cut the 'world' out of
http://www.makethedayspecial.co.uk/shop.php#!/Snow-Day-6x6-Paper-Pad/p/39872511/category=10168036

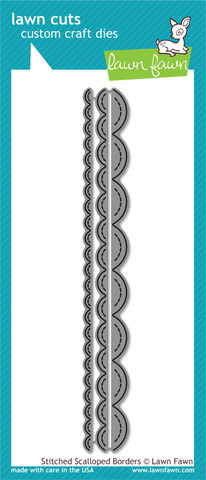
 You can see the vellum trees cut out.. you could use this scalloped set for the same effect
http://www.makethedayspecial.co.uk/shop.php#!/Stitched-Scalloped-Borders-Die/p/33080927/category=5302074

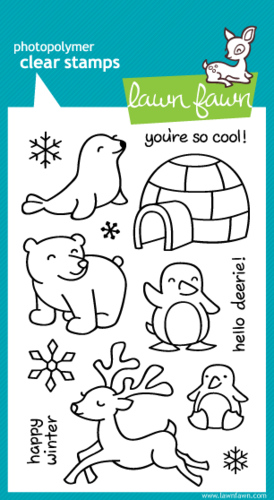
The Snowflakes are from this set
http://www.makethedayspecial.co.uk/shop.php#!/Critters-in-the-Snow/p/12011398/category=2717768
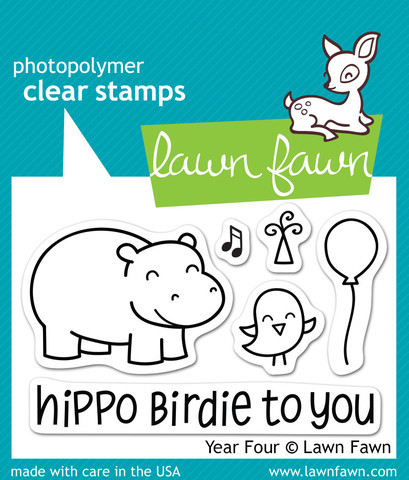
and the cute little musical notes are from the Year Four set
http://images-cdn.ecwid.com/images/1150504/214176184.jpg

 
And - lastly but by no means least, are the inks I've used- they're both Hero Arts ones- one is the gorgeous silver one
http://www.makethedayspecial.co.uk/shop.php#!/Silver-Shadow-Ink/p/42462358/category=10168038
and the Pale Tomato ink
http://www.makethedayspecial.co.uk/shop.php#!/Pale-Tomato-Shadow-Ink/p/38780814/category=10168038
 
 
Well- hope you've enjoyed this 'little bits of everything' on a project. Take a look at your stash and see what seasonal projects you can create with non-Christmassy stash.
See you next week,
 

Tuesday, 14 October 2014

Craft Your Own Advent Calendar!

Hi! Today I'm bringing you a little 'getting-ahead' project. Granted, it might seem a bit early, but this project needs a little time and probably isn't the best project to be starting at the end of November ;-)
I started with a frame where the glass front had broken. I thought the mount would be useful. Sure enough, it was the perfect thing for two sheets of Snow Days Paper plus some Green Sparkle Twine
http://www.makethedayspecial.co.uk/shop.php#!/Green-Sparkle-Twine/p/39901923/category=2717757
http://www.makethedayspecial.co.uk/shop.php#!/Snow-Day-6x6-Paper-Pad/p/39872511/category=2717757
There is a slight join between the two sheets but it's barely noticeable. I've simply tied 3 layers on twine tightly around the back to hang the mini pegs on. I've added iridescent glitter to the pegs (watch out for some amazing glitter hitting the store really soon!!)
Next I cut out some tags and added a plethora of stamped images, colouring them with copics, making sure that there were plenty of green and white tones to tie the colour scheme in with the Snow Days paper.

http://www.makethedayspecial.co.uk/shop.php#!/Winter-Bunny/p/12020666/category=2717757

http://www.makethedayspecial.co.uk/shop.php#!/Happy-Trails/p/33080911/category=2717757
 
http://www.makethedayspecial.co.uk/shop.php#!/Critters-in-the-Snow/p/12011398/category=2717757
To create the numbers, I've used these Louie's 123's cut out of the Snow Days papers
 
http://www.makethedayspecial.co.uk/shop.php#!/Louies-123-Lawn-Cuts/p/36694237/category=2717757
You've also got the added fun bit that as you remove the numbers for the countdown, you have peeks of the background scene

 
For each day, do add little messages, or write on the back where the day's gift is hidden. Have a go at crafting your own- do post and let us see, we'd love to look and be inspired too!
For the tags, I've used Mama Elephant's set
http://www.makethedayspecial.co.uk/shop.php#!/Embellished-Tag-Creative-Cuts/p/34012646/category=8719335


Hope you've enjoyed this early Christmas project...now where are those mincepies!


Tuesday, 17 December 2013

Chalkboard Tags!


Good afternoon- wow it's getting scarily closer. I'm so not ready. I've arm knitting and felted soaps and all sorts to make yet. I thought I was organised!! Obviously not.
One thing that we all need tons of are tags. Whether they're being strapped to a present, slung around the neck of a bottle or festooning a gift bag, I never seem to have enough.
I'm using one of my favourite looks- the chalkboard style. I still love it from last year and the trend for it seems not to be abating in a hurry. I haven't even contrasted the white using embossing and normal stamping. There's not even any white shadowing. I've gone for quick and simple.
White stamping.
White smudged ink.
White gel pen picking out highlights.
Easy & fast.

Hope you're getting organised.. I'd love any tips!

See you soon (although I may have to be really organised if I'm going to be posting on Christmas Eve (ha ha)

Happy stamping!


Sunday, 27 October 2013

Let it snow....

Hope you all enjoyed your extra hour in bed this morning.   As the much of the UK is braced for storms tonight, my thoughts turned to winter and I decided to play my Mama Elephant Polar Pals again but this time I set them in the snow...


I used my Silhouette Cameo to cut the word snow in large capital letters from some white cardstock but I left them on the mat while I worked on creating my scene across them.   Firstly I used the smallest snowflake from Lawn Fawn's Critters in the Snow to emboss some falling snow at the top of the letters.  I used a memory box die to create a mask and then using distress inks to create a sky adding an aurora borealis with neon green from from Hero Arts.   I created snowy hills in the foreground with more distress inks and some pearl spritz.  At this point the letters came off the sheet and onto the card before being edged with a stitched line.

Then it was time to add my pals - I stamped them onto more white card, coloured them with copics and glitter, before fussy cutting and adding to the card.   I finished by handwriting "let it" in the corner with a teal calligraphy pen.

It's a fun technique and you can do it with any word you fancy, just create your scene before moving the letters and then make sure the gaps stay the same when transferring to your project.

I've just noticed that both these sets are currently out of stock - I'm sure they'll be back in soon

Hope the storm passes you all without any problems....
See you next Sunday
Tara