Saturday, 31 October 2015

October Challege Winner

It's time to announce the winner of this month's challenge.  If you missed it (where were you????) then our challenge this time was to use your supplies to make anything but a card - it seems you all really liked the idea too as we had lots of STUNNING entries this month.

We have managed to agree on a winner though and therefore I can now reveal that the winner of the £15 store voucher is Anna who created this simply beautiful, and VERY impressive advent calendar.


Message me Anna and I will get your voucher over to you.

It was really hard to pick just two runners up - we could have had lots of winners this month but we finally settled on the following two creative ideas.


Asha created this adorable little dog's house treat box using the Lawn Fawn milk carton die with the addition of a roof - what a super idea!


Plain Paper made her own smash box style journal using a plain kraft notebook and making lots of lovely elements to go inside.  Such a clever idea we loved it!

Do take your winners badge for your blogs!


If you didn't win this time, then you'll have another chance tomorrow as we will be launching our brand new challenge for November which will be our last challenge this year as we take a break in December.   We'll have a sketch for you tomorrow so check back here then to see what it is and play along with us.

Easy, No-Stress Coloring

Hey there, crafters! I know that a lot of you will be gearing up for christmas and Halloween, but I thought I'd bring you a non-holiday card today. After all, I know I get sick of all the holiday cards sooner or later, so let's mix it up a bit!

I am using one of my favorite whimsical stamp sets from Lil' Inkers called "Modern Mehndi". It's intricate enough that you can stamp it just by itself, but I love coloring it:


I choose colors that would be cold – like a crisp winter morning. You can use any coloring medium you like; I opted to go with my Copics, but by all means, grab your watercolors, pencils … whatever makes you happy. Coloring easy images like this where you don't have to worry about light sources and texture is so relaxing.


As you can see, the floral image is quite solid. I die cut the shape about four times from regular copic-friendly paper and glued the pieces together to end up with this embellishment. The leaves were stamped directly onto the card stock and the sentiment heat embossed.  I added a few gold dots here and there; they don't stand out on the kraft but shimmer nicely when you twist the card in natural light.


Thanks for stopping by today! I hope you enjoyed the card and have a great weekend. Cheers!

Friday, 30 October 2015

Christmas Elf to a Birthday Pixie

Hi everybody,

Jill here, and today, I'm mixing up a brand new Christmas set...


By taking the cutest little Christmas elf out there, and changing her into the cutest little Birthday Pixie...


I have no doubt you are all in the same boat as me, whereby we want NEEEED all the newest sets as soon as they're released, but obviously we don't all have a bottomless pit of money, so sadly, we need to reason with ourselves make excuses on how we can justify our spends haha.  And, again, if you're anything like me, no time does this come more into play, than with the Christmas releases.  They're always awesome, always adorable, and always impossible to resist - but because you only use them once a year - it makes it all the more important to be able to stretch them.  So that's what I've hoped to do for you today.


I used Mama Elephant's 'Chrismtas Spirit' set, changing it up into a little 'Happy Birthday' scene.  I die-cut a panel of card into various pieces to create my scene, using Mama Elephant's Landscape Trio, and Lawn Fawn's Grassy Border, watercolour washed them, popped the pieces back together, and die-cut a circle from it.  I also die-cut a circle from my plain white background panel, and in-laid my scene back into it.  I then stamped out my little cute character and several presents from the 'Christmas Spirit' set, and a couple of balloons from Paper Smooches Hullabaloo set.  I then watercoloured and fussy cut them all and built up my scene using foam adhesive.  I then stamped out my sentiment from Mama Elephant's 'Woodland Gifts' set.  I added some black strings to my balloons, mounted onto black card to make my scene 'pop', and there you have it.


I hope this has gave you the excuse you need to get EVERYTHING you want haha - Go on, you deserve it - there's always other ways to stretch our sets :)

As always, everything is linked below, so be sure to have a peek in store.

See you next week.

Jillx

Christmas Spirit  Woodland Gifts  Landscape Trio Creative Cuts  

Grassy Border Die  Hullabaloo


Thursday, 29 October 2015

Hello Baby Girl


Hi there and happy Thursday! Lydia here with you today and I have a super sweet baby card to share with you today, and although this one is for a baby girl by just switching the papers out for shades of blue it could quite easily be for a baby boy.

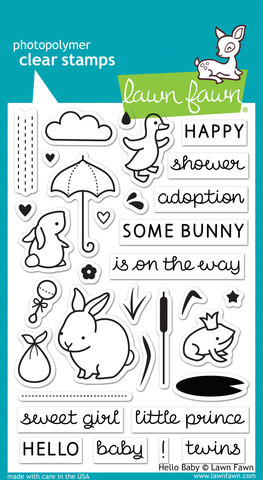
For the stamped sentiment and cute little paper-pieced bunny I have used Lawn Fawn 'Hello Baby'. Isn't that bunny the sweetest stamped onto the same paper from the background?!?!


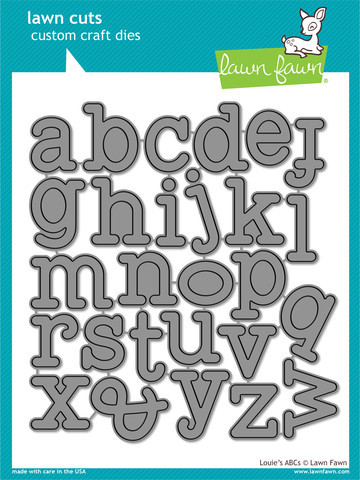
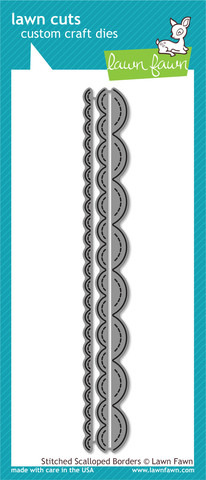
The 'baby' I cut using Louie's ABC, I cut the word twice once from white card and also from some pink patterned paper. I layered the white sightly off-setting the pink to create a pink shadow effect. For the scalloped panel I used the midi size of the Lawn Fawn 'Stitched Scalloped Borders' I just love these to add a bit of detail and interest to an edge.

Thank you so much for popping by!

Hugs Lydia xxx


Hello Baby  Louie's ABCs Lawn Cuts  Stitched Scalloped Borders Die

Wednesday, 28 October 2015

Newtons Christmas cuddles.


Hello.
I am getting stuck into my Christmas cards at last. 
Its just felt way to early but i know if i don't start now i wont have time to post them.
I couldn't resist buying some of the new Newtons nook stamps.


I have used Newtons Christmas cuddles.
I stamped the images onto white card and coloured with copics.
They were stamped with antique line distress ink before colouring.
I then stamped the small snowflake a couple of times and the sentiment and kept it very simple.
It was die cut with a stitched rectangle from Lawn fawn and backed with some bokeh paper also from lawn fawn.
The final finishing touch was some diamond stickles and clear sequins.

Newton's Christmas Cuddles Let's Bokeh In The Snow6x6 pad Small Stitched Rectangle Lawn Cuts

Thanks for looking.

Tuesday, 27 October 2015

Penguin Post

Keren had to take a last minute break this week so you're stuck with me again today so sorry no amazing take on stamps and dies just a standard card today.


I totally adore this little penguin dude from SugarPea Designs and have him in all his variants but this is the first time I actually coloured up the Happy Mail version.   The sentiment, which was spelt out using letters from Violet's ABCs from Lawn Fawn, may look a little quirky but it works for this card.  It's for our postman at our office who has been working late shifts for 13 years and has finally been moved to a better shift so he can spend more time with this family, so we're pretty sure he'll be whistling 9 to 5 from now on!

I coloured him and the parcels with copics and did a little fussy cutting before layering them all up and grounding  them with some soft shadows.

If a mail man doesn't work for you then you can find a sushi penguin, an icy penguin and even a golfing penguin so do check them all out.  SugarPea stamps are such good quality stamps so I do hope you'll give them a try if you haven't already.


Catch you Sunday
Tara


Monday, 26 October 2015

Bring us some Figgy Pudding!!

Hello there :)

I'm all about pudding today... Christmas pudding !!!... with these fun pud shaped cards in two sizes.
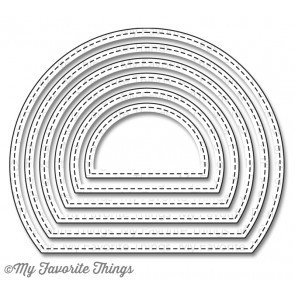
I've used the Stitched Arch Dienamics Stax to make these with the smaller of the two being a great size for Christmas table place name cards.


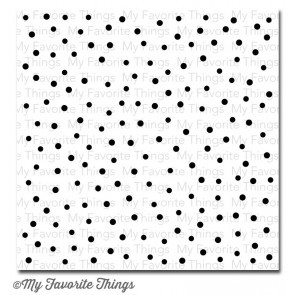
I find it easier to cut two separate pieces to make the card and score the back piece towards the top and join them together with strong glue or tape. The brown spots are added using the MFT Confetti background stamp but any dot stamp would work just as well.

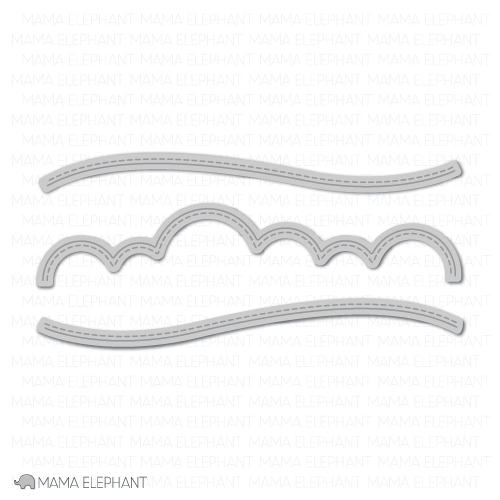
To make the custard, I cut another stitched arch in white and pale yellow and then used one of the Landscape trio cuts to make the wavy edge on the large pud and the Dripping Goo edge on the other.
Again, any scalloped edge die could work here too.


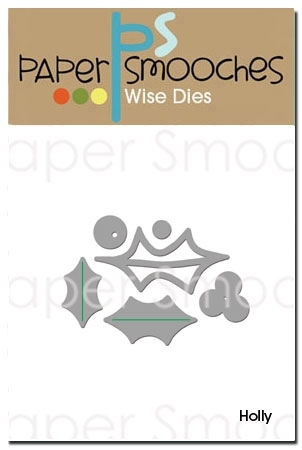
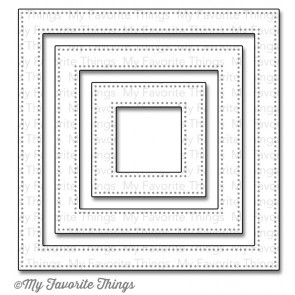
The holly is cut using the Paper Smooches Holly dies and although a plate would be easy to cut, I used one side of the largest frame from the MFT Square Frame dies... just a couple of snips at a 45° angle and you have a nice straight and even plate :)


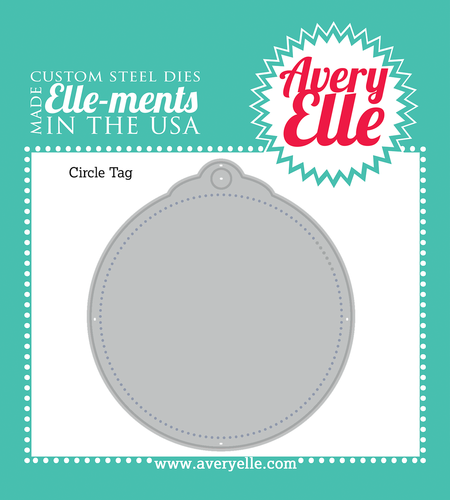
I enjoyed making these so much I wanted to try a tag too using the Circle Tag die by Avery Elle which I cut in both cream and brown card.... the rest is pretty much the same as above on the cards.

I think these would be great cards for kids to make or assemble depending on their age and ability ... and if you don't want them near your inks and stamps you can use patterned papers or other materials to give the puds a bit of texture :)

Here are the products I've used but really you can substitute lots of others from the store or your own stash..
    Stitched Arch STAX Die-namic  Landscape Trio Creative Cuts Dripping Goo Edge Die-namic
             Confetti Background StampHolly Dies  Pierced Square Frames Die-namic
                                                         Circle Tag Elle-ments

Thanks for stopping by :)
Jenny x