Hi! Hope you enjoyed Jenny's fabulously coloured cards yesterday. Today, I've kept it pretty simple.. plus this is a great example of how to hide your mistakes.
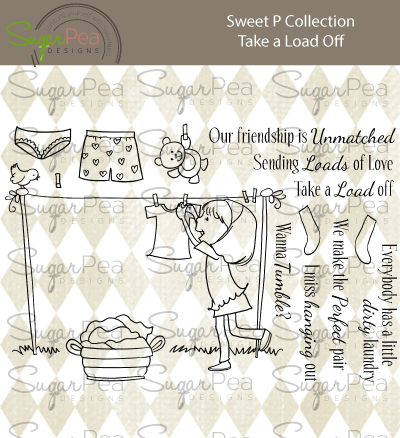
So, I've used the same set as last week from Sugar Pea Designs
Now, I've kept the colouring really simple- and been playing around with the blender pen again. I've done a close-up to show you that you really need to blend for the best effects. Everything else on the card is blended well- I simply go over with the lightest colour, and don't use the blender pen overly. Look at the next picture- I've left the blue bear unblended- you can really see how the harsh lines don't help the dimension at all.
So, the mistakes?
I stamped the clothes and added the line of black for the washing line..I wanted a very CAS look to the card. Sadly, I'd had a little bite to eat during crafting..and...there was a mark (possibly chocolate, but I really wouldn't like to admit to that!).
So, the grass 'cover-up' was born. I ended up with not enough 'grass' for the width but decided to leave that 'carefully planned' (!) element as it was.
As I'd solved that issue, I managed to get ink on a bit of grass. A lot more sighing later, decided to 'hide' the ink by way of Glossy Accents on the grass. A 'dewy' glow all over the grass. You can spy a little if you look at the photo.
As I looked and felt moderately smug, I noticed a water stain on the 'grass'.
Arggh. Too late. I'd adhered it down.
So, washi tape to the rescue.
Most mistakes are coverable. I'm not used to having to solve 3 on one project!
My colouring tip for today? Use your blender pen to create patterns on solid parts of your coloured image. Look closely- you'll see spots, stripes and dashes, all courtesy of the blender pen!
Hope your projects are mess and mistake free!
See you next week,
Keren x


