Hello and welcome to day two of Colouring week!!

Wether you are new to colouring or proficient with your marker pens, I think that, by far the easiest images to colour in the stamping world are Lawn Fawn and Paper Smoches images as they are not too detailed and have good bold outlines...very much like colouring book images from our younger days :0)
I have made a set of five mini Christmas cards using Lawn Fawn Stamps, three of which I'll share with you today and then next week I will show you the remaing two and the Gift box I've made to put them in :0)
So lets kick off with the photos....
By using small 10x10cm square cards I've kept the designs simple which is perfect for the Lawn Fawn Critters. I've used matching dies if I have them so this means I can stamp out a load of images onto a sheet of alchohol marker friendly card and colour lots of images in one go....this is a great way to practice as well as making a good reference sheet for Colour Combinations in the future.
Unlike a lot of crafters I use Promarkers as they were cheaper to start me off with but I love them and wouldn't change them at all. I tend to stick with the same combinations of colours...browns are my most used as I just love colouring furry critters.I've used Cocoa, Burnt Sienna and Umber for Mr Moose and I start by laying my lightest colour down first and work through to the darkest before going back through to the lightest. His antlers are shaded using Umber and Warm Grey 5 with a touch of black for a slight shadow underneath. Do you see the highlight along his back? I left this area un-coloured with the first application of colour... this means it only has one layer of colour which is applied when I blend over the image with the last layer of the lightest colour. Goodness that was a tongue twister!!!
These cute Winter Sparrows use a similar colour palette but I swapped the Cocoa for Cinnamon instead so the highlights are lighter. With small images like this you don't really need to use three colours as the card can become too saturated and bleeding can occur outside the lines...... I used very minimal strokes of the Umber here.
*TIP* If you have the matching dies for these little fellas it's worth die-cutting extra branches and birds to use stacked underneath the coloured image... that way you don't need to be cutting tiny pieces of foam to mount them onto your card front..much easier :0)
Colouring these Christmas lights was great fun as you can really exagerate your dark areas and highlights because they're meant to be shiny.... the hardest part was fussy cutting them out (fingers crossed matching dies will be released for this set). I've shaped the stamp on my acrylic block to make different curves, you can also repeat the pattern for larger areas if you wanted too :0)

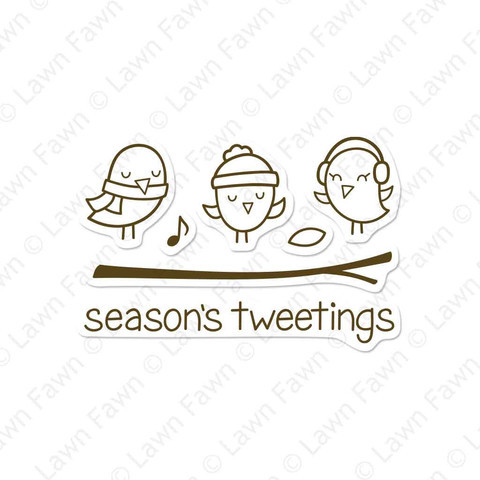
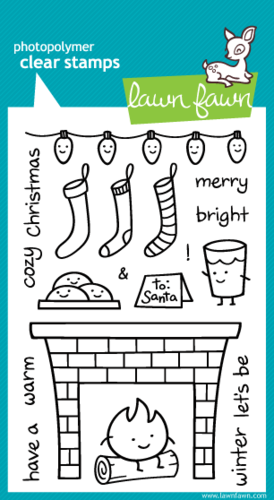
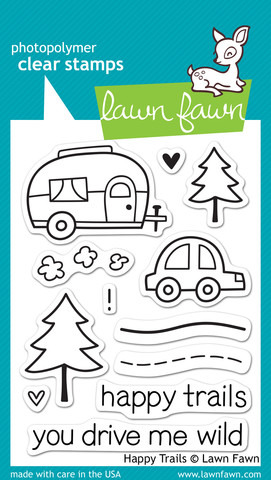
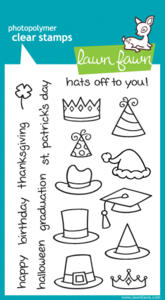

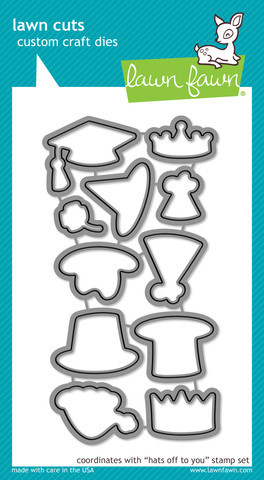
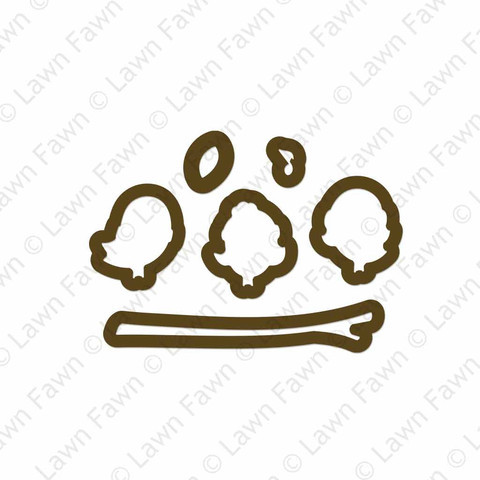
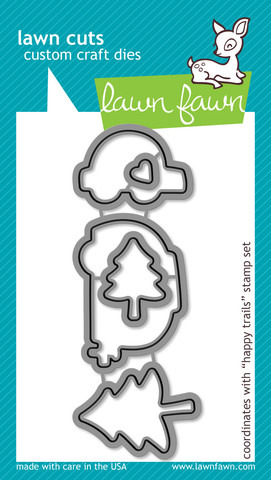
As you can see from the above montage I'm a bit of a Lawn Fawn addict!! Click on the pictutres above to take you to the store if you're interested in any of the sets.
I've made five different designs but you could equally choose one design to suit your stash and colouring technique and stamp a whole load of images out to colour at leisure in front of the TV or with music playing... using the co-ordinating dies helps speed up the process of cutting out, great for producing batches of cards :0)
Catch ya next week with the rest of the gift set
Jenny x


5 comments:
What embossing folder did you use on the bird card?
Hi Susan- it's one of a two pack by Sizzix called Christmas words and dots..... Part of their texture fades range :) hope that helps x
Sorry meant I meant textured impressions range.
Thanks Jenny x
I love how detailed yet approachable this coloring tutorial is.
Post a Comment