Hello there :)
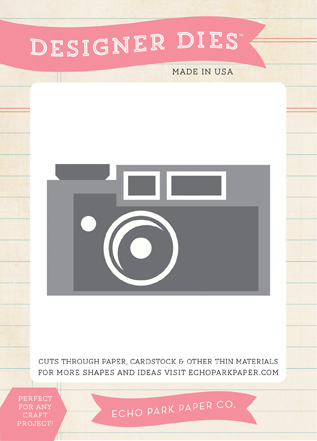
I have something a bit different today... it's a homemade photo album, something I've had in my mind to try for a while and when Tara added the Echo Park products to the store recently I knew the Camera die would be perfect to decorate the front cover :)
This post contains quite a few photos as I try to explain how I made it... it's certainly not a new idea and it's quite a simple design so hopefully I made it easy to follow!!!
First of all are the pages, I went with 14 pages in rainbow colours of medium-weight cardstock and they measure 10½ x 15cm. Fourteen is a good number because the zig zag binding edge can then be made from a strip of thin card thats 30cm in length (scrapbook cardstock) and just short of 10½ cm wide....
As you can see from the bottom two photos above, I have basically stuck all the valley folds together on the outside of the album spine which gives you 14 tabs on the inside of the spine to attach your colored pages to. I found the easiest way to do this step is to start at the back, remembering to leave a strip to attach to your back cover, and alternate between adhereing the valley folds and pages, definitely not as fiddly that way!!
Hopefully you can see what I mean in the bottom right photo which is a close up of the finished book spine before the front and back cover were added. The pages do spring round to make a carousel of colour which is quite pretty too :)
Onto the covers... I used thick cardboard, I hoard pieces from packaging and the backs of paper pads, it's perfect for these types of projects :) I covered them with thin white ribbed card.. ahhh just like those days of covering school exercise books ;)
Then its time to adhere the front and back covers to your album pages and this is what you should end up with..
To neaten the covers, I stuck a rectangle of card to the inside which covered the bare cardboard and black strip too.... et Voila... your album is ready for decoration :)
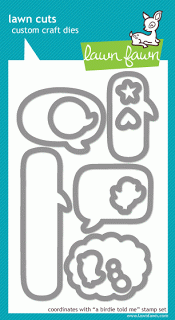
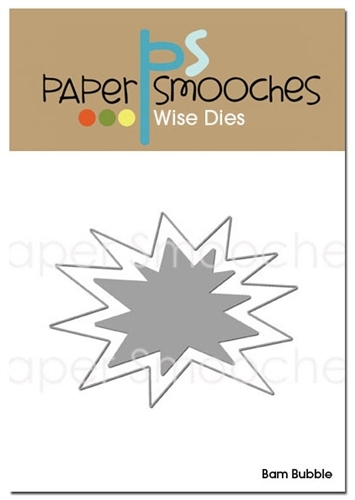
I die cut the camera and made it quite colourful to match the rainbow pages and used a speech bubble from Lawn fawn and Mama Elephants Smile sentiment too. I had a Bam bubble die cut lying on my desk so after cutting a rectangle into it, I placed it over the flash window on the camera... now there's some action going on :)
Well I hope that made sense and you give it a try... they make great gifts and can be left blank for the recipient to fill or you could go to town and fill the pages with photos instead :)
Thanks for stopping by :)
Jenny x


5 comments:
Wow! This is brilliant! Great and detailed steps on how to make an album. I have to give this a try sometimes! Thanks for sharing, Jenny!
This is a great idea! Will certainly try and master this!Thanks for the detailed instuctions!
Such a great idea! Thank you for sharing it with us. Love the details, the steps well presented and the colours you used for the album pages.
I've got to give it a try too.
Have a lovely day!x
What a fantastic idea and great colours too. Definitely one to try!!
Love it Jenny and thanks for the clear instructions :) really must have a go at one now.
Kate xx
Post a Comment