

Hi! However your Tuesday is panning out, I'm here with a cautionary tale (well, sort of!) and a fun card.
The card is part of our 'pass the parcel' feature, or, more precisely, send the same stamp and die set around the country and beyond for us all to get inspiration from. Here's the first caution-
Always have a peek before you design your team project for the week, that someone else hasn't posted the same thing the day before.
Yup, sorry.
Although, to be fair, Lou's treatment of this card is really different to mine- a monochromatic stunner, so I'm hoping you lovely people will tolerate mine!
So, onto the set. On the off chance you've missed seeing it, here's the set in question
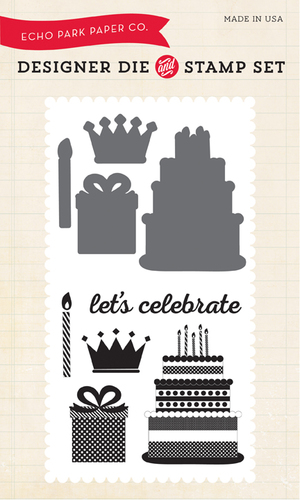
Taking the smallest element (as I often like to do), I thought I'd create something just with that.

I die cut one of the candles and arranged it around a small circle (to help get them spaced evenly). It took 2 attempts.


I'm fast forwarding to the finished article so my next few sentences will make sense.
I had in mind one of the spirally twisty elements where the spiral appears to be getting bigger all the time when you move it? I die cut a large circle and created a spiral with alcohol markers.
Caution- if you're going to pencil lines out first, don't go over them with a light coloured alcohol marker as you can't get the pencil markings to rub out. It was very annoying and nearly rubbed out portions of the cardstock in my vain attempts

Caution no.2 - think backwards. Because you have a front layer, the central layer and the back layer, getting the brad (which you can see just peeking above the 'celebrate' in the photo below), you need to make sure the top layer is firmly stuck to the brad and the bottom layer the same. Lets just say that the 'swirly motion' is more like 'stick your hand through the candle spaces and turn it yourself'! The wash tape on the photo above is a good idea, but you need decent sticking power on the top layer too! Duh.

See this detail- the flowery decorative part? I've used the gift bows which I've trimmed down and added around a circle. The idea was to help you turn the circle, but then it's a little pointless for my card (ha ha!)

The other cautionary bits are as follows- check your whites are the same shade. My absolute favourite paper this year (which I'm about to use up!- I know, I never normally get through a whole pad) is the Everyday Collection papers from Avery Elle
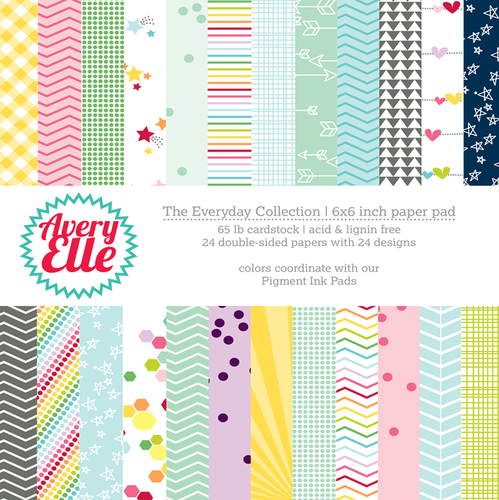
The white on the heart papers is more creamy than my blue white so it shows up more. Don't look- it is a bit obvious. And whilst you're checking, don't look to closely at the masked off sentiment. I didn't want the 'let's' bit of the lets celebrate so I just stamped the latter half. Thing is- if you brush over ink that isn't completely dry with a wet glitter- guess what, the ink bleeds.
Humph.
Anyhow, despite my catalogue of basic errors, I hope you like my fun card. Don't worry-if you come back tomorrow, it won't be another 'Pass the Parcel' card as I've not sent it overseas yet!
Have a lovely Tuesday - and do tell me, what's your worst crafting disaster!
1 comment:
What a fabulous card - and as for disasters, it's lucky I don't film my card making. It would be worse than The Towering Inferno or Volcano, it's generally a disaster zone!
Post a Comment