
I was really excited by the new interactive window stax dies that arrived from My Favorite Things this week, so my projects today give a couple of examples of how to use them. Grab a cuppa - it's a long post!
Firstly, I am playing at being a magician, and cutting a girl in half.... Let's open the window on Brittany the Birthday girl one of the Uptown Girl range from Stamping Bella.

The images are large enough to be the solo element on a card, and detailed enough too. I cut a panel of copic colouring card the full size of my card base and stamped her on it. I know they can look scary to colour, but it doesn't have to be complex. This one took me around 15 minutes and I used just 4 copic markers for the whole dress. Once she was fully coloured, I used the die and cut her in half at the knees, so I could add this on the front of the card inside the window...

....A view of what that yummy cake she is colouring would look like when you slice it ;-) I used My Favorite Things Piece of Cake stamp set and then used a little die from Hip Clips to create a faux fastener for the window.
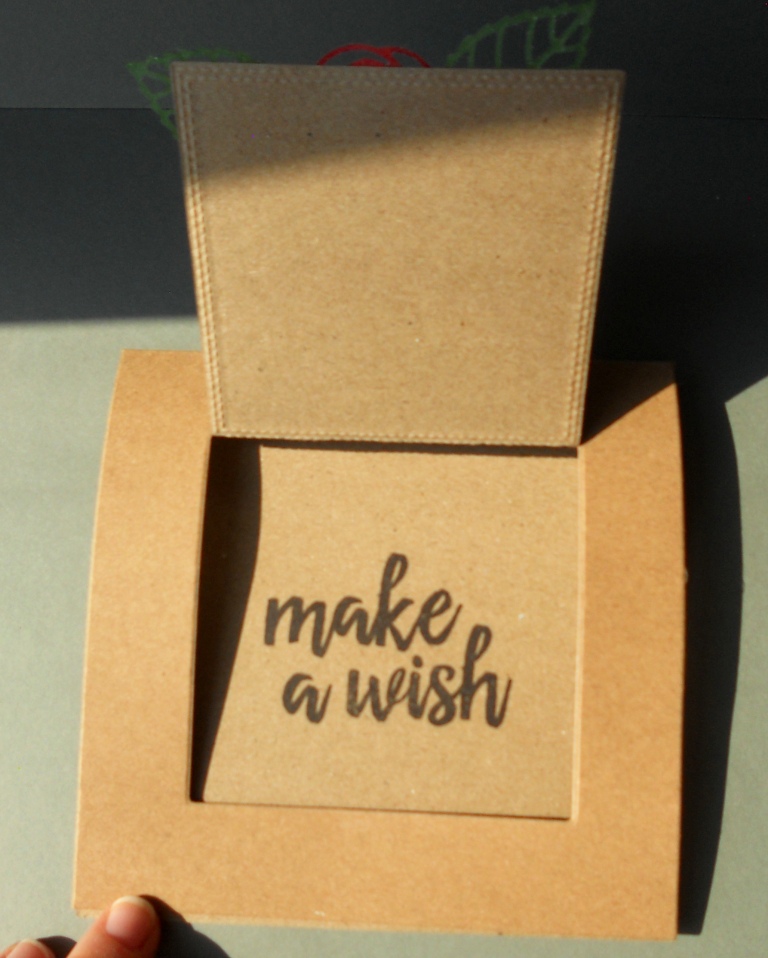
You can also use the windows directly onto the front of your card so the window opens up to see the sentiment on the inside. That's what I did on this one.

A really simple kraft card with Scribbled Rose Overlay and Layered Leaves dies which have been foiled using stick-it and pumpkin and lime foil respectively. When you use the foil in this way YOU DON'T NEED A LAMINATOR - YEAH! Simply put stick-it on both sides of your card before you start to die-cut and then remove the release paper on the top and press onto your foil - remove - et voila - no fuss foiled embellishments!
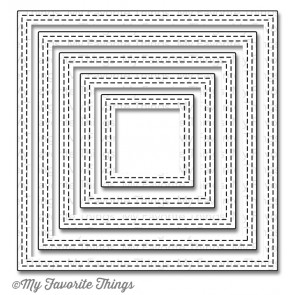
With a die like this, you can easily get a two-for out of it too. I'll explain below, but first let's finish this card. I added some double stitched lines around the window using the new double stitched square die (the large one fits the largest window die exactly) and then stamped a sentiment from Wplus9 on the outside and a complementary sentiment from Brushstroke Birthday on the inside of the card where it can be seen inside the window.

So, for the two-for - as the Scribbled Rose Overlay die is an intricate one, the "negative" spaces are close enough to create a interesting shape to use. So here's a little tutorial on how to easily get them out of the die in their original spacing using foil.

Here's what I did with my negative bits from the card above - not bad for a two-for and bits that may have otherwise ended up in the bin.


NEWS FROM THE STORE:
Arrivals and releases this coming week should include:
Firstly, I am playing at being a magician, and cutting a girl in half.... Let's open the window on Brittany the Birthday girl one of the Uptown Girl range from Stamping Bella.

The images are large enough to be the solo element on a card, and detailed enough too. I cut a panel of copic colouring card the full size of my card base and stamped her on it. I know they can look scary to colour, but it doesn't have to be complex. This one took me around 15 minutes and I used just 4 copic markers for the whole dress. Once she was fully coloured, I used the die and cut her in half at the knees, so I could add this on the front of the card inside the window...

....A view of what that yummy cake she is colouring would look like when you slice it ;-) I used My Favorite Things Piece of Cake stamp set and then used a little die from Hip Clips to create a faux fastener for the window.
You can also use the windows directly onto the front of your card so the window opens up to see the sentiment on the inside. That's what I did on this one.

A really simple kraft card with Scribbled Rose Overlay and Layered Leaves dies which have been foiled using stick-it and pumpkin and lime foil respectively. When you use the foil in this way YOU DON'T NEED A LAMINATOR - YEAH! Simply put stick-it on both sides of your card before you start to die-cut and then remove the release paper on the top and press onto your foil - remove - et voila - no fuss foiled embellishments!
With a die like this, you can easily get a two-for out of it too. I'll explain below, but first let's finish this card. I added some double stitched lines around the window using the new double stitched square die (the large one fits the largest window die exactly) and then stamped a sentiment from Wplus9 on the outside and a complementary sentiment from Brushstroke Birthday on the inside of the card where it can be seen inside the window.
So, for the two-for - as the Scribbled Rose Overlay die is an intricate one, the "negative" spaces are close enough to create a interesting shape to use. So here's a little tutorial on how to easily get them out of the die in their original spacing using foil.

- Add stick-it to the front and back of your card stock before die cutting. [Using coloured card stock close in colour to your foil will be more forgiving than white if it comes out a bit rustic ;-)] If you use a thick card, the back sheet of the stick it will stay in tact which is important for the two-for. (Image 1)
- Take it out of the die, flip it over and remove the release paper from the front of the stick it ON THE OUTLINE AREA ONLY and apply the foil (Image 2)
- Carefully remove the outline die away from the rear release paper using tweezers and leaving the negative pieces in place. - Create your first card with the outline die.
- Now comes the two-for bit. Using tweezers remove the front release paper from the negative bits whilst ensuring the stay in place on the solid backing release paper. (Image 3)
- Flip it over onto your foil and rub down well but DO NOT TAKE IT OFF THE FOIL
- Whilst still on the foil, remove the backing release paper and turn over and apply to your project (Image 4) This way - all your pieces stay where they are until you are ready to place them down all at once - no fiddly messing around ;-)
Here's what I did with my negative bits from the card above - not bad for a two-for and bits that may have otherwise ended up in the bin.


NEWS FROM THE STORE:
Arrivals and releases this coming week should include:
- Wplus9
- Mama Elephant
- and with luck Altenew
1 comment:
Both cards are awesome Tara. Such a clever way to use the 'leftovers' x x
Post a Comment