Hey! How is it nearly September?! I had one of those days where nothing really went right and after a piece of annoying news, I decided to experiment (only on your behalf of course ;-) )
I wanted to do something different with my alphabet dies & had an idea to partially cut them in a circular fashion. Can't say I've ever been very successful with partial cutting, so decided to have a go!
First off... draw a circle around a die-cut circle (you'll need the same size as the die for later)
Now you can see what I ended up with- how did I get to that point? By adding the letter slightly below the circle so it would remain attached after the next few steps. The photo below shows part of the die sticking out from the top cutting mat (so it doesn't get cut) but actually I ended up moving the mat further away so there was more letter showing as otherwise the pressure cuts the whole letter anyway!
The beauty of the circle is that no matter where you start and finish, it looks perfectly placed. I did have to keep my piece of cardstock fairly small so I could fit it onto the cutting area and turn it as each letter needed to be aligned straight with the cutting mat.
Next I cut out a central piece. The idea behind this was saying to a couple of friends that they were a blessing, but I decided to go with a ring shaped idea so you could use this for a wedding or blessing.
To create the cut out part- this took a little more thought. I added washi tape just below the edge of each end letter. I then had to line up the cutting mat (so the bits protruding were the bits I DIDN'T want cutting)
yep, scuse my messy cutting mat!
Once I'd cut nearly up to the washi, I rearranged the mat so it lined straight with the other side and die cut again.
You end up with this shape cut into the cardstock. At this point you could use a craft knife to cut between each letter and create a standalone shape if you preferred.
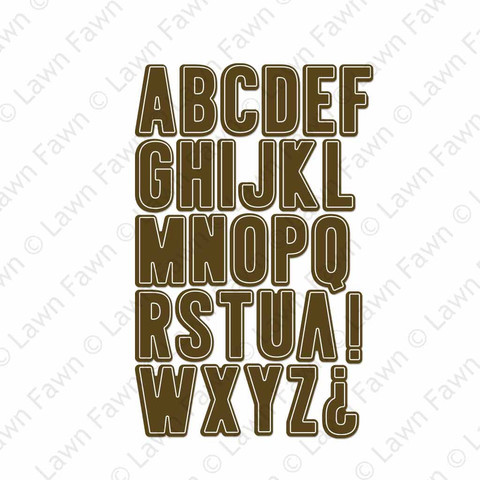
I should mention here that the alpha dies are Cole's ABC's from Lawn Fawn. They're a great price too.
I could have left it there, but wanted to bend the letters forward and add a contrast with some patterned paper. I die cut the letters again using this Beachside patterned paper pack
I flipped the piece over to the back- this was the easiest way to line them up. I added little dots of glue to the base of each letter and adhere them that way. Once I'd added glue to the back of the piece it meant when I turned the piece over, the letters didn't move from their position.
It might have seen a lot of work for one card- but I loved the process and want to include partial die cutting in my projects now. I added some tiny heart dies from a Lawn Fawn set 'Hello Baby' .
That's it.No stamping.
Shocker ;-)
See you soon!
Keren xx


8 comments:
What a clever card...it looks great x
That's such a great idea and a beautiful clean and simple card!
WOW!! Love it super idea!
What a lot of pfaffing you did, it looks tremendous! A sure sign of patience and determination1
Chrissie x
This card is amazing! Love it!
Hi
What a brilliant idea, the card looks amazing.
Great !!!!!!!
Greetings Elisabeth
Absolutely astonishing! I'm looking for some good letter dies too..... Amazing.....
Post a Comment