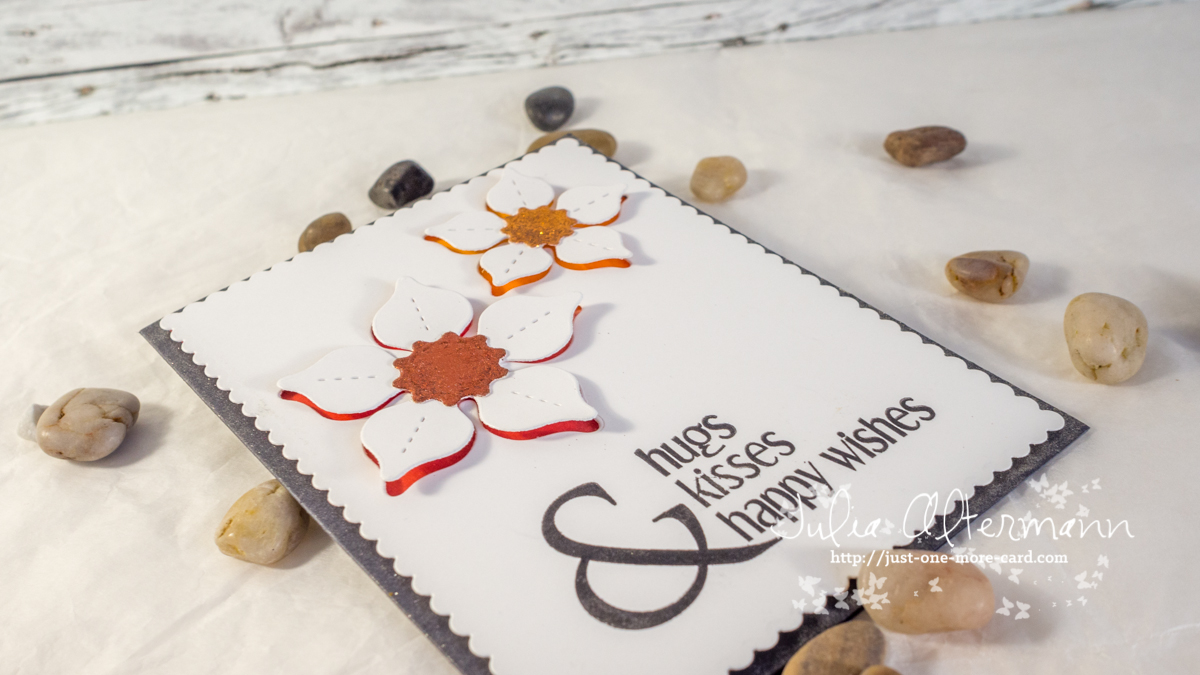
I love the CAS style, but once I start doing a card clean and simple, I always feel the need to add something – I simply cannot leave the project well enough alone and just stop. So, I knew ahead of time with this project that I needed to curb my enthusiasm of embellishing and fiddling – and the Elizabeth Craft Silk Glitters were super handy in this case.
I started by die cutting a panel for my card, from which I then die cut the Spring Flowers with the Lil’ Inker dies. Once I knew where the openings in the front panel were, I sponged some Distress Ink in vibrant colors onto the actual card base, so it would peek out underneath the die cut shapes. It took some fiddling, since I needed to make sure the reds wouldn’t show up in the yellow flower and vice versa, but by working slowly and checking now and then, it worked out just fine. I’m working on a white card card stock that was cut slightly smaller than the front panel; it wouldn’t have worked to sponge the color onto the grey card base.
I die cut two flower centers from paper which I had put on double sided adhesive tape, and then I took off the liner paper and dipped the sticky shapes into the Elizabeth Craft glitter. You want to burnish this glitter afterwards – I simply rub my finger over it for about 10–20 seconds. You will see a noticeable difference – the glitter becomes really shiny and the color intensifies. Nice side effect – it also doesn’t come off anymore (and it won’t come off your hands and face either, which is why you want to have a cheap antistatic cloth ready).
Before I mounted the front panel on the card base, I used my Wink of Stella clear pen to make it shine (a lot). I really went over it a few times until it looked almost like a pearlescent card base. The flowers were mounted on two layers of foam tape so they’d be slightly raised and you could see the background color peek out from underneath.
I hope you liked the card and got inspired! Have a wonderful weekend!


No comments:
Post a Comment