Hi there stampers and a happy Halloween to you!
Halloween already?!?! How fast is this year going? As it is Halloween today I thought it only fitting to share a Halloween card with you today... although as it doesn't actually say 'Happy Halloween' I'm sure you could use this as a friendship card anytime of the year.
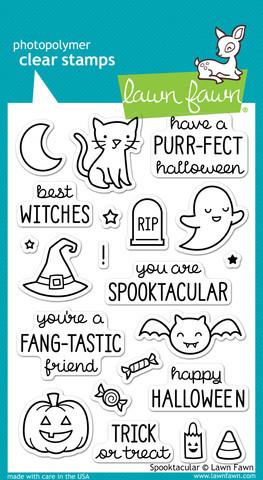
How cute is that little ghostie?!?! So not scary at all right? He is from Lawn Fawn 'Spookatular'. To create the see-through look he has, I have stamped him onto vellum. To attach this I stuck this onto double-sided adhesive, as the adhesive is all over it is not very noticeable and adds a great texture.
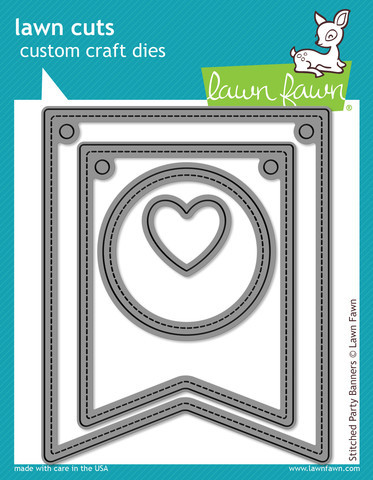
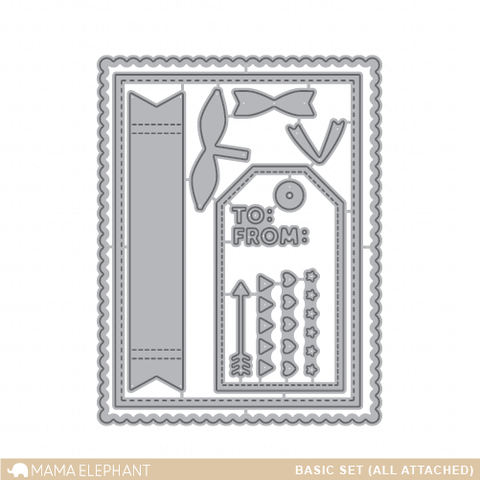
The card layer is the smaller stitched frame die from the Mama Elephant 'Basic Set' and the circle die is from the Lawn Fawn 'Stitched Party Banners Set'.
Have a great Halloween!
Hugs Lydia xxx
Friday, 31 October 2014
Thursday, 30 October 2014
CAS Style Christmas
It's November! That means you probably should start thinking about your Christmas cards (yes, really, because you need to post them in time for the holidays ;) ). If you're lacking ideas, check out my series on holiday cards - I'm sure that will get your creative juices flowing.
Today I have a card that showcases a delightful stamp and die set - Cozy Christmas by Mama Elephant. I have a video over on my blog showing you how I made the card, so feel free to hop over and check it out.
I tried to keep the card clean and simple and yet add a touch of oomph to it - you'll be the judge of whether or not I succeeded.
I found stamping on the little front panel and the card base especially difficult. If you're using thicker card stock, you can end up with an area right next to the panel where the stamp didn't touch down. With clear stamps, make sure to like them up well and just "fill in the blanks" as I did in the video.
Finally, by pouring some glitter on wet embossing paste you can get that perfect subtle sparkle that gives the awesome impression of snow. I also made sure to have the "snowflakes" be on top of the tree and Santa to add the illusion of dimension.
By the way, if you don't have heavy card stock that doesn't bleed through with your Copic markers and you need to mount the entire thing on a card base, consider using a colored card stock that reflects the colors of Santa or the tree. I created a variation as well, let me know which version you like best!
I hope you enjoyed these cards and the video over at my blog - I'd love to read your comments or have your thumbs up over at YouTube. Thank you!
Supply List
Wednesday, 29 October 2014
Little prince
Hello.
I am having a break from Christmas things this week instead going with something cute from lawn fawn.
I had this cute little frog inked up for a while and thought it was time to finally put him on a card.
I made the background on textured card with distress inks.
Then stamped the lily pads in mowed lawn distress ink and used a green distress marker for the shading around the bottom.
I added the frog on some foam tape after i had stamped the sentiment in black archival ink.
I stamped the stars in yellow ink but as it doesn't show too well i added some gold stickles.
The panel was then mounted on some patterned paper before i adhered it to my card base.
Please click the image to go tot he product.
Thanks for looking.
Tuesday, 28 October 2014
October Challenge Winners
Well we had some AMAZING techniques showcased in our challenge this month - if you haven't visited the other entries then I encourage you to do so, you may well pick up a new technique or two you want to try for yourself - I know I did! We have such talented customers you all blew us away but we have to have a winner, thems the rules, and our winner this month is.....
Alison W!
Alison's card is a festival of masking! Such a great technique to get a different look from your stamp sets and we love how she mixed and matched all the Mama Elephant sets together to create this great scene around the Christmas tree.
Drop me a line through the contact us form on the store Alison and I'll get your £15 voucher to you!
It was hard to pick our runners up but we narrowed it down to these two amazing techniques:
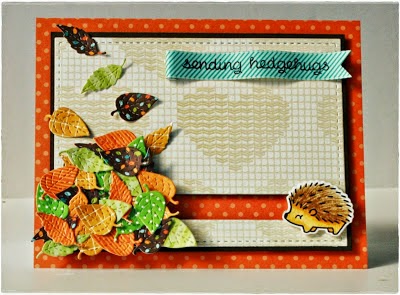
Nicnaks created this stunning autumnal slider card - not so obvious from the thumbnail so I've included 2 images here so you can see that there is another hedgehog hiding under the pile of leaves. Super cute! Check out Nicnaks blog to see the slider in action as she has a video!
We also loved this beautiful winter wonder too. The technique here is a new one to me - using a metal die inside an embossing folder. Do hop over to My Card Attic and read her post on how she did it - I think it's a great technique to try.
Congrats ladies - do take your winners badge for your blogs.
We'll be back again on 1st November to kick off our new challenge which I think you will all like as it's very timely.....
Which Sets are These?
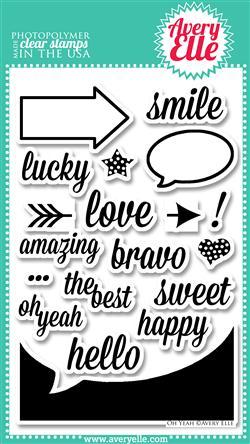
Hi! I have a little quiz for you today; Spot the Stamp set!
Clue 1. They're all from Avery Elle
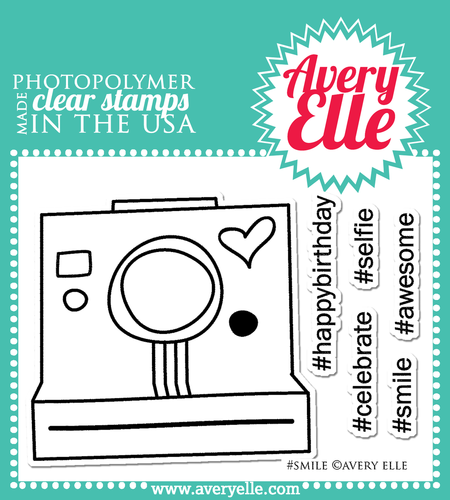
Clue 2. Well the sentiment, it's camera related.
Easy.
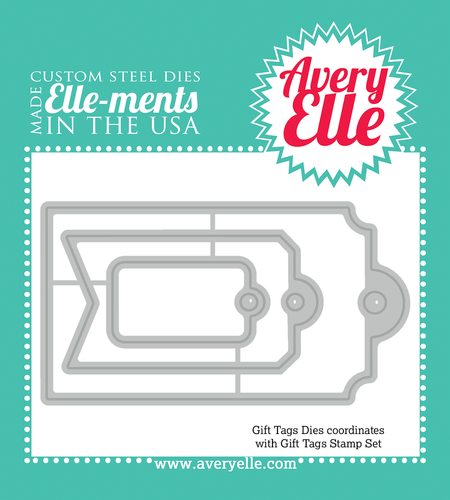
What about the shape of the tag?
Those Avery Elle buffs, might recognise this set
Now for the fun bit..where's the snow and the trees from?
Have you guessed?See the 3 dots..I snipped off one to create the snow, and the trees? the end of the arrow, just stamped twice on top of each other. It makes a lovely wintery scene!
Don't forget to stock up on your sequins here too! Sadly, the 'Oh Yeah' set I've made my trees with has slipped out of stock but you could totally do something similar with this set
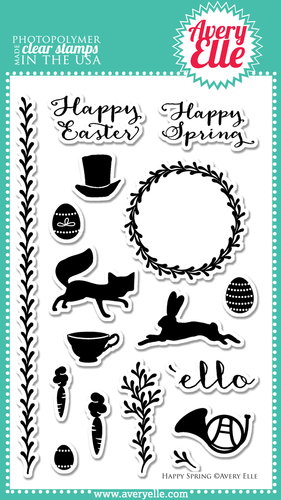
It doesn't take very long before you start looking at all your stamp sets with new eyes! This set with the rabbit (or hare perhaps) and fox would make lovely winter cards, plus that wreath is begging to be made into a Christmassy one!
Do let me know of any sets you've changed up, or other ideas for re-purposing sets!
See you next week,
Monday, 27 October 2014
Anniversary Text!!!
Good Morning...
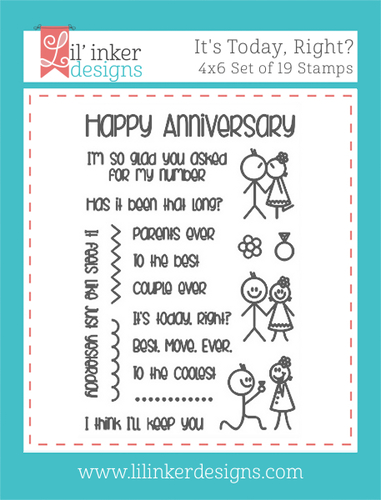
I suddenly realised that November starts at the end of this week and I have a clutch of Birthdays to make cards for coming up and my parents Wedding Anniversary too. I went straight to the "It's today right?" stamp set by Lil' Inkers.... I love the stick characters and the short sentiments in such a simple clean font...
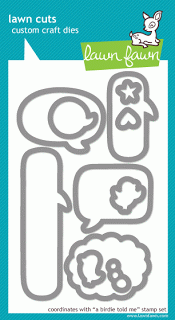
I was inspired to make a text style conversation because those short sentiments just seemed to fit. Using Lawn Fawns 'A Birdie Told Me' dies I cut a couple of speech bubbles into a strip of black card.... to make the speech come from two different directions I simply flipped the piece and cut one from the back of the panel.
I've stamped and embossed the main image and coloured the couple with Prisma pencils... they show up so well on dark card.
I cut two more speech bubbles for the sentiments and adhered them straight onto the card base after using foam pads to raise the centre panel up... you can see the effect on this photo..
It needed a little something else so I used the line of dots in the stamp set to add a decorative border and of course..... a small die cut heart from my stash, smothered in Glossy Accents :0)
I'm still undecided if I'll send this to my parents or to go with something more conventional... I think the texting theme may just go over there heads.. Lol :0)
As usual, I'd like to remind you of this weeks Paper Smooches Sparks Challenge which is a fab sketch, here's my take on it using the Christmas Words 2 dies...
We'd love to see you play along, check out the details and join us in the gallery :0)
Jenny x
Sunday, 26 October 2014
Neat and Tangled Day
The arrival of yesterday's Neat and Tangled stock was very timely - it meant I can share a card I made a couple of weeks ago with the popular time warp and a long time ago sets which are now back in stock. I LOVE these sets - so great for the men in our lives - particularly if like me, you live with a Sci-Fi geek as this card was for one of his friends.
I went for the classic Star Wars colours of yellow text on the black background and embossed the sentiments and then over stamped with white pigment ink and smudged it with my fingers for the feeling of warp speed! A little washi on the side finished it off.
I also wanted to play with the Origami map from the last Neat and Tangled release which is brand new in store and is just beautiful. My cousin's daughter has just landed her dream job as a flight attendant with Emirates and this set makes the most perfect good luck card as she sets of for her new life in Dubai.
I stamped the map with versafine olive green and then did a simple watercolour wash using distress inks and then stamped the little plane icon with flight paths coming out of the UAE which is marked with a little diamante star. Finished with a popped up sentiment from the same set.
NEWS FROM THE STORE:
- We have some exciting new products coming - hopefully they will be here this week - the stunning microfine glitters that are a favourite of Jennifer McGuire from Elizabeth Craft Designs. We are also getting their beautiful embossing folders and selection of their dies, double-sided adhesive sheets and shimmer sheetz.
- We have restocks coming from Mama Elephant - we got as many penguins as they had left in stock but that wasn't many - sorry - I will keep trying!
- We have Lawn Fawn restocks coming soon as well.
- We have ordered the entire new release from Altenew - it will ship next week and will be with us a couple of weeks later customs permitting.
- The latest release from Lil' Inker Designs is also en-route so November is going to be another exciting month at Make the Day Special Stamp Store!
Saturday, 25 October 2014
Create a Quick and Easy Set of Cards
Have you started on your Christmas cards yet? The holidays might seem far away, but if your life is like mine, December gets pretty hectic and making cards becomes a chore between work, family and preparations for Christmas.
For that reason I'm showing you four slightly different card designs today. All of them are perfect to mass produce, either to send out yourself or to give away as a gift.
There's a video over at my blog showing you all the detailed steps, but all you really need is a mask, some white pigment ink, and silver or gold embossing powder. Since pigment ink needs some time to dry, you could sponge all the front panels first, then set them aside to dry while you either cut mats for the panel or decorate the card bases. As a greeting, I went for Mama Elephant's Merry Greetings, but really, any greeting would work here.
If you want to go all CAS and not have any more work, you could stop after putting the cards together, but I decided to use some gems and some sequins for added interest and bling. I mean, it's the holidays! When are we ever going to get away with a lot of bling again (until next year)?
I hope you enjoyed the video and the idea. Let me know which design you like best. I have to admit that the blue and black are probably my favorites :)
Supply List
- Wplus9 Stag Trio Dies
- Mama Elephant Merry Greetings – alternatively, use Jolly and Merry or Holiday Fill in the Blanks or Winter Wonderland
- Mama Elephant Basic Set Creative Cuts
- Mama Elephant On Point Borders
- Gold embossing powder
- Silver embossing powder
- Versamark
- Hero Arts Green Hills
- Hero Arts Red Royal
- Hero Arts Unicorn white pigment ink
- Sequins
Friday, 24 October 2014
Santa Watching.....
Hi there stampers and a very happy Friday to you! Hope you have had a great week and have a fun weekend planned.
Today I have a card to share with you using one of the awesomely cute sets from Newton's Nook 'Newton's Curious Christmas'...
Just how cute is this image of Newton on the rooftop watching Santa fly by in his sleigh?!?!
I created the background using Distress Markers and water before stamping the image over the top. I took the colour away from the moon using clean water and a paper towel before adding silver mica and stickles to it.
I stamped Newton on to a separate piece of card, coloured with Copics and fussy cut out before adding to the scene.
The stitched layer is the smaller of the Mama Elephant Femme Frames which can be found in the Basics Set .
I just want to say that there is a new Inky Paws Challenge over on the Newton's Nook Blog today.... the theme is 'Sparkle', so grab your Newton's Nook stamps and glitter and join in on the fun!
Thank you so much for stopping by and have a great day!
Hugs Lydia xxx
Thursday, 23 October 2014
Throwback Thursday
Hello!
Happy Thursday to you all :-)
Well,Halloween is nearly upon us so I thought I would squeeze one last Halloween card in ;-)
I used the super cute Lil' Inkers Carving Pumpkins-I just adore how vintage this image is!
After stamping it on watercolour paper,I cut it out with a nesting pumpkin die and watercoloured the
little scene. To give it a vintage look,I applied a generous layer of crackle medium,flicking some gold and silver eyeshadow in between layers. I used two bigger pumpkin cuts to create a shadow mat and mounted them all onto some orange card flecked with the scrummy Wplus9 Lucky Stars in Hero Arts gold embossing powder (oh my-this stuff is INSANELY good!) Topped it all off with some curled ribbon and an embellishment I found in my stash.
Wednesday, 22 October 2014
Penguins
Did somebody mention penguins?
You sure did like the mama elephant ones, but if like me you missed out this time all is not lost.
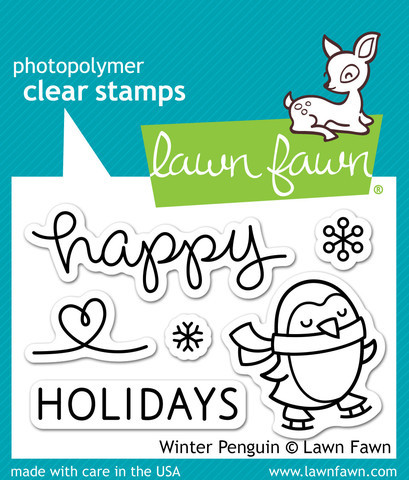
We still have these seriously cute and great value penguins from Lawn Fawn.
They were coloured with copics and die cut with the matching dies.
I used the stitched rectangle dies for the panel and inked on some background before adding some of the stitched snowflakes also from Lawn fawn.
I like the happy holidays sentiment but its not very English so went with this one from Let it snow set.
Click the images to go to the products.
Thanks for looking.
Tuesday, 21 October 2014
Ta-Daaah! A little something NEW!
Yup! Something new?
Well, you all know me, don't like to waffle ;-)- but this brand new company to Make The Day Special is a UK first!
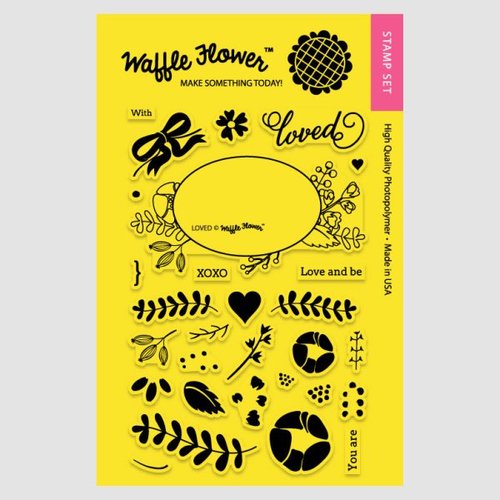
Waffleflower is a fabulous company with some beautiful and contemporary sets. I've just concentrated on the 'Loved' set- a very versatile set that actually doesn't have a wreath in it- but the foliage perfectly lends itself to creating one. It's sorta 'manly' and would be great for a Christmas card for those that don't celebrate it.
Here's the set
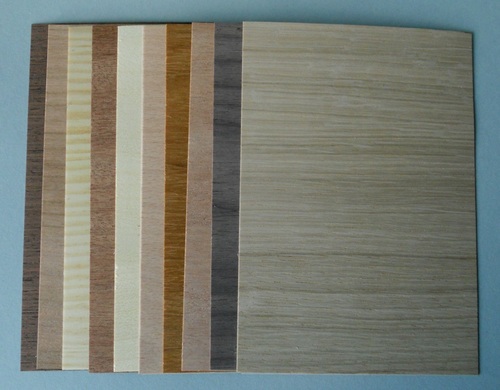
This next card is created using our gorgeous wood veneers packs- which are brilliantly backed with adhesive so perfect for die-cutting too!
The veneers bring a wonderful warmth and texture to the project- I've coloured mine with Copics and because of the natural grain you will get a slight run in colour- the image isn't quite as crisp as on paper/cardstock, but that adds to the beauty of the project, plus, you can bet your card will be really original as not many are using this gorgeous product (yet ;-)
Better go,
Hope you've enjoyed a look at a new set. Do check out the other sets by Waffleflower, there really is something for everyone!
See you soon,
Keren xx
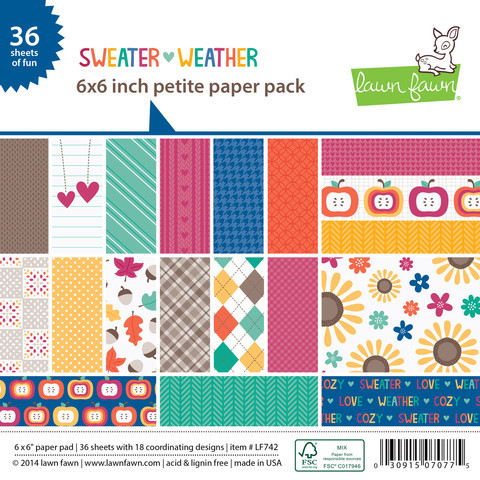
PS- the papers used in the first card are the Lawn Fawn 'Sweater Weather'- which is in stock here
Subscribe to:
Posts (Atom)