Thursday, 18 December 2014

Merry Christmas from the Design Team

DON'T FORGET THE STORE CLOSES FOR OUR CHRISTMAS BREAK AT 8pm TONIGHT

 As the store is closing today this will be the last blog post for a couple of weeks too - the DT need a couple of weeks to spend some quality time with their families, so the blog will be back on Friday 2nd January as the store re-opens.   So as today is the last post before Christmas, we're all sharing a final Christmas card with you all as our way of saying - thanks so much for reading our blog - and have A VERY MERRY CHRISTMAS!!!


Tara
Here's my offering - if you play in our challenges you'll probably recognise it as a full-on CASE of one of Kate's great cards from our last challenge.  I loved it so have made a few for friends.  Hope you all have a great Christmas and find a little time to get crafty with whatever Santa brings you!

Jenny
I'd like to wish all our readers/crafters a Merry Christmas with this gingerbread star wreath...if only they were real :0) A top tip for creating faux icing sugar... sprinkle a pinch of white embossing powder onto your shaped card and heat it from the back so as not to blow the powder away!!


Kate

Just want to wish all you all a very merry Christmas.


Lydia
I hope you all have a truly Merry and Bright Christmas, and get to enjoy it in the way and with the people that you love :) Big crafty hugs, Lydia x


Sarah
I am a newbie to the DT and looking forward to getting crafty with you all in 2015!  I hope you have a wonderful Christmas with friends and family and that Santa puts something crafty in your stocking :)

Keren
Wishing you all a really lovely Christmas- hope you get lots of crafty goodies in your stocking and if not?...well you know where to come 😉 Xx

Julia
My holidays are always a mixture of hectic preparations (and even though I wanted to create a really simple card, I ended up covering all the leaves with glossy accents because I just couldn't help myself) and joyful anticipation of time with family and loves ones. I hope that you, my crafty friends, have some wonderful days filled with laughter, joy, and love. Happy holidays!


So that's all for 2014 folks - we'll see you in 2015!

Have a good one!


Wednesday, 17 December 2014

Adventures in Kraft


Hello.
After my krafty Christmas card last week i ventured into kraft tags this week.
I loved making these very easy gift tags .
These are going on my children's main Christmas presents.


I used some shop bought kraft tags and simply heat embossed in gold some of the smaller images from Lawn fawn Let it snow stamp set.
Once they were all done i die cut one each of their initials from gold card using lawn fawns abc dies and pierced a small hole and attached some jump rings.
I  fixed it to the tag using some gold lawn fawn twine.


I plan to add some  home made charms to these also just haven't had the time.
You could add beads or shrink plastic as in Tara's post here.
Although the let it snow stamp set is out of stock you can use any smaller stamp images to create the same look.
Click the images to go straight to the products.

Let it SnowCole's ABC's DiesGold Sparkle Single Twine

Thanks for looking.

Tuesday, 16 December 2014

Christmas Decorations!


Hey! Happy Tuesday!  If you're anything like me, you've got out the Christmas decorations to find that some have smashed in storage. I had lost a couple and was fortunate enough to have picked up a couple of these glass ones from a local craft store. They were each just over £1 and I thought they'd make a lovely craft project- but a nice quick one too- no-one has time to slave over anything this time of year.
Really simple-
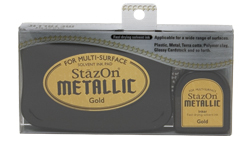
I've used Stazon white ink and this would also be gorgeous in Gold Stazon
http://www.makethedayspecial.co.uk/shop.php#!/Stazon-Metallic-Ink-Gold/p/43293343/category=10168038
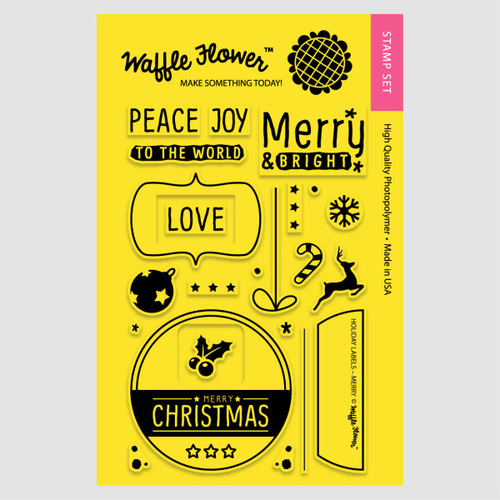
I've used this Waffle Flower Crafts stamp set- Holiday Labels- Merry
http://www.makethedayspecial.co.uk/shop.php#!/Holiday-Labels-Merry/p/43361086/category=8451112
The surface was pretty flat, but being glass, I didn't want to press the stamp onto it- so I pressed the bauble onto the stamp, pressing gently and evenly, I knew I could clean the ink with Stazon cleaner if it all went wrong! ;-)

Then I removed the bauble top carefully and poured in some irridescent glitter- I swirled it around the bauble so it stuck in a thin layer and then poured the excess out!
You could go to town- adding sequins inside or even patterned paper behind the bauble (securing it with Glossy Accents) but it made the bauble look too fussy. Add some pretty ribbon & it makes a quick easy project for brightening up the tree or an undecorated part of your home.

I'll be back soon-
but not before I've made my Christmas cards (yes, I know I'm super-late!!)

Keren xx

Monday, 15 December 2014

Painted Pinecones

Hello there :0)

I'm still in Christmas mode I'm afraid...... I don't know about you but I hoard accumulate so many Christmas stamp sets and have the intention to use them so I'm still trying to do them justice!!!

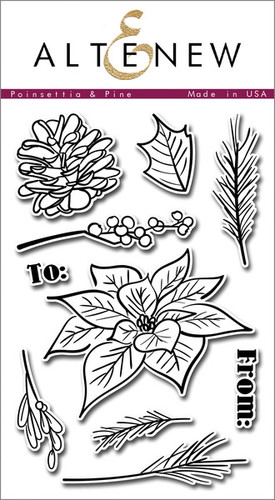
When it comes to Christmas time I'm a traditional girl, I love all the seasonal greenery you can bring into your home this time of year ...especially pinecones so I just had to have the Altenew set called Poinsettia & Pine.

It's actually a great stamp set to use before and beyond Christmas...think of it more as a Winter Stamp set :0)


The sketched lines of the images lend themselves perfectly to colouring or they would look equally gorgeous embossed in metallics on dark cardstock and left uncoloured.

I'm no watercolourer but by inking these stamps up with Distress inks you can pull the colour in from the image using a damp brush. To add some simple shading I pressed the same ink pad against an acrylic block so I could use it with a small splash of water and a brush straight onto the image.

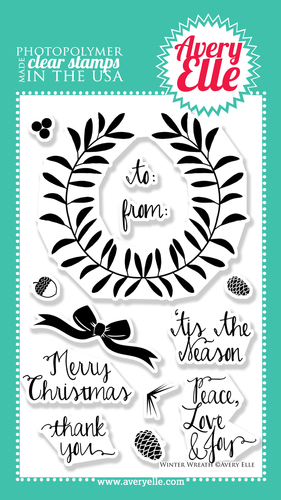
The sentiment from Avery Elle's Winter Wreath has a great font to team up with watercoloured images and I fancied using a touch of gold embossing for a bit of luxury.... I've pushed the edges of my panel into versamark ink so I could add a gold embossed edge too.


                                     Poinsettia & Pine  Winter Wreath

Thanks for stopping by :0)
Jenny x

Sunday, 14 December 2014

Getting Smoochy

I've been playing with the new arrivals this weekend - I'm really loving the new Paper Smooches release - some really strong and useful designs that I know I will turn to again and again.  I couldn't decide which set to use so made 2 cards - one for Christmas and one not as I'm kind of over Christmas even though I have loads of cards still to make!

For the non-Christmas version I used the bold new Lovely Thoughts stamp set and made a one layer thank you card with a little masking.


I stamped the bold outline in black and then used Coral Burst and Orangeade inks from Mama Elephant to fill in the colour.  To get some contrast on the upper petals I stamped coral burst but then over stamped the whole image with orangeade to get a tonal shade.

 For the second card I wanted to play with the fabulous Fancy Frames - I filled them with Christmas sentiments from Christmas Sampler but you could equally do the same thing for a birthday or any other occasion.


I mounted the white panel onto a red base card leaving a strip of it showing and added a very thin strip of blue washi tape on the opposite edge to tie the colours together.   These are super quick and easy to make if you need to rustle up some last minute cards.

NEWS FROM THE STORE:

OK - so the major news as you all know now is that sadly Louise has had to step down from the DT to give her more time for her family.  However, this does mean that we can now add another new member to the team - and as we had so many fabulous entrants in our last call, I had someone lined up ready to go - so from January your Thursdays will be inspired by Sarah from Funky Fossil Designs - I'm sure you're going to love what she brings us!
The final items arriving in store before we close will be the latest Avery Elle release - they have just cleared customs so I will pick them up on Monday and get them in store as soon as I can!

Don't forget - we close on Thursday at 8pm for 2 weeks so you have just 4 more days to get any last minute orders in!

Catch you later.

Tara

Saturday, 13 December 2014

Christmas Patterns with Non-Christmas Stamps

Today, I'm bringing you a little international flair – that sounds amazing, right? Well, let me deflate any expectations: the “ international” simply refers to some German stamps (I'm desperately short on time to get my personal christmas stuff done, sorry!) I used a Wplus9 label die to create a few gift tags:

  1. I die cut the basic shape threet times from each color: red, white, and kraft card stock. (I messed up a few tags, that's why I cut more shapes than you see.)
  2. I adhered a white and red, and then a white and kraft label with removable tape and cut them apart with my guillotine. The reason I adhered them together was so the shapes would be cut apart exactly the same.
  3. I used one kraft, one red, and one white label as a base, and then glued the cut apart parts on top of it so I got the neat mix and match of colors.


On each tag, I used the Papel Picado stamp set to create a pattern on the tags. I wanted to go with a "scandinavian" style, but of course that was one of the tags that I messed up. But by using christmassy colors like red, gold, and green, you can create the impression of festiveness.


By simple creating a repeating pattern, you can go for a more playful or elegant look, depending on what you need.

Disclaimer: Since some products are currently not in the store, I'll be providing links to some alternatives that will give you similar results.


Friday, 12 December 2014

Krafty Christmas


Hello.
I have a love hate relationship with Kraft card, I love it when i see what others do but struggle with it myself. 
I think i may have over come that with this card using Winnie and Walters Winter woodland set.
I cut a small panel of kraft and stamped using silver fox and  green Avery Elle inks.
I stamped the deer also in Avery Elle inks then masked before creating the snow with the silver fox ink and sponge dauber.
I stamped the pine cones on some scraps of kraft and fussy cut them out then added on some foam tape and finished with a bow of lawn fawn peppermint twine.

Click the images to go straight to the products.

Winter WoodlandPeppermint Single TwineKraft Pigment Ink Pad

Jungle Pigment Ink PadSilver Fox Pigment Ink PadTruffle Pigment Ink Pad

Thanks for looking.

Thursday, 11 December 2014

Throwback Thursday and goodbye!

Hello!
Well,this is my last blog post here for the time being,so I am treating you to a proper throwback stamp set! 
It's simple,it's pretty,it's oh so easy yet effectively modern,it's Wplus9 Iconic Christmas.

See? Easy and elegant :-)
The words are from the gorgeously useful Winnie and Walter The Big,The Bold and Fun (these sets from W & W are great for project life too!)
Stamp the tree,stamp and cute out choice words,and a sequin at the top and bobs your uncle!

I hope you like it!

Right,that's it from me-Tara has an awesome new DT member lined up,you will meet her soon! 
I can't wait to see her projects :-)

Happy Christmas everyone,and all the best for 2015

Lou x


Wednesday, 10 December 2014

Hot And Happy Chocolate Baggie


Hello , it's Lydia here with you today!

Hope you are all feeling well. Today I'm sharing with you a super cute gift bag that would be perfect to gift some extra special hot chocolate... yum....


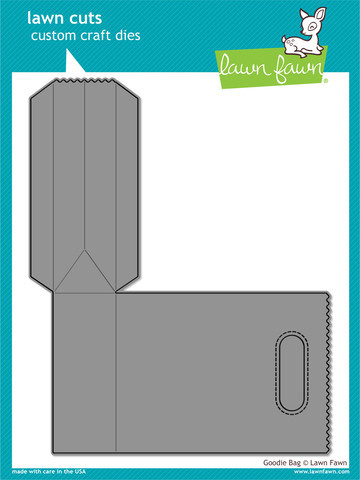
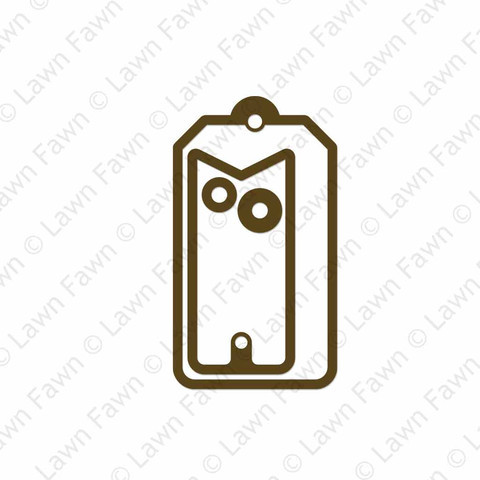
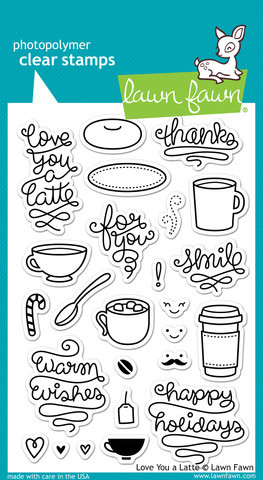
For the bag itself I have used the Lawn Fawn 'Goodie Bag die' and the tag is another Lawn Fawn die, 'Tag You're It'. To decorate the tag I have used Lawn Fawn 'Love You A Latte' with some simple masking to create the scene.

Hope you likie! And I'll catch you again soon.

Hugs Lydia x

Love You A Latte Goodie Bag Lawn Cuts   Tag, You're It Dies

Tuesday, 9 December 2014

Christmas Mojo!..or lack of it!

 Hey! I had grand plans.
They went a little awry. Awry on account of a slipping mojo.
Turns out I wasn't totally happy with what I'd done- so binned it.
It was unsaveable.
This fared a little better using this fab set
I got playing with this Waffleflower set 'Holiday Labels- Merry' and immediately spied the potential for a little faux subway art in the shape of a Christmas tree. Yes, I know the chalkboard trend was about 2 years ago- but it's still hanging around- and I've not really given it a proper chalkboard look but just gone with the basics.

 Once I'd finished it.. it looked rather..unfinished!
I got my trusty white gel pen out & simply joined the adhesive gems together with a dotted line- these had serendipitously been arranged perfectly for that (love my random subconscious sometimes!!) and it seemed to go a little better.
My second card didn't go to plan either- I wanted lovely sparkly snowflakes & dug out some old holographic embossing powder.
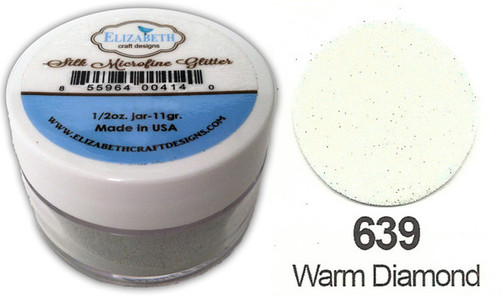
 Should have known better really- should have used some heat and bond type powder with this luscious pot

See the 'rope twist' on the label shape? Created with some dashes of the gel pen. What we would we do without those?
Ahh well- I'm hoping to create some little tag packs for wrapping Christmas gifts with this set. Do go and explore the new stock- there's a ton of amazing stuff here

See you next week,

Keren xx

Monday, 8 December 2014

Christmas Candles and a Photo Tutorial

Hello again.... I'm back with another gift idea for Christmas, in fact it's one I shared last year and I loved making them so much I thought I'd do it again but using different stamps....


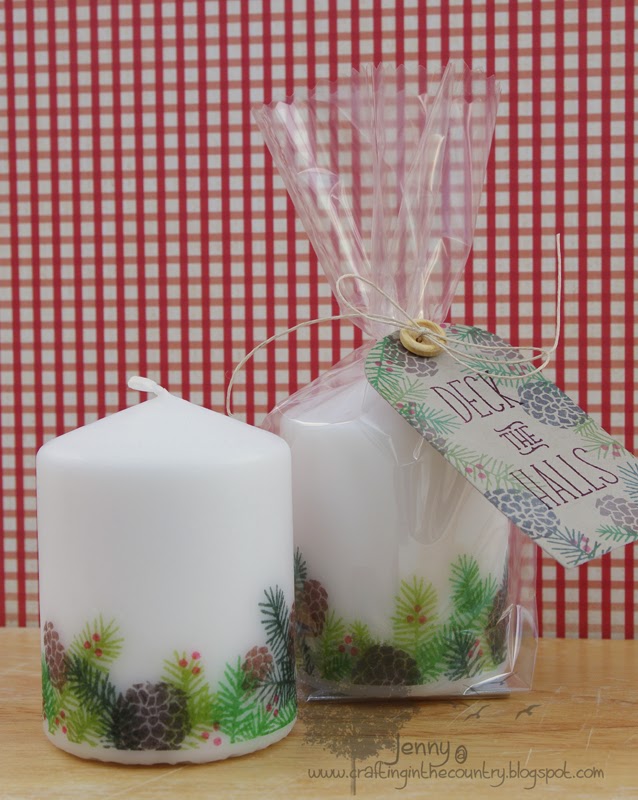
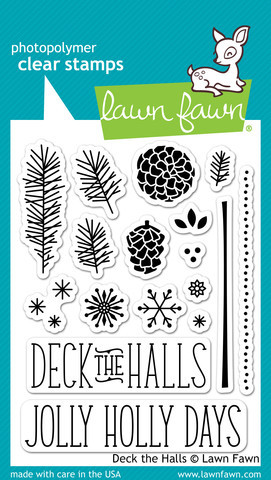
This year I have used Lawn Fawns Deck the Halls Stamp set to decorate these white candles from Ikea and made a photo tutorial to show you how...


1. This is the collection of items you need to make these.The Waxpaper is quite important...I tried with Greaseproof and it didn't work. I bought my waxpaper from Lakeland Limited but I'm sure you can find it in most cook shops or even Amazon!! The other strip of white across the mat is just regular white tissue paper.

2. For these candles, I stamped my images along the bottom straight edge of the tissue paper. Stamp on the non shiny side and remember to check how much length you need by wrapping the tissue around the candle to see if your stamped images meet up!!

3. Once you've finished stamping you need to trim around the design... it doesn't have to be exact but try to follow the shapes of the stamping

4. Wrap the piece of tissue around the candle and hold it in place.
Stamped side should be on the outside.

5. Next comes the Waxpaper, you need a good sized piece so you can wrap it around the candle and have enough to scrunch up in your hand to hold it taught and smooth over the tissue paper and you need the shiniest side against the candle.  Allow your heatgun to warm up a little before applying heat to the candle...keep your heatgun moving as it is a very quick process. You will need to do an area and then remove and replace the waxpaper to repeat the process further around the candle. Remember to keep those fingers clear of the heatgun!!

6. What happens is the heat softens the candle wax and the wax on the paper which then traps the layer of tissue onto the candle. You will see your stamping turn brighter through the wax paper as it happens. Remember to keep that heatgun moving all the time. Here you can see the part of the candle that has been heated to the left because the edge of the tissue paper is no longer visable and the right hand side has yet to be done.

I hope this is easy to follow.... you can of course stamp and cut out your images individually depending on your chosen design, the heating process is exactly the same. I would suggest you buy a cheap candle to practice this technique on first so you can get a feel for the heating process before starting out on your first project...... ask me how I know *wink*

I have just kept these simple and placed them in cellophane bags tied up with hemp and attached handmade tags to them...ready to give as gifts :0)

I've used Christmas greenery for these but snowflakes would look equally good, it's much easier if you can just stamp the images and not have to colour them .... you could even try embossing the images on the tissue paper and placing them on a dark coloured candle :0)


                                                                    Deck the Halls

Jenny x