Hi there! Lydia here with you today on this dreary Sunday morning but hopefully I have a card that will brighten your morning if just a little.
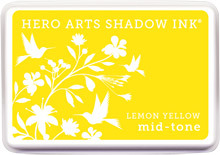
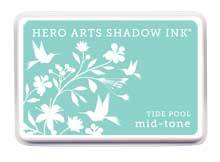
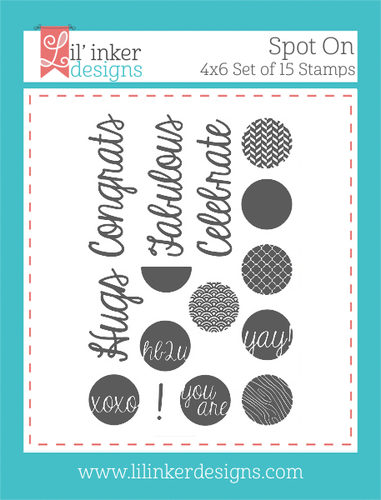
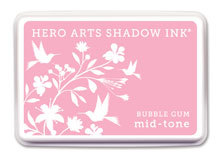
I made this card with the Lil Inker set 'Spot On', although this is currently OOS it is back soon so just keep your eyes peeled. The inks that have been used are the fabulous Hero Arts Shadow Inks that Tara has recently added to the store - in Tide Pool (sorry OOS), Bubblegum (currently OOS) and Lemon Yellow. I have to say that Lemon Yellow is one of my favourite inks and its just one that I keep reaching for again and again.
Thanks for stopping by!
Hugs Lydia xxx
Sunday, 31 August 2014
Saturday, 30 August 2014
Va Va Voom!
Surprise!
Its Lou here,taking an unusual Saturday-just to keep you on your toes ;-)
Thank you cards. You can never have too many of them knocking around,right? Well today's card is the quickest simplest 'thank you' card ever. EH-VAH! Here it is...
See? Told you ;-) And how CUTE is that little guy?! Bet you don't know which stamp set he is from...Give up? Well,hurry as there is only 1 set left and it wont be coming back,so to get hold of it again will cost you an air fair State side (or some hefty customs ;-) ) He is from Unity's My Dear set,right here,and what a great price for these excellent quality stamps! But hurry! If no one buys this last set,I will be back next week to show you some more ideas on how cute this set is-you have been warned!
Here he is again...
Hmm,ooh la la! So what other stamps did I use to make this. The shading is from Paper Smooches Positive Strokes (OOS for now,but will be back!) and the sentiment is from the scrummy Mama Elephant Around We Go. Voila!
I hope you like him. Don't forget our new challenge is coming up in a few days :-)
Lou x
Friday, 29 August 2014
Girly Unicorn Birthday Card
Hi there and happy Friday! Lydia with you today and I'm sharing a card using some of the older Lawn Fawn sets.
This is actually the card that I gave my baby girl for her birthday ( she is getting too big ). She is such a girly girl so literally anything pink pleases her.
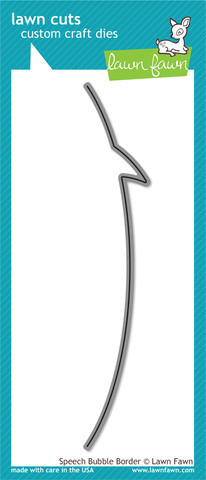
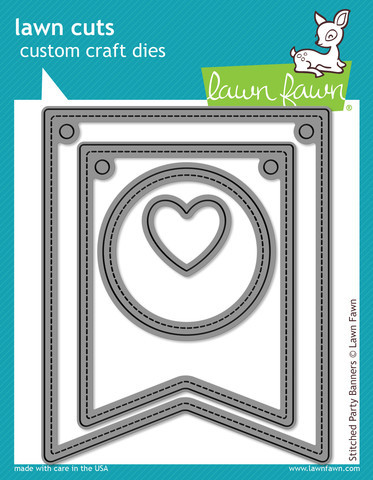
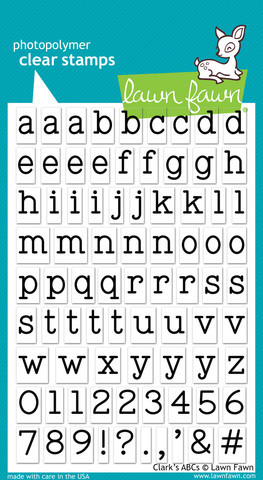
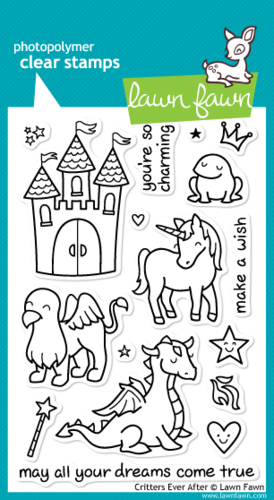
I created the shaped card blank using Lawn Fawn 'Stitched Party Banners' and the sentiment strip uses Lawn Fawn 'Speech Bubble Border'. I made the personalised sentiment using Clark's ABCS and the paper is from the Lawn Fawn 'Let's Polka' 6x6 pad. The unicorn is from one of my favourite LF sets 'Critters Ever After'.
All these Lawn Fawn goodies are in stock....... as well as the NEW RELEASE!! That's right only a day after America we have the new stock in and ready to be shipped out to you.
I'm off to put in my order, so have a great weekend.
Hugs Lydia xxx
Thursday, 28 August 2014
Ombre Wood and Paper
Hello again - fed up of me yet? Sorry - Lou and I have swapped today so I can show you a quick project I've made to showcase our brand new wood veneer packs which I am totally in love with (so yes you're going to be seeing a lot of them!)
I created a quick background using one of the ombre papers from the new My Mind's Eye paper pads and layering up some card on top for dimension. To join the two sides together I used a tag die cut. I layered up some strips of the veneers on an off cut of card in an ombre pattern until I had an area big enough to die cut. I put the die on an angle for added interest and cut it out with the tagged stitched die from Papersmooches - the stitched detail shows up fantastically in the wood.
To finish I die cut the scripty thanks from Lawn Fawn from another shade of the veneer - the packs give you lots of options, and simply stuck it on top of the tag - that sticky backing certainly comes in handy! Here's a shot of all the colours you get:
You can stamp on the wood or colour it with markers too so it is very versatile.
For those of you waiting on Lawn Fawn, Mama Elephant and Lil' Inker Designs - you may want to stay close to the website this weekend.........
See you on Sunday.
Tara
Wednesday, 27 August 2014
Life is good.
Hello
If yesterdays post had you in a panic at talk of Christmas and warm winter wishes today should have you feeling the pull of warmer climates :)
We have had two whole days or rain and i definitely needed something to brighten up the day...
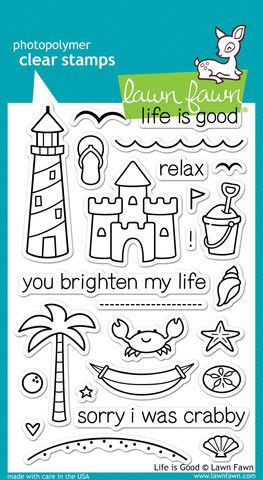
What better set to reach for than Lawn Fawns Life is good.
Both cards are very simple with masking, copic colouring and distress inks.
Thanks for looking.
Tuesday, 26 August 2014
Warm Winter Wishes
Hello.
I know its still officially summer ...it doesn't feel like it so i thought id get started on some Christmas /festive cards.
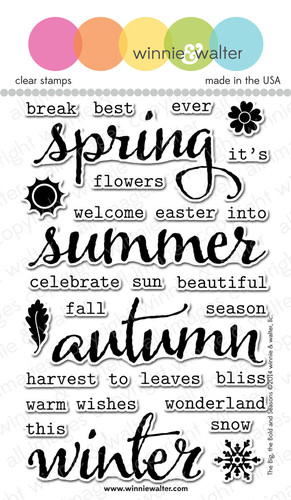
I have used Winnie and Walters The big, the bold and seasons.
I focused on the snowflake stamp.
I used non snowflake colours to make this into a wreath.
I used shabby shutters, crushed olive and mowed lawn distress inks.
I had already pencilled in a circle before stamping starting with the lightest first.
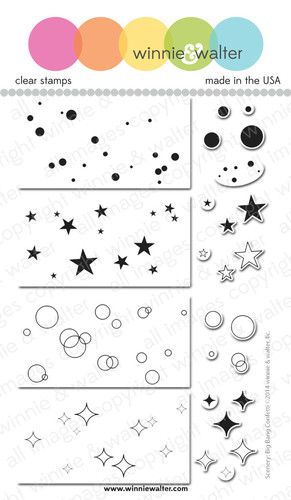
Once that was done i used a tiny circle stamp from Big bang confetti.
In fired brick distress ink to make some berries.
The sentiment was then heat embossed in gold.
The whole panel was then adhered to some gold card before adding to the card base.
I then finished with some lawn fawn twine and glossy accents on the berries.
Thanks for looking.
Monday, 25 August 2014
..... from your favourite Kid!!!!
Hello there :0)
Well this Bank Holiday Monday is a quiet day of relaxation here and some crafting time for me so I'm not going to moan about the weather today.... besides the allotment and garden need the rain :0)
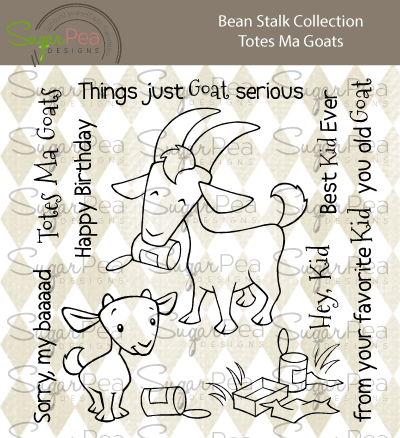
For todays card I've used the adorable stamp set by Sugar Pea Designs called Totes Ma Goats...
I thought these two characters from the set would look good with their heads poking though the card panel, it's a good way to make them the focal point and also means you dont have to think about building a scene around them :0) I love all the sentiments in the set too.... I would do, they're punny *wink*
To make the sentiments fit into the design I carefully cut the stamps and positioned them onto the acrylic block so I could stamp them in one go..... if you would rather not mutilate your stamps you could always mask part of the sentiment instead :0)
If you have some crafting time today you might want to check out the latest Paper Smooches Sparks Challenge? It's a Sketch this week and here's my take on it using Chubby Chums, Slang Gang, Nine Lives and Speech Bubbles dies. It would be great to see you in the gallery :0)
Thanks for stopping by :0)
Jenny x
Sunday, 24 August 2014
Paper and Wood
Today I wanted to feature the new papers we got in store this week - I'm really pleased I can widen the selection we have in store for you and hope you like them too. For my card, I wanted to make the paper the star of the show so selected a few co-ordinating sheets from the My Mind's Eye Jubilee Sherbet pad and went to town with one of the WPlus9 Fanciful Feather dies.
I arranged them on a grey base card, took a quick snap so I could check I put them back how I wanted them, and then proceeded to glue them all down (if you think ahead which I didn't this time - you can adhere your papers to double-sided glue sheets before die cutting and then there's no need to mess with glue on fiddly feather fronds.....)
I used one of the Everyday Circles from Neat and Tangled for my sentiment, popped up on foam and given a full layer of glossy accents to make it look like flair. Then I added some of the gorgeous new enamel dots which co-ordinate with the papers (I have to say their manufacturer photos do not do them any justice!)
I've got one more card to share with you using the papers but also with a little tease of something else new coming very soon......
The base card is kraft and the red strip is Raspberry Jam ink brushed direct to paper on it. The white wood panel is from one of the Christmas paper pads (you don't have to use them just for Christmas!) Sleigh Bells has some great year round prints too.
Now for the tease - that lovely round die cut with the inlaid die cut "you" is from our forthcoming wood veneer collection - gorgeous sheets of real wood, that as you can see, can be easily die cut and can be stamped and coloured too. And the best news - they come with a self-adhesive backing so couldn't be easier to use! We hope we'll have packs in store in a couple of weeks so watch this space as I'm sure you're going to love them as much as I do!
For this one I die cut a circle and then die cut the "you" from the new WPlus9 thank you die from it removing the word and leaving the "holes" behind. I die cut the word again from a paler veneer and pieced it back into gap. I stamped Spring Blooms directly onto the wood with raspberry jam ink, versafine sepia (for the leaves and sentiment) and then pumpkin pie for the flower centres. As you can see, the inks don't run on the wood and give a crisp clean finish. I added a sentiment from the stamps that match the die but as you can see, you can do a lot more than make thank you cards with them! I scattered a few sequins from the Neat and Tangled Festive Fall Mix which co-ordinate perfectly with the wood.
Here's a close up on the wood so you can see the lovely texture it will add to your projects.
Now for the store news for this week:
Mama Elephant's latest release and restocks are currently in customs clearance
Lil' Inker Designs restocks and their "as yet to be revealed" August release is also in Customs clearance and should be here in time for us to release when they do in the US.
Lawn Fawn have now shipped my MAHUSIVE box of the new release and restocks and it's coming FedEx so should "hopefully" be quicker than normal. It's the first time we've used this method though so I'm not sure how much quicker it will be - I'll be keeping my eye on the tracking system and will keep you informed.
That's all for me this weekend folks - enjoy your Bank Holiday weekend - make the most of it - it's a long wait for the next one!
Tara
Saturday, 23 August 2014
It's all about babies.....
My card making this week has been all about babies as we have an impending birth in the family and then a friend wanted a new baby card making so I thought I'd share my take on a before and after baby card in one post ;-)
For the "one on the way" I went with Lawn Fawn's Plus One set for the fabulously funny "bun in the oven" image which I just love!
Other than a couple of strips of DP, there was little else required for this card than the great sentiments that come in the set. I coloured the image with copics and added glossy accents for a realistic looking oven door and popped the cut out image (matching dies are available but I went for the fussy approach) up on foam tape.
For the new arrival I went to Lawn Fawn again but threw in a little Winnie and Walter too - don't stick to the one stamp set or even one brand when you're getting creative - mix and match for a unique result! I used one little bunny image from Hello Baby and then made a custom sentiment with Milo's ABCs (currently oos but will be back in a couple of weeks and any alphabet set would work here anyhow I just went with what I had to hand) paired with the large Hello from The Big, the Bold and the Happy (again any Hello sentiment would work here or a die cut would work here)
The background to the card is various bits of pink DP from my scraps stash. I cut a banner using the lovely Mama Elephant bold banner die* and stuck it temporarily to a die cut pink circle before stamping my sentiment in embossing ink. I separated them before heating to prevent warping and then lined them back up before adhering permanently. To add depth to the centre, rather than using foam tape I simply cut 3 circles with the same die from thick white card and stacked them up - this gave the right thickness for the banner die to sit nicely on the card. The bunny was stamped in grey and coloured lightly with copics and then I finished with a few embossed hearts from the Hello Baby set.
[*Please note if you want the banner die grab one now - once they sell out, they will ONLY be available as part of the basic die set and not individually]
I'll be back again tomorrow - sorry if you're fed up of me already - a new DT member will be coming soon I promise - I just need a little longer to review all the applications.....
Tara
Friday, 22 August 2014
Wonderful Day
Hello and happy Friday. Hope the weather is good where you are but for us here in North Wales we have the traditional Bank Holiday weather... yep you guessed it rain and lots of it. Nevermind I'm sure fun family time will happen anyways.
Today I'm sharing a card using some fab Paper Smooches sets.
*Cover the card with woodgrain paper.
*Stamp and heat emboss the large floral clusters from Paper Smooches 'Blossoming Buds' onto watercolour card. Then colour with Distress Ink.
* Die cut 'wonderful' out of Glittering Gold Add A Little Dazzle Craft Metal from Paper Smooches 'Kudos Word Dies'.
*Stamp and emboss in gold the rest of the sentiment from the 'Blossoming Buds' set.
Thank you so much for stopping by!
Hugs Lydia xxx
Thursday, 21 August 2014
Throwback Thursday
Hello!
Happy nearly weekend :-D
I know some of my posts can dubiously be called 'Throwback',but todays post is TRULY a throwback. I used the gloriously vintage Paper Smooches Chubby Chum Pals and the not so quite as vintage Think Fast to create a card one of my favourite quotes
I know,I know-its a chicken,but it could be a seagull. If you half squint. And look from a distance ;-)
He and the fries are water coloured and the packet is paper pieced and the sentiment typed with my trusty vintage typewriter. Then a little stitching around the edge in 'fry' colour to finish it off.
Right,thats all from me-Im off to fulfill this cards demand ;-)
Lou x
Subscribe to:
Posts (Atom)