
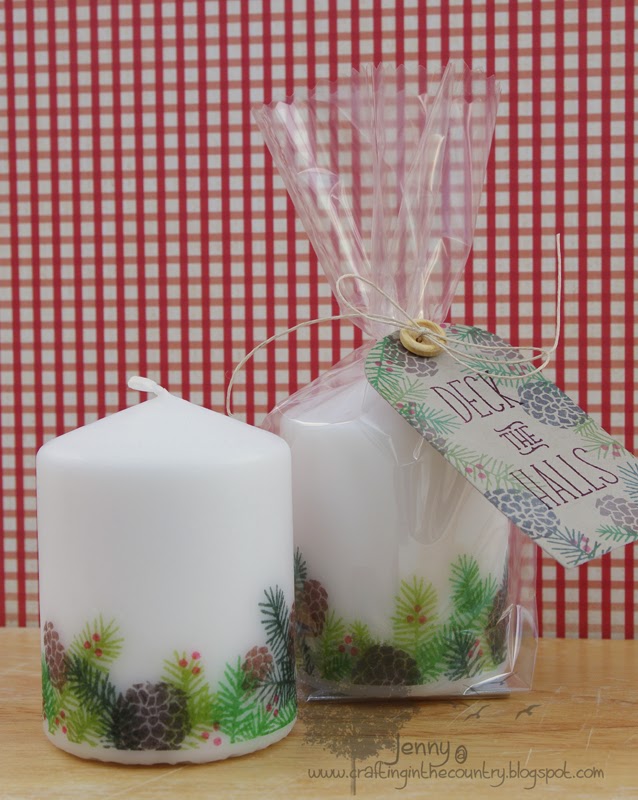

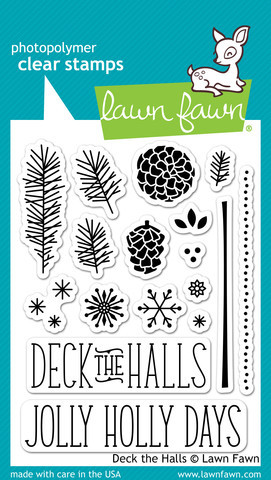
This year I have used Lawn Fawns Deck the Halls Stamp set to decorate these white candles from Ikea and made a photo tutorial to show you how...

1. This is the collection of items you need to make these.The Waxpaper is quite important...I tried with Greaseproof and it didn't work. I bought my waxpaper from Lakeland Limited but I'm sure you can find it in most cook shops or even Amazon!! The other strip of white across the mat is just regular white tissue paper.

2. For these candles, I stamped my images along the bottom straight edge of the tissue paper. Stamp on the non shiny side and remember to check how much length you need by wrapping the tissue around the candle to see if your stamped images meet up!!

3. Once you've finished stamping you need to trim around the design... it doesn't have to be exact but try to follow the shapes of the stamping

4. Wrap the piece of tissue around the candle and hold it in place.
Stamped side should be on the outside.

5. Next comes the Waxpaper, you need a good sized piece so you can wrap it around the candle and have enough to scrunch up in your hand to hold it taught and smooth over the tissue paper and you need the shiniest side against the candle. Allow your heatgun to warm up a little before applying heat to the candle...keep your heatgun moving as it is a very quick process. You will need to do an area and then remove and replace the waxpaper to repeat the process further around the candle. Remember to keep those fingers clear of the heatgun!!

6. What happens is the heat softens the candle wax and the wax on the paper which then traps the layer of tissue onto the candle. You will see your stamping turn brighter through the wax paper as it happens. Remember to keep that heatgun moving all the time. Here you can see the part of the candle that has been heated to the left because the edge of the tissue paper is no longer visable and the right hand side has yet to be done.
I hope this is easy to follow.... you can of course stamp and cut out your images individually depending on your chosen design, the heating process is exactly the same. I would suggest you buy a cheap candle to practice this technique on first so you can get a feel for the heating process before starting out on your first project...... ask me how I know *wink*
I have just kept these simple and placed them in cellophane bags tied up with hemp and attached handmade tags to them...ready to give as gifts :0)

I've used Christmas greenery for these but snowflakes would look equally good, it's much easier if you can just stamp the images and not have to colour them .... you could even try embossing the images on the tissue paper and placing them on a dark coloured candle :0)
Jenny x
2 comments:
Absolutely beautiful project, Jenny, you really make me want to try this! Love the LF stamps too!
I have got my candles ready to decorate too, Jenny - thanks for the refresher. The LF stamps create a gorgeous design!
Post a Comment