Friday 28 February 2014

Flutter-bys


Happy Friday!!!! I can see the sun.... amazing huh? It's my day to post over at Make The Day Special and I decided today to pull out and dust off a couple of my Paper Smooches sets. I haven't played with these sets in a while and now I have just fallen back in love with them... don't you just love that :) it's like you have new goodies all over again.

Flap Happy and Pretty Phrases have to be two of my favourite Paper Smooches sets of all time and they just work so well together ....


Side view...


I really like the vellum trend that is about at the moment, it's such a great way to add sentiments that you want to go across the image but not cover it up. I used two layers of vellum here, one embossed to get more of a shadowed feel.

The butterflies have been stamped using memento ink and simply coloured with Copics.

Have a great day!

Hugs Lydia xxx 

Flap Happy Pretty Phrases

Wednesday 26 February 2014

Super!

Hello.
More paper smooches from me today.
I have used the set called Super.
Such a fun set and perfect for  man/boy cards.
I coloured the image in pro markers and went with a monochrome feel for the card...the photo isn't black and white lol.
I made the background by masking using post it notes a sponge dauber and memento London fog ink.
Then i stamped the city scape in black over the top before stamping on spare card the grey city scape and after fussy cutting it out  added it on some sticky foam for some dimension.

I also stamped a sentiment inside.
I actually stamped it in grey first then black over the top 
Almost makes it look 3d.

Super

Thanks for looking.

Tuesday 25 February 2014

Owl Always..Love you!


I know, it sounds like a bad version of that Whitney Houston song (just giving away that I was an 80's girl!).
These two buddies are very cute and from this Itty Bitty set
There's tons you could do with them- I just did a bit of rock'n'roll stamping (gently rocking the edges of a previously inked image onto a darker ink, which is how you get the darker edges to the owls).
They were begging for a 'scene' so I tucked the grass behind the folded banner & slipped them behind there.
I sponged the clouds using a cut out template & then used the template as the cloud as it had a nice amount of ink already on it!

Hope you 'owl' have a lovely Tuesday (sorry, that was bad, wasn't it!),


Keren x


Monday 24 February 2014

Two Floral Minis

Hello there :0)
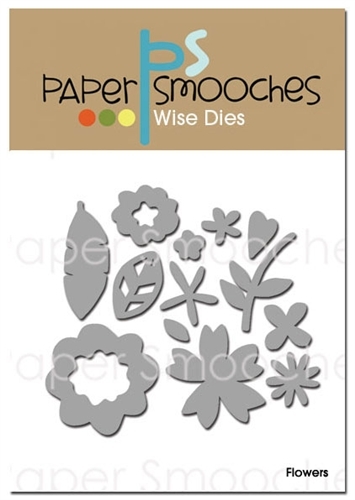
After my trip into masculinity last Monday I've gone floral this week with two 4" square cards using the new Flower dies from Paper Smooches.... they are made to compliment the Calico stamp set but I've used them on their own and added colour with Promarkers...

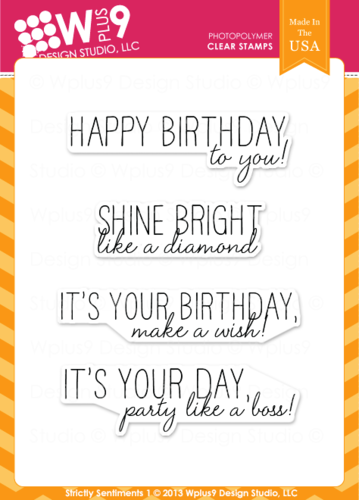
I kept the dies joined together and ran them through twice with regular white card and once with the card I use my promarkers on. After adding colour to the flowers I glued the layers together which gives the shapes a bit of strength and the appearance of chipboard :0) The sentiment on this first card is from a set called Strictly Sentiments 1 which is out of stock at the moment


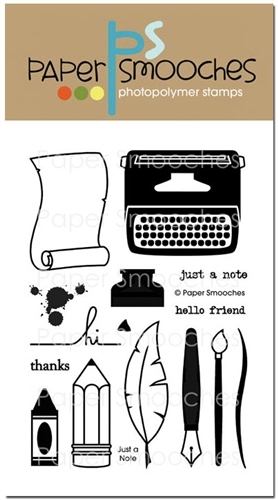
I kept this card very simple and layered up a couple of flowers.... I love the way the red really packs a punch!! This sentiment is from another Paper Smooches set called Just a Note... it's the perfect size against that nodding flower :0)

                               Flowers DiesJust A Note  Strictly Sentiments 1

I love that these flower dies are a standalone set so you can get great results with them without the stamps, leave them joined together or separate them so you can use them even more creatively ...... we'd love to see what you make with any stamps or dies from the store and now it's easy to share your creativity on our new Flickr group, just click to join us and load up your photos :0)

See ya next week
Jenny x

Sunday 23 February 2014

When wood isn't wood.....

....it's metal!   Today's card was inspired by this week's Less is More challenge - the last one of our month long sponsorship and the theme is metal.


I started with the super-cute owl from Papersmooches Hooties set - you get 3 in different sizes and there are dies to match so there's always an owl to fit your branch!   I die cut him from kraft, coloured him with polychromos pencils and blended with paper stumps and then redrew the lines in a shiny black pen for a comic book look.

For my branch I die cut a branch using a Clearly Besotted die as sadly PS didn't do dies to match the branches only the owl from some thin copper sheet and embossed it with a woodgrain folder.  The leaves are die cut from green metal sheet using leaves from WPlus9's Fresh Cut Florals (currently oos but more are en-route) and then the detail hand embossed with a ball tool.

I created a background for the branch with a die cut circle of striped blue vellum and added my traditional dotted line finish around it before adhering the metal with glossy accents.

Now, if there is one thing I think every crafter needs it's sentiment stamps and that's why I couldn't wait to get my hands on this new Happy Birthday set from Papersmooches - it's jam packed full of lots of lovely, interesting and unusual sentiments perfect for birthday cards for young and old, male and female.  I finished my card with one from the set which had the right shape and size to add balance to my CAS design.


There will be lots of new arrivals in store in the next couple of weeks - Mama Elephant, Newton's Nook, Lawn Fawn (including your pre-orders) followed shortly by Wplus9 and Avery Elle - phew the postie is going to need a very big sack!

Just a heads up - we're going to be away from the Store for a couple of days next week, so any orders received after 9pm on Monday evening won't ship until Thursday.  Apologies for the short delay - normal next day service will resume from Thursday onwards.

Tara


Saturday 22 February 2014

What a star!

Hello! 
Happy afternoon to you all,I hope the sun is shining for you-I love the early Spring (well,nearly Spring) sun,but it does show up the Winter neglect on your windows ;-)
Anyhoo,here is today's card. We have a flurry of tiny 3 and  4 year old's Birthdays coming up,so one can never have too many cards on stand-by ;-)

I cut ballet dog (totally NOT a ballet dog,but her pointy toes lend themselves perfectly to a ballerina,no?) from brown cardstock and detailed her with copics,putting a blob of Glossy Accents on her nose for a little sheen. Her tutu has a band of Stickles,to keep it neat (ferociously fiddly to make a minuscule tutu for a cardboard dog...the things you find yourself doing on a Saturday afternoon,eh?!) Here,have a close up:


I used my old Birthday favorite Critters at the Dog Park from Lawn Fawn,and the sentiment is from Lawn Fawn's Lucky Stars (currently OOS ) 

I hope you like it :-)

Lou x

Friday 21 February 2014

Love You Still


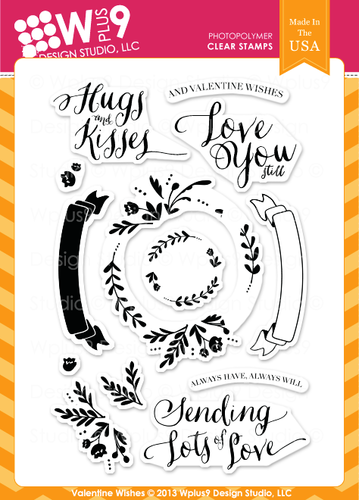
I have used the Valentine Wishes from Wplus9, I know I use this set all the time but the sentiments are just too darn amazing not to use ;)....


Now instead of stamping the wreath in the colours I wanted to use I stamped it in a really really light green ink to I could go over it with my coloured pencils to add lots of different colours and shades to the otherwise solid stamped image. It adds more of a sketchy/artsy look to it I feel. The banner I have used Copics to shade and colour and I do have to admit that this BG11, BG32, BG15 have to be one of my favourite combo. I went with the current trend of adding my layer diagonally and sticking off the card. 

Hope you like my very late night make and I'm actully really chuffed that it still looks ok in the daylight :)

Hugs Lydia xx

Valentine Wishes

Thursday 20 February 2014

Enjoy the show part 2


Hello I'm back today with two more cards using the paper smooches stamp set Enjoy the show.
Yesterdays card were bold and bright and went with the obvious theme of the set.
Today i am showing two very different looks.
My first card above uses the circle stamps from the set to create the Bokeh effect.
Which was done by simply stamping the circles in 3 shades, two blues and one white.
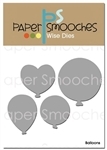
I used the Balloon dies with glitter card and some Silver twine..
I stamped and heat embossed the sentiment  from Happy birthday in silver.
I finished by adding some teeny tiny rhinestones.


This card uses the elephant from the set for a baby card. 
Simply coloured softly using copics and layered with some patterned paper.
I added some dots of liquid pearls randomly on the paper.
The sentiment is from salutations.

Balloons DiesEnjoy The ShowHappy BirthdaySalutations
Silver Sparkle Single Twine

I hope you have enjoyed seeing different ways to use this set.
We would love to see anything you make using products from the store.
You can share them on our Facebook page.
Thanks for looking.

Wednesday 19 February 2014

Enjoy the show part 1

hello.
I have two cards today using the paper smooches set Enjoy the show.
The first card above i wanted to look like a circus tent...shouldn't make stuff when I'm tired lol.
I used the Rainbow die in three colours for the curtains...i think they just needed to be angled better  to achieve the look i wanted:)
The images are all coloured with Pro markers.
I framed the scene with the large frame from Chains die.
And the sentiment is from Happy birthday

This card is much simpler than the first.
I focused on the clown and coloured him with copics.
As i have previously invested in copics i wanted to try and use them more and tried to ground the clown... as you can see its gonna take some practise but it does seem to look darker than it is in real life.
I used a Spritzer tool with my copic pens to make it look more airbrushed.
Although this was my first go i would recommend it.


Products used.....

Chains DieEnjoy The ShowHappy BirthdayRainbow Dies

I will be back tomorrow with part two .
Thanks for looking.

Tuesday 18 February 2014

Come to my Ice Cave!


Hey! from a cold and windy Tuesday!
Thought I'd echo the weather with this little 'Ice Cave' scene. You know, the ones where walkers unexpectedly fall down into whilst walking along snowy mountains. I've used an alcohol and dye ink technique for the background & there's more on how to do that on my blog.


I've suspended the 'icicle snowflakes' on blue embroidery thread so they help give a bit more dimension to the card & popped the little seal up on a icy rock to add more perspective. I know we haven't much in the way of snow here- but there are parts of the UK with some and certainly in other parts of the world there's plenty. If you walked into my house at the moment, you'd be forgiven for thinking you were in fact in an ice cave.
http://www.makethedayspecial.co.uk/shop.php#!/~/product/category=2717757&id=12011398
It's only a quick post- it's half term and it's a little 'frosty' in parts of this house too ;-)
 
See you next week,
 

Monday 17 February 2014

A Bit of Kissing!!!

Did that blog title catch you eye???? Well I've been kissing for the first time... stamp kissing that is :0)

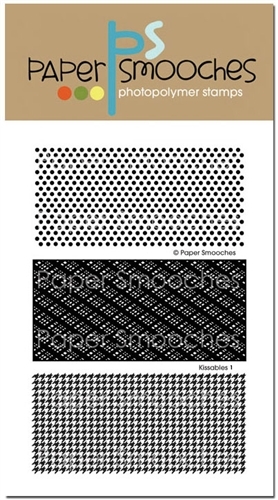
Paper Smooches have released a couple of stamp sets called Kissables and they arrived in store last week so I thought I'd have a play.....
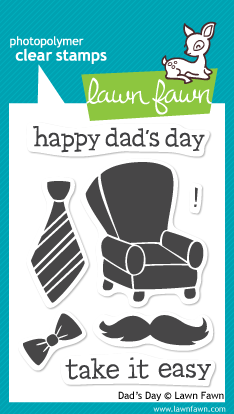
I've used the houndstooth pattern from Kissables 1 and the lovely armchair from Lawn Fawns Dad's Day which is out of stock at the moment but any solid stamp works well for this technique, I used the chair because this card is for the Masculine card challenge over at Less is More this week, don't forget we are one of the challenge sponsors this month so another good reason to join in the fun :0)

It's good to have a practice with this technique because some inks work better than others but the general rule is a light coloured ink on the solid stamp, I used SU Crumb Cake, and a darker coloured ink on the pattern, SU Early Espresso. Ink both stamps and then gently press the solid stamp onto the pattern, being careful not to slide the stamps together, seperate them and stamp the solid image onto your finished cardstock. To add depth to the chair I applied more crumb cake ink to the chair stamp with an ink dauber so I could concentrate it to the areas needing shadow and then over stamped the same image.... solid images are much easier to line-up again :0)
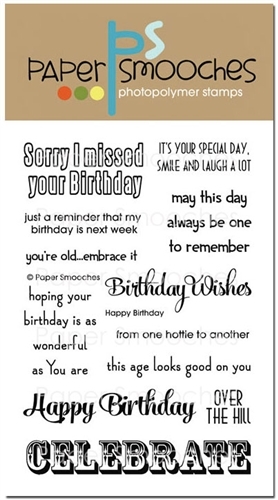
Do you like the sentiment..... its the fun side of cheeky!!! It's from a great new Paper Smooches set called Happy Birthday which is full of classic and fun sentiments in different fonts for you to mix and match... the sentiment above is two different stamps which meant I could arrange the placement to fit my card :0)
Here are the stamp sets I've used....

       Kissables 1   Happy Birthday   Dad's Day

See you again next week :0)
Jenny x

Sunday 16 February 2014

Bold Botanicals

It probably comes as no surprise that I've been playing with the new Papersmooches release this week and my card today was inspired by the challenge at CASology where the cue word is bold.  So I took some of the blooms from Botanicals 1 and used them boldly!


I stamped and embossed 3 of the blooms into a little cluster in bold black and then used 3 bright distress inks to blend the background.   Simply matted onto black to emphasise the bold colour contrast and then with a banner sentiment featuring the gorgeous new scripty sayings embossed in white.

There are almost endless possibilities using the two bontical sets and they are really dramatic in black!


Saturday 15 February 2014

Bitty Bungalows!

Hi! I've had such a great time playing with this gorgeous new stamp set from Paper Smooches - not to mention the lovely coordinating dies!  

This set has so many options!


I just love the dinky little car - it's so cute!

Here's the set!


Hope you have a lovely weekend! 

Tracyx