Showing posts with label Everyday Collection paper pad. Show all posts

Tuesday, 4 August 2015

More Pass The Parcel!

Hi! However your Tuesday is panning out, I'm here with a cautionary tale (well, sort of!) and a fun card.
The card is part of our 'pass the parcel' feature, or, more precisely, send the same stamp and die set around the country and beyond for us all to get inspiration from. Here's the first caution-
Always have a peek before you design your team project for the week, that someone else hasn't posted the same thing the day before.
Yup, sorry.
Although, to be fair, Lou's treatment of this card is really different to mine- a monochromatic stunner, so I'm hoping you lovely people will tolerate mine!
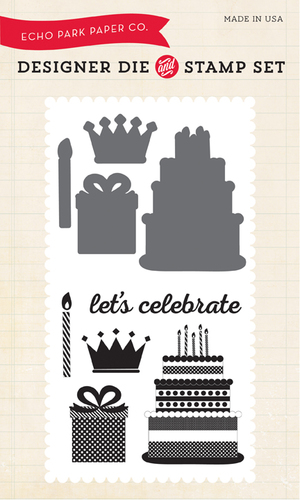
So, onto the set. On the off chance you've missed seeing it, here's the set in question

Taking the smallest element (as I often like to do), I thought I'd create something just with that. 
                                     
I die cut one of the candles and arranged it around a small circle (to help get them spaced evenly). It took 2 attempts.

 Then I die cut them out... it took two more rather frustrating attempts ;-) - secret? just tape them down first before you die cut and they won't move then!
I'm fast forwarding to the finished article so my next few sentences will make sense. 
I had in mind one of the spirally twisty elements where the spiral appears to be getting bigger all the time when you move it? I die cut a large circle and created a spiral with alcohol markers.
Caution- if you're going to pencil lines out first, don't go over them with a light coloured alcohol marker as you can't get the pencil markings to rub out. It was very annoying and nearly rubbed out portions of the cardstock in my vain attempts
 Caution no.2 - think backwards. Because you have a front layer, the central layer and the back layer, getting the brad (which you can see just peeking above the 'celebrate' in the photo below), you need to make sure the top layer is firmly stuck to the brad and the bottom layer the same. Lets just say that the 'swirly motion' is more like 'stick your hand through the candle spaces and turn it yourself'! The wash tape on the photo above is a good idea, but you need decent sticking power on the top layer too! Duh.

 See this detail- the flowery decorative part? I've used the gift bows which I've trimmed down and added around a circle. The idea was to help you turn the circle, but then it's a little pointless for my card (ha ha!)
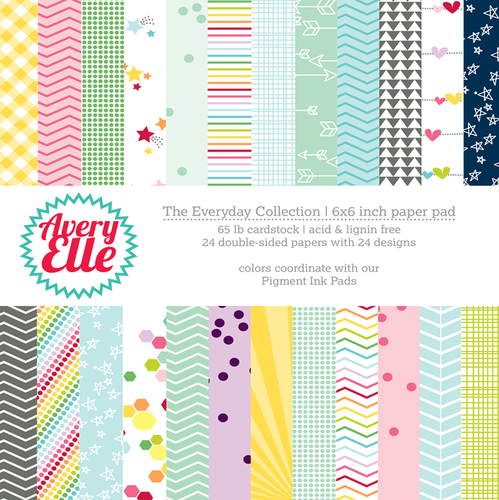
The other cautionary bits are as follows- check your whites are the same shade. My absolute favourite paper this year (which I'm about to use up!- I know, I never normally get through a whole pad) is the Everyday Collection papers from Avery Elle
The white on the heart papers is more creamy than my blue white so it shows up more. Don't look- it is a bit obvious. And whilst you're checking, don't look to closely at the masked off sentiment. I didn't want the 'let's' bit of the lets celebrate so I just stamped the latter half. Thing is- if you brush over ink that isn't completely dry with a wet glitter- guess what, the ink bleeds.
Humph.
Anyhow, despite my catalogue of basic errors, I hope you like my fun card. Don't worry-if you come back tomorrow, it won't be another 'Pass the Parcel' card as I've not sent it overseas yet!

Have a lovely Tuesday - and do tell me, what's your worst crafting disaster!

Tuesday, 16 June 2015

Trio for the Different Guy

 Hi! I've 3 easy projects for Tuesday...all based around this week's theme. Hand on heart, this is the category of cards that no matter who I talk to, everyone says they find it a challenge. So I've gone for 3 different styles...for the non-beer, non-car, non-golf lovin' type of guy! (or sailing...why are there so many cards with sailing boats on?!)
This card could be a funny one..or even a cute one. It started out with a smiley face on the toilet roll but that just looked weird. You could make up a sentiment about life being a bit rubbish...linked with the loo roll ;-) 
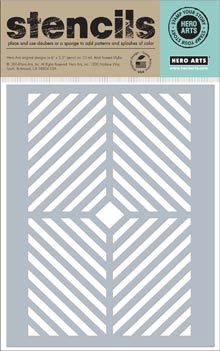
 Thought I'd revisit a really simply technique using a stencil that gives an extra dimension to your project- using this Hero Arts Stencil
http://www.makethedayspecial.co.uk/shop.php#!/Kellys-Window-Pane-Stencil/p/48164865
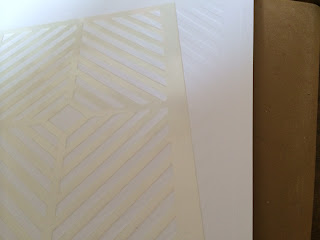
 Grab one of those rubbery mats and put the rubber on the bottom, the cardstock on top and lastly the stencil. I always want to put the cardstock on top but this way gets a sharp result.
You can see the texture better below- just as if you've used an embossing folder. You can see how I've begun to create my toilet roll holder
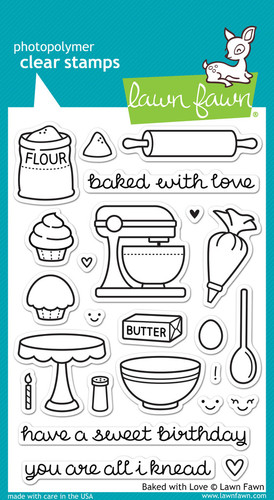
I used this Lawn Fawn set (which would be great for a baking guy too!)
http://www.makethedayspecial.co.uk/shop.php#!/Baked-with-Love/p/47605485
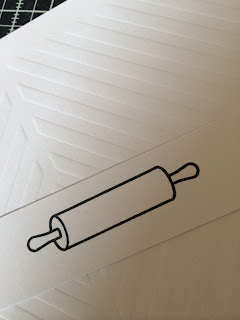
Just chop the rolling pin in half and re-attach it, overlapping it to make it shorter.

Now simply cut up toilet roll so you've a long thin strip to wind around the base. As I sat there trimming loo roll I wondered quite what lofty heights I've attained that have resulted in creating with Andrex ;-)
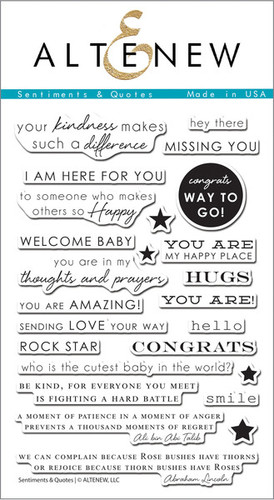
The paper behind the main panel is the Avery Elle 'Everyday Collection' which is hands down my favourite paper pad (& it's double sided too!). The Sentiment is from the super-useful Altenew set 'Sentiments & Quotes'
http://www.makethedayspecial.co.uk/shop.php#!/Sentiments-&-Quotes/p/39242311/category=12670391
 
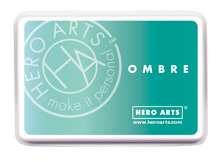
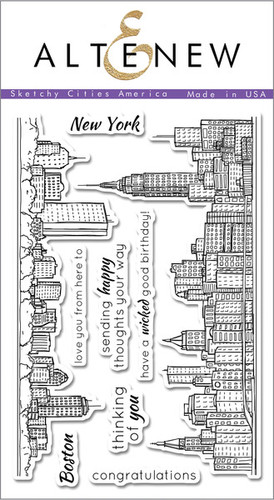
Now onto two more quickies. With the first, I had my Dad in mind when I made it...he's an architect so buildings are his thing. Add some swooshes of watercolour and stamp over it with the Sketchy Cities. The sentiment is from the set above using the Ombre Ink Pads


http://www.makethedayspecial.co.uk/shop.php#!/Ombre-Ink-Pad-Mint-to-Green/p/48164820
http://www.makethedayspecial.co.uk/shop.php#!/Sketchy-Cities-America/p/39242316/category=12670391
And lastly.. a little tag for a little boy (or robot type geeky guy!)
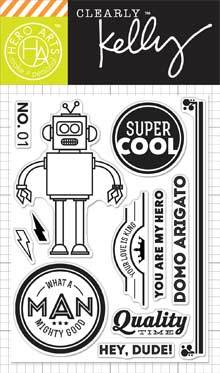
 Using Kelly Purkey's set
http://www.makethedayspecial.co.uk/shop.php#!/Kellys-Super-Cool/p/48037818

 Hope that's a little inspiration to get you sorting out all those complex guys in your life ;-p

See you next week,

Keren xx

Tuesday, 31 March 2015

Slider Pull Plane!

Hey! Hope you've a few minutes to spare- this is a bit of a longer post than usual, but thought I'd show you how to create this card, for those of you who've not made a slider before! Here's what happens when you pull the Congrats bit...


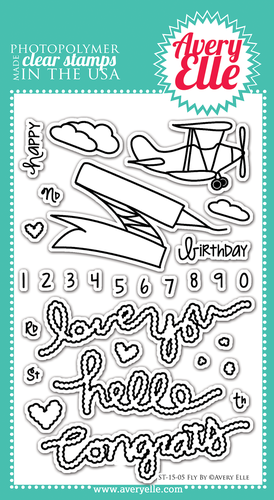
 To start with- grab yourself a few supplies- this fab Avery Elle set
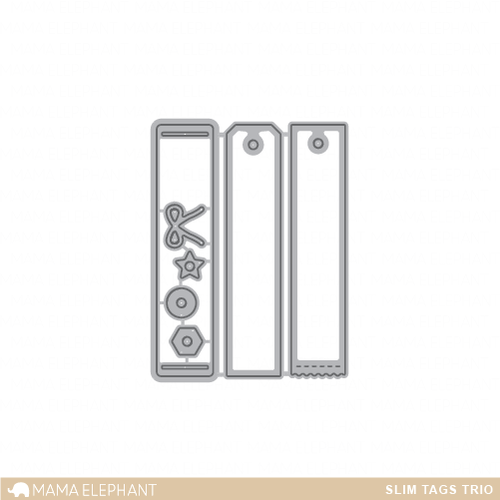
plus for a quick shortcut- this Mama Elephant Slim Tags die set
and lastly this beautiful double sided Avery Elle Everyday Collection paper pack

Here goes the quick tutorial. Cut out a piece of paper & die cut one of the Mama Elephant slim tags from the centre.
Stamp and cut out two clouds and the plane. You need to have a base of something that's wider than the aperture you've created so I created a cloud background.
Next, colour in and punch out two circles- again these have to be slightly bigger than the aperture. Fold each circle in half and add glue to the edges of the two folded sides and press together. Once the glue has dried, open them out carefully to create this 3D shape.
                                       
Now stick the plane onto the 3D circle shape so the glued join is in the centre and you can then ease the back two circle 'flaps' onto the reverse of the aperture. This gives the plane the sideways movement. Hopefully the picture makes more sense!
Add a stamped and trimmed out 'congrats' to the edge of the plane and cut out a strip of card that is wider than the aperture. Stick the plane onto this strip so the end of the 'congrats' matches up to the edge of the card strip & secure with some 3D foam pads at the end
 Next, lay the aperture over the top of a base card  that you've added a cloud effect to and a strip of paper. Position the sentiment stamp over (aren't clear stamps just perfect for aligning easily!).Make sure that when the plane is pushed to the right, you can see the sentiment and when pushed to the left, it hides it. Mark the edges of the aperture lightly to help with lining up at the next stage.
                                      
Now you just need to turn the aperture piece over and run foam tape (or individual pads but it takes an age to place them all down!) along the top and bottom edges (just slightly away from the card pull piece) and on the opposite edge to the pull strip (the right hand side when the piece is turned over on the wrong side).
Remove the tops of the foam tape and position back over the base card, lining up with the pencil markings... and that's it. An easy and fun birthday card!
Why not try making an interactive card- it's easy once you get going!
See you next week!
Keren xx

PS- anyone spot the rookie error in my finished photographs? x