Showing posts with label Lawn Fawn Happy TRails. Show all posts

Tuesday, 20 October 2015

Happy (Escape) New Job....


Hey! How are you all?
Ok.. this card will take a little bit of explaining. 
It all started as I was thinking about the Lawn Fawn Ready Set Snow Shaker die set. It's temporarily out of stock but this die will work perfectly instead.
I got thinking about snow globes in general and about the poor little people and animals who are permanently stuck inside the globe and can't get out. This led me to thinking it would be fun if they made a bid for freedom and so the 'new job...escape from the old job' idea came into being.
I was explaining the idea to one of my daughters and she looked at me and said 'Mum are you doing drugs?!!
Well I wasn't, but granted, it's a slightly 'out there' idea!
 I had so much fun creating the scene. You wouldn't believe quite how many different Lawn Fawn sets I've used...
How many can you see?

Here goes.... Milos' ABC's ( for the sentiment)
Thankyou Tags (for the diddy bird)
Joy To The Woods (for the bird, chipmunk and fox)
Hello Baby (for the little rabbit)
Happy Trails (for the trees and the landscape line)
And last.. but not least..Penelope's Blossoms

AND they're ALL in stock. Every single set!
I hope you like my little furry friends sliding down the outside of the snow globe. I had to choose the smallest critters so they'd look more in proportion with the globe!
Anyhow, enough from me.
Hope you have a lovely and sane Tuesday!

I'll be back next week with maybe something a little more sensible (although I wouldn't hold your breath!)


Monday, 15 June 2015

Gearing Up for the Guys !!


Hello there, happy Monday morning to you :)
I'm continuing the week long theme of masculine projects with a card and gift box for the guys who like pedal power!! I've used the older set from Avery Elle called Roll with it, I love the detail on the bike right down to the slight shadow under the wheels. I used the mountain bike image to stamp out a pattern on my card base and then used grey stazon ink to stamp an image onto vellum too.

I've used the vellum as a wrap on the card and lined up the bicycle with the pattern.... love how it makes the  one stand out whilst the others fade into the background :)


To hide the adhesive holding the vellum to the card, I used a strip of blue card as a wrap down the spine and stamped it with one of the Wplus9 Borders and Backgrounds 4 for a tone on tone pattern. The sentiment is from Lawn Fawns Beep Boop Birthday.


I made a Matchbox style gift box to go with the card... ideal for a puncture repair kit or similar cycling gift or how about filling it with sweets ;)


You can easily find many templates and tutorials online for this style of box and they are easy to make up, here's the net shape of the drawer part of my box, this size can be made from an A4 piece of card :)


When folded and adhesive applied, the tray looks like this... 

The sleeve is best made by literally wrapping the card and scoring around your tray piece... this way you can ensure a snug fit. I used white card again but you can go colour crazy if you wish :) I've used a small circle punch to make finger gaps on each end of the draw.. not sure why as the idea is you push the drawer from one end!!

To decorate I then made a band to go around the box which also prevents the tray from sliding open, I created a variation on the card design using the same products but using the Happy Trails Stamp set from Lawn fawn for the sentiment instead :)

Here are the products used for my project today, click on them to take you to the store  :)

        Roll With It  Borders and Backgrounds 4  Beep Boop Birthday  Happy Trails

Thanks for stopping by :)
Jenny x


Tuesday, 7 October 2014

Anyone for a Holiday?!

 
Hi! Have you noticed all the holiday adverts on TV? The promise of a perfect holiday with perfect weather in a perfect place with a perfect family?! Do you have those kind of holidays? Me neither?!
 
I was thinking about getting out and about and this Happy Trails set by Lawn Fawn came to mind
http://www.makethedayspecial.co.uk/shop.php#!/Happy-Trails/p/33080911/category=2717757
I've tried to make it look like it's slightly snowy by adding white trees behind the green. It's stamped onto acetate in black first. I've then stamped it onto white cardstock, coloured it in and then adhered it directly behind the acetate layer so it looks coloured.. an easy technique when you can't colour in a surface.


You can see in the first picture that there are little puffs of exhaust fumes actually coming off the card. I'm afraid the photo has a little of me reflected in it, but taking pictures of shiny surfaces is sooo hard. Tips anybody?
 
I'll leave you thinking about holidays and crisp white mornings in snowy climes. Where's the travel brochure..quick!!
 
 
Keren xx


Monday, 29 September 2014

Colouring Christmas Cards...part 1

Hello and welcome to day two of Colouring week!!


   Wether you are new to colouring or proficient with your marker pens, I think that, by far the easiest images to colour in the stamping world are Lawn Fawn and Paper Smoches images as they are not too detailed and have good bold outlines...very much like colouring book images from our younger days :0)

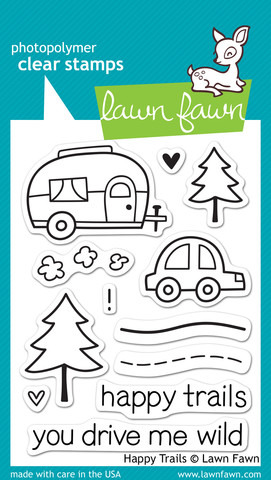
I have made a set of five mini Christmas cards using Lawn Fawn Stamps, three of which I'll share with you today and then next week I will show you the remaing two and the Gift box I've made to put them in :0)

So lets kick off with the photos....
                                                    
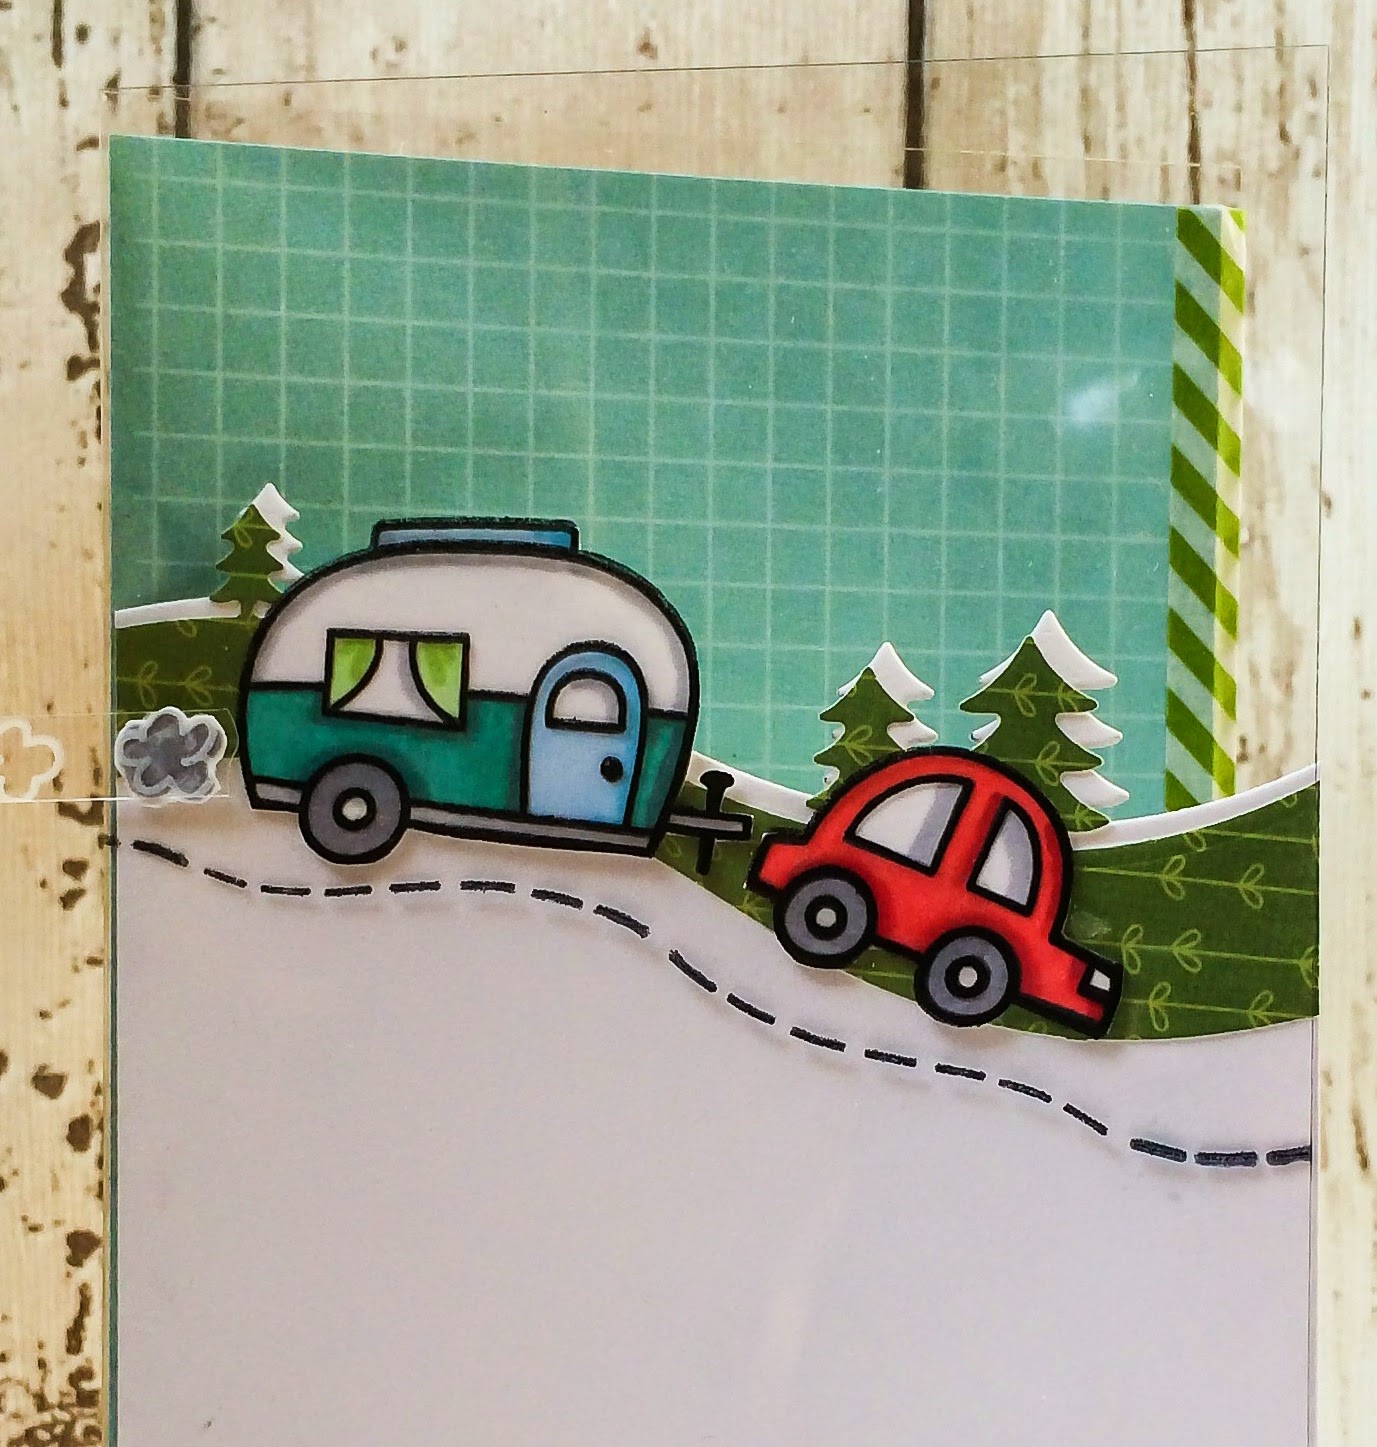
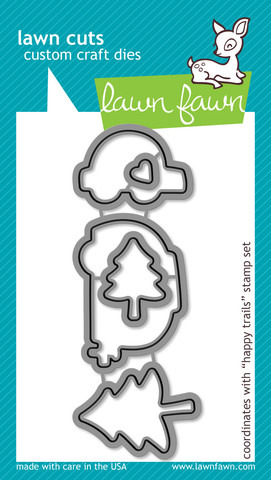
By using small 10x10cm square cards I've kept the designs simple which is perfect for the Lawn Fawn Critters. I've used matching dies if I have them so this means I can stamp out a load of images onto a sheet of alchohol marker friendly card and colour lots of images in one go....this is a great way to practice as well as making a good reference sheet for Colour Combinations in the future.

Unlike a lot of crafters I use Promarkers as they were cheaper to start me off with but I love them and wouldn't change them at all. I tend to stick with the same combinations of colours...browns are my most used as I just love colouring furry critters.I've used Cocoa, Burnt Sienna and Umber for Mr Moose and I start by laying my lightest colour down first and work through to the darkest before going back through to the lightest. His antlers are shaded using Umber and Warm Grey 5 with a touch of black for a slight shadow underneath. Do you see the highlight along his back? I left this area un-coloured with the first application of colour... this means it only has one layer of colour which is applied when I blend over the image with the last layer of the lightest colour. Goodness that was a tongue twister!!!

These cute Winter Sparrows use a similar colour palette but I swapped the Cocoa for Cinnamon instead so the highlights are lighter. With small images like this you don't really need to use three colours as the card can become too saturated and bleeding can occur outside the lines...... I used very minimal strokes of the Umber here.
*TIP* If you have the matching dies for these little fellas it's worth die-cutting extra branches and birds to use stacked underneath the coloured image... that way you don't need to be cutting tiny pieces of foam to mount them onto your card front..much easier :0)
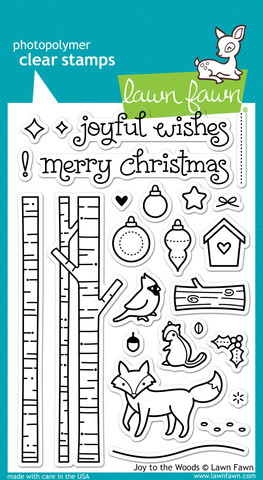

Colouring these Christmas lights was great fun as you can really exagerate your dark areas and highlights because they're meant to be shiny.... the hardest part was fussy cutting them out (fingers crossed matching dies will be released for this set). I've shaped the stamp on my acrylic block to make different curves, you can also repeat the pattern for larger areas if you wanted too :0)

                          Critters in the Arctic  Winter Sparrows  Cozy Christmas
                                     Violet's ABCs  Happy Trails  Hats Off To You

         Critters in the Arctic Creative Cuts  Hats Off to You Lawn Cuts  Winter Sparrows Dies  Happy Trails Die
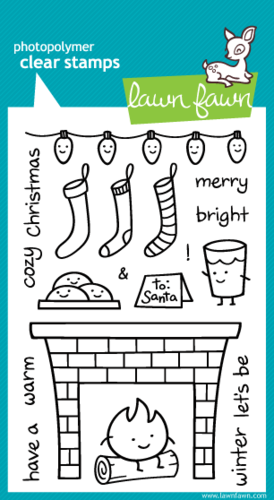
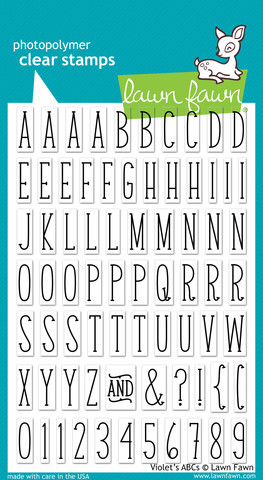
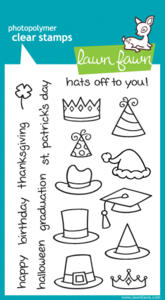
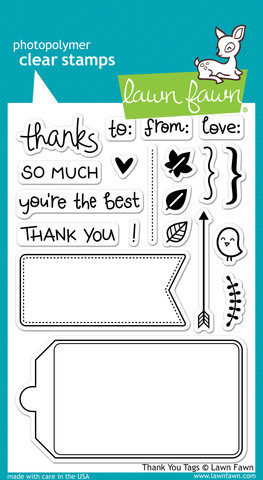
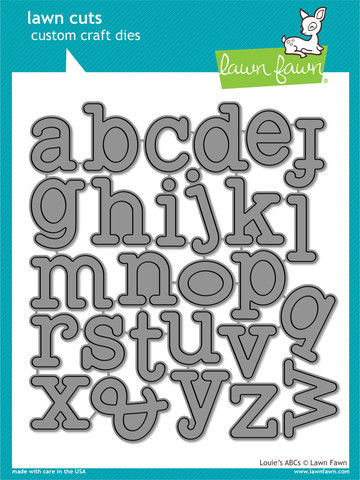
As you can see from the above montage I'm a bit of a Lawn Fawn addict!! Click on the pictutres above to take you to the store if you're interested in any of the sets.
 I've made five different designs but you could equally choose one design to suit your stash and colouring technique and stamp a whole load of images out to colour at leisure in front of the TV or with music playing... using the co-ordinating dies helps speed up the process of cutting out, great for producing batches of cards :0)

Catch ya next week with the rest of the gift set
Jenny x

Tuesday, 19 August 2014

A different sort of relaxing!

Last week we were breathing deeply with a substantially serene card. Today? not so much! I've made a 'tongue-in-cheek' relax card and it's one that tons of you will relate to! The sort of card you'd send wishing someone a 'great holiday' or 'big adventure'.
It's that wonderful driving to your holiday feeling where you're bumper to bumper with the car in front. It's using this fun Lawn Fawn set 'Happy Trails'


Now, I'm not a massive camping fan (don't get me started on our camping disasters!) but this set is way more adaptable & I hope this card shows. I've also used Cole's ABC's but that's not in store right now, so I'd plump for Louie's ABC's instead. Once I'd die-cut the phrase, it was looking a little lost against the grass, so I outlined them with green and added a hefty dose of Stickles!
For any of you setting off soon, don't forget the really annoying kids CD's to be played full blast for the 'delight' of everyone else in the car. 


See you soon,
Happy queuing! 

Enjoy the break…and….relax