Showing posts with label ippity. Show all posts

Friday, 27 July 2012

Dreams, Make Em Happen

I've fallen in love with this butterfly from Lawn Fawn's Flutterby Set - and although the sentiments that come in the set are perfect - I wanted to mix it up a little. I went digging through some of the older sets in my stash (reminding myself of the little treasures I've collected from Make The Day Special) and triumphantly pulled out My Cute Stamp's Elegant Birds* and Itty Bitty's Dreams, Make Em Happen. Perfection!


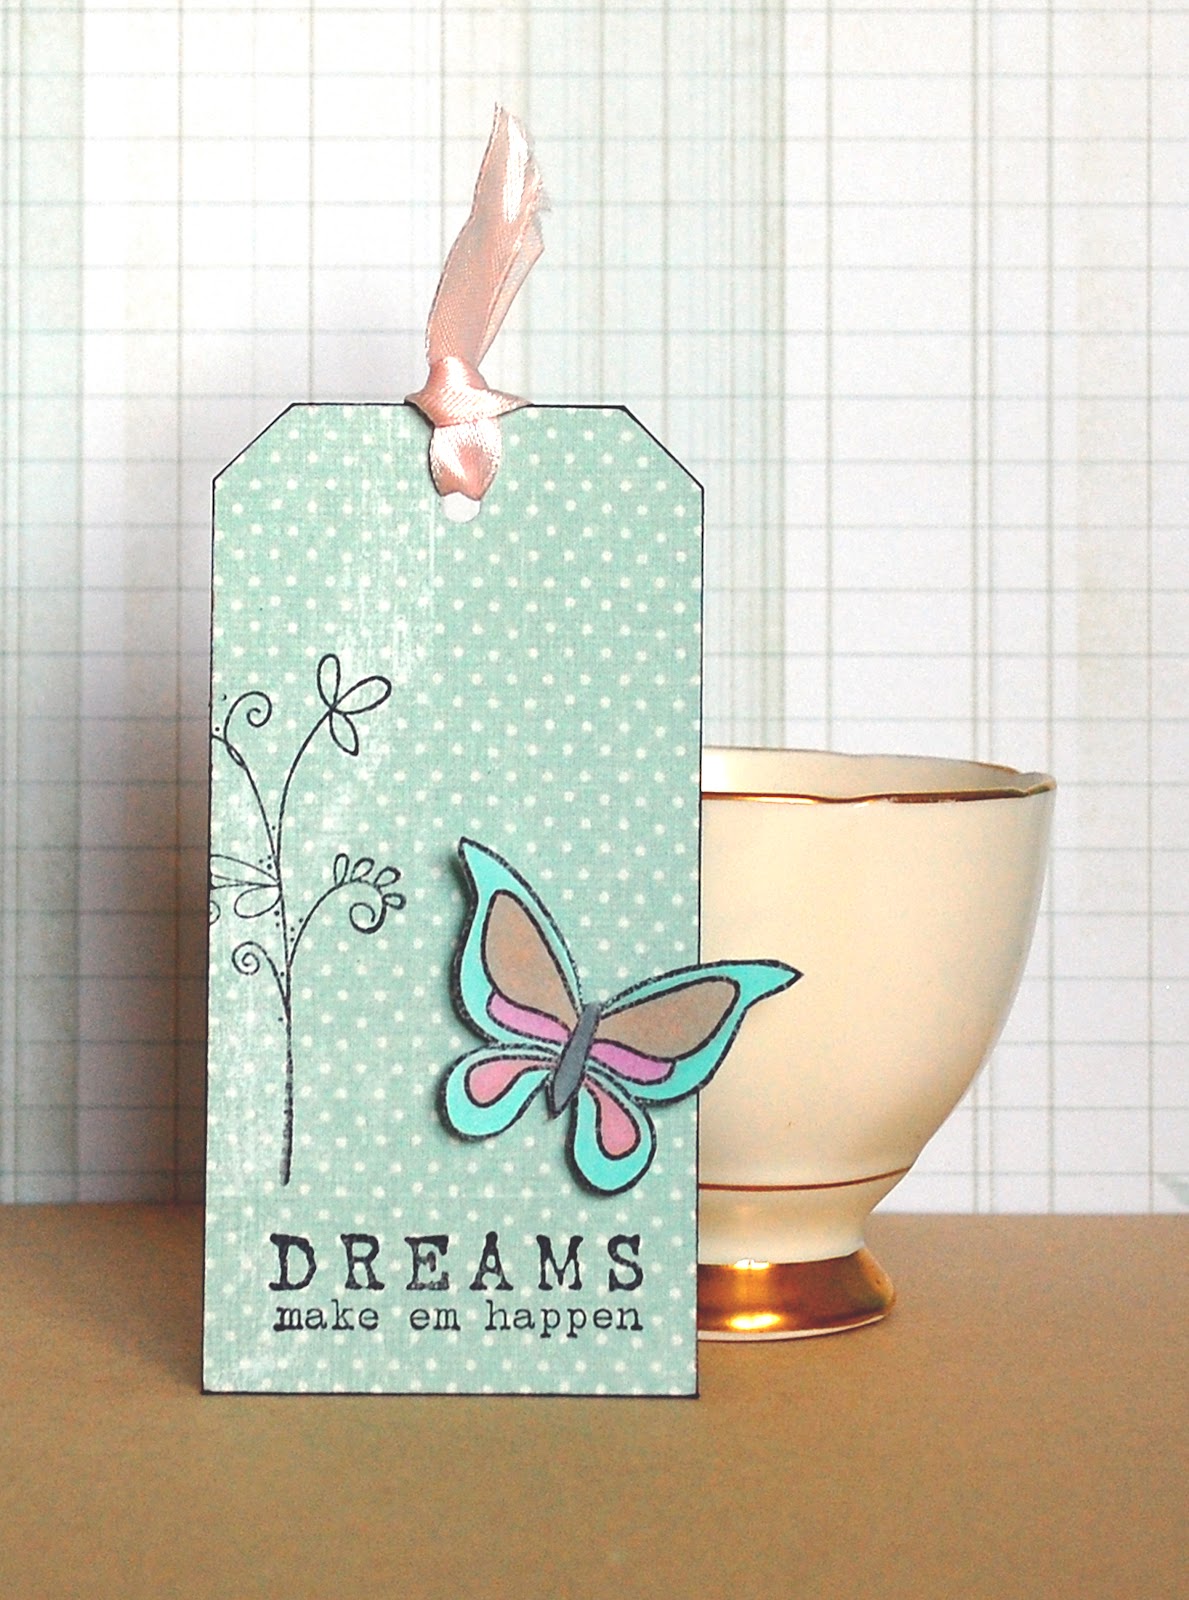
* This particular set is no longer available - but all of the My Cute Stamp Sets are currently on sale and there are plenty of similarly, delicious flourishes to be had.

Thursday, 18 August 2011

Stamping layout

Hello.

One of my biggest problems with stamping is that i cant stamp on my scrapbook pages successfully.

I think that has changed now.

I made this layout for a challenge and the base was butterflies.

Not having any paper that matched i made my own.
Ive used unity and ippity stamps.

I used the butterfly from the "Key to joy" store kit.

Stamped randomly in the same colour as the card.

Then used stamps from Ippity set "the best" and "here and now"


Oh before i go have you seen the new ranges at Make the day special?

Now stocking Simply Betty stamps.

And Paper smooches available to pre order.

Also if your looking for a bargain check out the August sale.

Thanks for looking.


Tuesday, 5 July 2011

How YOU Doin'?

I've cheated a bit today! I've got an {Ippity} make for you and not a Make The Day Special make. I've been wanting to play with this set for a while it is called How YOU Doin' and is available from the Fall 2010 range {Ippity} over at {Ippity} Inspiration blog.


Such a fab and useful set for all sorts of greeting cards.

Have a fun day you all!


Sunday, 8 May 2011

Another canvas.....

I seem to have a "thing" for canvasses at the moment and have another one to share with you today. I've used the Unity set Insightful Meadows and 2 {ippity} sets...Now and Always... and Dots For Sure both available from the Ippity Inspiration blog.

I placed a few pieces of paper over the canvas and then covered it with a green organza using Mod Podge and left it to dry. I then randomly stamped the Dots For Sure and the flourish stamp from the Now and Always set.

The next step was to use the stamp from Insightful Meadows and add distress embossing powder then emboss. I then added the die-cut and embellishments:

Materials used:
Canvas, old book page, Prima papers, Mod Podge
Unity and {ippity} stamps, sepia Versafine ink, distress ink and embossing powder
organza, pompom trim, K&Co die-cut, Pink Paislee Artisan flourish, Viva Precious Metal paint.

Before I go.......have you checked out the Make The Day Special shop recently?
Emily has been busy adding some new stuff:

Layers of Color sets and single stamps
Flourishes
Lawn Fawn
My Cute Stamp

As always, thanks for visiting!!

Jo x

Saturday, 7 May 2011

Tagging You...

Short, sweet and simple. That's how I'd describe my 'one layer' gift tag. I've used three stamps sets for it though - so you will need to rummage through your stamps. Oh! What a chore :)

I cut the based cardstock down to ATC size, popped a hole in the top and rounded the corners. Then I sprayed it liberally with some ink. I love the brightness of it against the contrasting black stamp ink.

Then I used the corner stamp from Naturally You to stamp into the corners - I edged them a little way off the cardstock, so it's not quite the full stamp image. I then inked up the You stamp from You Deserve (masking the smaller words below the main image with a post-it note.) Once that had dried, I used a couple of the sentiments from Sophie's Sentiments to finish off the centre of the tag.

I added some black lace and it was ready!

Saturday, 5 March 2011

Super Simple Saturday Stamping

Just a quick 'dashing off to a birthday party' type of post. Left without a suitable gift tag this morning, I hauled out my Make The Day Special stamps and my box of cardstock scraps. Inspiration struck when I spotted my favourites - the You Deserve set.

I stamped the sentiment into the middle of the cardstock, then stamped the beautiful florals off the edges of the cardstock to make a border. A quick inking of the edges later and the addition of some spare ribbon and my makeshift gift tag was good to go.

Super quick and super easy. You now have no excuse to leave those scraps languishing in your craft room. Give them a bit of stamping love.

Clair x

Saturday, 12 February 2011

Mini Valentines

I'm so sorry that I've been 'Missing In Action' for so long. I've had al sorts of computer trouble, but you'll be pleased to know that the first thing I did when I got my laptop back this afternoon was log-on, knuckle down and start sorting out my Make The Day Special post for this afternoon.

I've got quite a bit to share with you all, but since it's Valentine's Day on Monday, I thought I'd better start by sharing my latest little project. Last night I sat down to make some mini cards to send to some of my friends - just a little reminder that I love them too!

Mini Valentines Card

To make a similar card all you need is a card base, a piece of acetate that matches the size of the card front, stazon, sequins, a sewing machine and, of course, your favourite Make The Day Special stamps.

Stamp your image or sentiment (I used the Ippity You Deserve set) into the middle of the acetate using your Stazon and set it aside to dry for a couple of minutes. When the ink dries, place it onto the front of your card and sew around three edges using your sewing machine.

Leave the needle down, through your acetate and cardstock and carefully stuff some sequins through the open edge of the acetate pocket - make sure that they aren't near the edge. Then sew around the edge of the card a couple more times to finish off. Simple!

With the variety of stamps available from Emily at Make The Day Special, you should be able to adapt this idea to all sorts of occasions - enjoy!

Clair x

Saturday, 15 January 2011

Destination ATC

I have a small and sweet ATC for you today, made using stamps from three different collections. Three - all on one little ATC!

Firstly, I stamped my sentiment - from All About The Journey straight onto the base of my ATC in black ink. Then, using the floral stamp from the You Deserve Ippity set, stamped into the corner to create a little bit of background.

I've also used the suitcase stamp from the Melody Ross A Girl & Her Adventures set to add a little texture to one of my additional elements. I've been using this stamp quite a lot just to add background to smaller elements - so versatile.

I've finished the ATC off with some paper scraps, stitching and a chipboard butterfly. Cute, no?

Hope you're having a good weekend folks x

Saturday, 8 January 2011

You Deserve The Best

Hello Everyone! It might seem a little odd that I usually find myself creating gift tags in January (when you'd have thought that I might be sick of the sight of them!) but I generally have huge piles of scraps lying around after Christmas and I enjoy trying to use them all up so that I can start afresh.

You Deserve The Best

This beautiful stamp set - You Deserve - is perfect for creating gift tags and cards for all occasions as it combines some bang on trend houndstooth print, with some beautiful blooms. So, there's something for everyone.


To make my gift tag, I've just used the houndstooth corner stamp to add a pop of colour and additional pattern to my cardstock and simply stamped the sentiment onto a chipboard element for extra dimension.

It might be quite simple, but it adds a fantastic finishing touch to your gifts, so scrounge around your craft room for all of those leftovers from your Christmas card making and whip out your Unity or Ippity stamps for a spot of weekend crafting.