We're doing something a little different on the blog this week - we're all focusing on colouring images for our projects. I'm sure many of you will be focusing on colouring if you're taking a certain class that's running online right now, as a few of us are too, so we thought we'd focus on colouring here too for a change.
Each day this week, right until next Sunday, each DT member will bring you a different colouring project and a little colouring tip. Whilst none of us are Copic-certified, or profess to be colouring experts, we all love to colour in our own way and have picked up things that work for us along the way that we'll share with you for free this week ;-)
I had a great afternoon yesterday, sat in front of the TV, remember how much I love to colour, whilst I coloured in this cute little guy from SugarPea Designs which I've been itching to colour ever since it came out but I haven't had time.

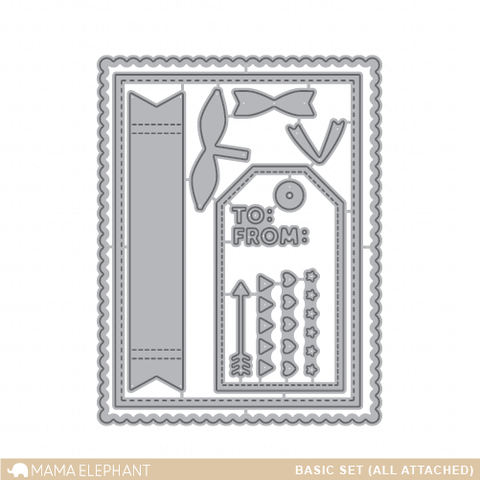
Isn't he the cutest? I coloured him with a mixture of copic and tria markers with my light source on the right creating natural shadows on the left of each item on the image. Once he was finished I cut him out using the Small Stitched Rectangle die from Lawn Fawn and cut a mat from Sweater Weather using one of the Large Stitched Rectangle dies again from Lawn Fawn. I used the same tria marker I used for his costume to get a matching strip to die cut the flag for the sentiment using the stitched sentiment flag die from Lil' Inker Designs and finished with some twine and a button in yellow to tie all the colours together.
My tip is for creating shadows in flesh tones - I do it with a colour you might not naturally turn to - a blue-violet (BV00 or BV000 in copic shades) It might sound odd, but it really does work. I've coloured the Matador's face below twice - once without the BV shade (on the left) and once with it (on the right)

I coloured the whole face with the lightest shade (E00) and then added some shadow under the hat line, around his nose, the far left of his face and his left ear, using E21 and then on the left I added a thinner shadow in the same places using E11 which gives a suntan effect, but on the right I used BV000 which gives a more natural shadow without darkening the skin tone. You then blend it back with E00.
So - we hope you like our concept for the blog this week and have fun with all our DT members!
News from the Store:
We've had Lawn Fawn restocks this week.
We've had the latest releases from Wplus9 and Avery Elle.
Paper Smooches and Winnie and Walter are crossing the Atlantic and should be here in a couple of weeks.
Hero Arts inks and their stunning Christmas release will be in store this Tuesday!
Next Saturday is World Card Making Day so there will be something special happening here on the blog - don't forget to come back and check it out ;-)
Catch you next Saturday!