Showing posts with label Wplus9. Show all posts

Friday, 21 August 2015

A Wild Watercolour Ride.

Hi everybody,

Jill here.  I hope you're all well.


I've got some of the newest release from WPlus9 for you today, and boy oh boy what a killer release it was!


I used the 'Going Places' stamp and matching die sets to make my card.  I'm not sure if it shows well on the pictures, but I added a sneaky little shaker behind the hot air balloon!  


I started by stamping out my elements, and watercolouring them using Distress Ink.  I washed over my background at the same time, to create a pretty sky of pinks and blues.  I then took the matching die set, and cut out my pieces, cutting the balloon from my background at the same time.  I only needed to cut the balloon to create my little shaker window, so inlaid the rest back in.  I covered my window in acetate, filled with some beautiful Neat and Tangled sequins, and sealed up.  I cut a couple of layers of clouds using Mama Elephant's 'Landscape Trio die', one layer from white card, and one layer from vellum.  I then put all my pieces together and built up my scene.  I stamped my sentiment onto vellum and adhered using 'Stick-it' (I can't stop sticking vellum any, and every, where now I know 'Stick-it' is invisible!).  I matted onto another layer of vellum, and another piece of card I had washed with Distress Ink, then onto a soft grey card base.  I embellished with a couple of black enamel hearts, and there you have it.

I hope you like it and would love to read what you think of the newest Wplus9 release.

Everything I used is linked below, so be sure to go and be blown away by how awesome the new sets are!

See you next week.

Jillx

Going PlacesGoing Places Die

Landscape Trio Creative CutsIndex Card Creative Cuts

Stick It Die Cut Adhesive Sheets (pack of 5) Large

     Sunset Shimmer Sequin Mix      Crystal Clear Sequins

Tuesday, 30 June 2015

Origami Birds and Encouraging Words!

 Hey!
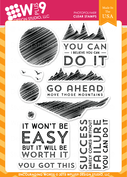
Ever feel a little blue and need some encouraging words? Or maybe you've a friend who really needs a lift..well this set is just perfect for those occasions using WPlus9's Encouraging Words
http://www.makethedayspecial.co.uk/shop.php#!/Encouraging-Words/p/49440776/category=3351881

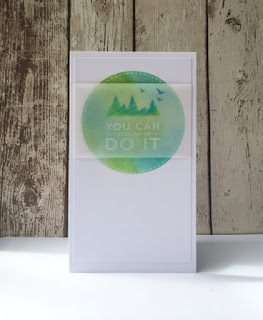
See the hills- the third one down? Turn it over and then stamp the edge again on a 90 degree angle against the first stamping and you get...a origami-ish looking bird. Kinda a little Jurassic World too.
But, you don't need to mess around with the set..you can just stamp it plain and simple.
 I've done a dual colour on the mountain stamp by adding ink to one half and then turning the stamp and inking with a different colour. The sentiment could have been stamped and embossed in white except I wanted a really soft subtle feel to the card
The background was simply distress ink, sponged through a die cut aperture. Really simple. I had the idea of creating a earth-like pattern, but the detail was lost through the vellum.
Do check out this set- it's perfect for one layer cards- really easy peasy.
 
Hope you have a really lovely day!
Keren x


Tuesday, 26 May 2015

Purrrfect Kitties


 Hi! Hope your Tuesday is going well. I've some puurrfectly formed little kitties to show you today.
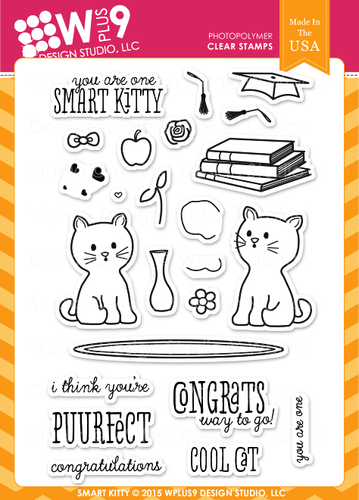
You would be forgiven for wondering where the hula hoops are in this set.. you've not seen them before? Check out the set...
http://www.makethedayspecial.co.uk/shop.php#!/Smart-Kitty/p/49440783/category=3351881
See the hoop? It's the mat!
People ask sometimes how to have ideas that are different from the norm. The secret?
Look at the set in a broad way.
Don't try and match up the different elements initially; i.e. the mat is for the cats to go on top of.. simply look at the shapes. When I saw the elongated oval...I thought 'hula hoop'!
Obviously, she is a smart kitty to hula 3 at once, so the sentiment fits perfectly.
Now, as the cats are unmarked, it's easy to change them... add in new colours of alcohol marker and a little fun with a blending pen and the cat looks so different.
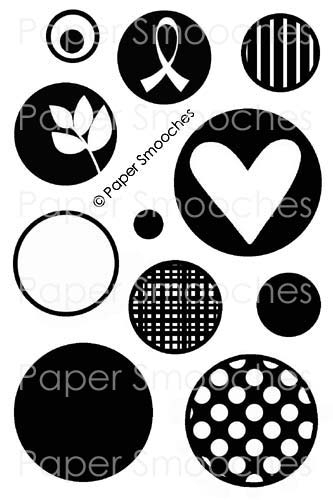
 See the splat.. you can create something similar with this Paper Smooches set
http://www.makethedayspecial.co.uk/shop.php#!/Whirligigs/p/24933813
plus some of the gorgeous Silver Deco Foil
http://www.makethedayspecial.co.uk/shop.php#!/Silver-Deco-Foil/p/48337566
I've simply added mats at unusual angles and made sure there was enough of the grey card touching the ground so the card remained balanced. I also added some eyelashes and slight lips to the mouth with a fine liner so it creates a female kitty!

 Add sequins onto both cards to complete them.
Two very different ways to use the same cat stamp- without even touching the extras that go to create cute scenes for the cats.
I've picked this set as there are enough to go around. I'll leave the pampered pets alone for a week or two!
Which pets would you like to see in a stamp set?
Keren xx

Wednesday, 11 February 2015

Masculine valentine


Hello.
I have seen so many absolutely beautiful valentines cards ones I'm sure we would all love to receive but what  about masculine cards?
I have this quick clean and simple card to make which is perfect if your special someone isn't a hearts and flowers type lol.
All products i have used are from wplus9 including the fabulous "So 80s" stamp set which is in our sale section :)

So 80's - LIMITED EDITIONSeasonal Sentiments DieHeartfelt Mix

I stamped the background image from So 80s in a grey ink and added some of the smaller stars in silver. The love die cut is just white card and i swiped it across a black ink pad , I didn't  want total coverage so this technique was perfect.
I adhered the die cut and the using foam tape added a heart from heartfelt mix stamp set which was heat embossed in platinum and fussy cut.
The you was stamped in black archival ink direct to the card panel.
Thanks for looking.


Saturday, 6 December 2014

Christmas Wreath Extraordinaire

Last weekend, while I was trying to come up with a card for today's post, I grabbed all my christmas stamp set and kept staring at them, willing an idea to form in my brain. No one was more surprised than me when it actually happened: I grabbed the small stamps from a few stamp sets and combined them for this merry and happy DIY wreath.


I wanted the card to be CAS, but at the same time to be happy and cheerful and I tried to achieve this by using Pigment Inks. The colors are opaque and more intense than regular dye inks that sink into the paper. The only downside is that the pigment inks need a little longer to dry, so be careful not to accidentally smudge anything. Personally, I was advised by the one and only Tara to try hairspray to set the ink and guess what – works perfectly!


I finished off the card by wrapping some Lawn Fawn twine around the front panel before adhering it to my card base, which I had decorated with a woodgrain pattern stamp  so it wouldn't be too plain. You could totally skip this step if you wanted.


Thanks for stopping by, I hope your christmas card making is lots of fun and you'll discover even more uses for your little stamps.

Tuesday, 5 August 2014

Two For Tuesday!

Hi! What an amazing Tuesday it is! I have two for Tuesday today..
well the first card is what I'd planned to post. When I last looked at this set..
..there were TONS. Somebody has sneaked in and nabbed them. They are being re-ordered..so don't sweat. 
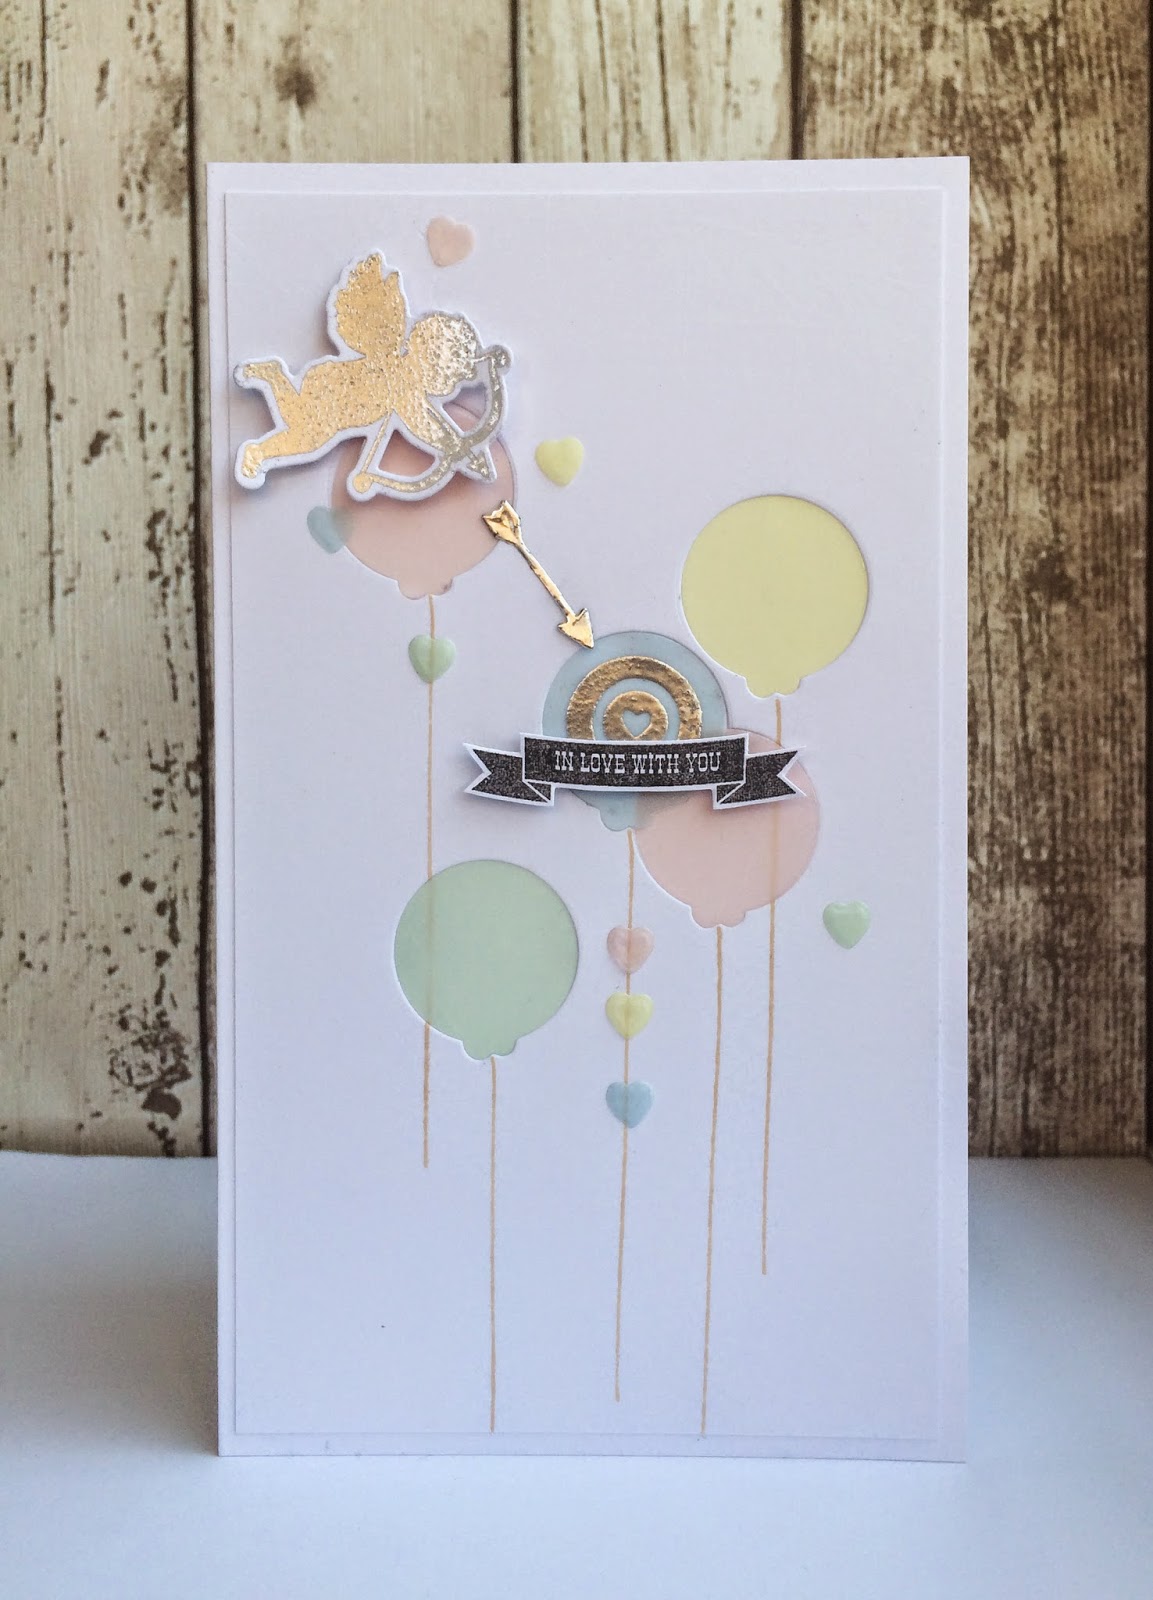
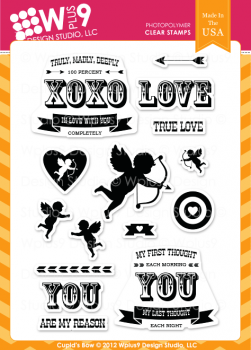
So.. I had to rush this little number up. I was feeling quite hot at the time which subliminally may explain the 'icecream' colours! (ha ha). I've used the WPlus9 Cupid's Arrow set & also the Whole Lotta Happy dies. Quick, easy & perfect if you need to send a card to a special someone!

Well, that's my two for Tuesday. The whisper from HQ is that customs have just taken delivery of an order which will be in store soon. I wonder which one it will be ;-)

See you next Tuesday with something fun!

Thursday, 24 July 2014

Throwback Thursday

Hello!

Todays card is a wedding card I made for a friends wedding. Wedding cards can be tricky to not make them all about the bride,to add a bit of masculinity to them for the groom too,so I hope I got this balance right. I used WPlus9 Fanciful Feathers and dies. The sentiment is Paper Smooches We Connect,out of stock at the moment,but there are loads of alternatives in stock,have a browse.


One feather is feminine,the other masculine. Heres a closer look


Hope you like it! 
There is a new challenge just around the corner,and as always a £15 store credit for the winner-keep checking in for the details,its going to be a gorgeous one!
Lou x

Tuesday, 15 July 2014

Really, Superbly, Greatly, Perfectly Happy!

Good morning! Are you happy?!
Hopefully this card will bring you a bit of rainbow brightness and leave you with no doubt that the sender is wanting to wish you a ton of 'happy'!!
Now the 'Happy' set has just slipped out of stock but there are these alternatives- perfect for recreating the stacked die cut look-
or even these

It's a super-easy technique- just die-cut to your heart's content in a plethora of rainbow colours and simply stack, shifting each word slightly to the right (or left!) until you have a big chunky statement piece that leaves little extra embellishment needed.

For the balloon stack I simply layered up a few of these from the Whole Lotta Happy dies
Well, that's enough 'happy' for one day (yeah, right!)- I hope you pick up a couple of word dies from the shop, dust off your die-cutting machine & get stacking!

See you next week-
Keren xx

Thursday, 19 June 2014

Throwback Thursday

Hello
Happy Throwback Thursday!

Todays card is made using what can only be described as a stamp phenomenon-the set that drove everyone into a complete frenzy- WPlus9's Fresh Cut Florals. Holy moly,we all went nuts for this set! If you do not have it,grab one now to have the original set that sparked a ton of 'copy' stamps.
Ok,so,I have used it on a 60 years young card for my awesome Godmother.


No fusty musty florals on THIS card! No way. 

There are some great accent pieces in this set-I stamped and cut until I had a big pile next to me,then just tried them out in various places over the card until they looked right.

I hope you like it as much as she did ;-)

Happy shopping!
Lou x

Thursday, 8 May 2014

Throwback Thursday (almost!)

Hello!

Dont know about your neck of the woods,but we have officially lost the sun! Le sigh. Rainy days make for perfect crafty,no?
So today I have focused on making a background using a gorgeous set from Wplus9 Coming up Roses-I know,not exactly a throwback yet,but its not the newest release ;-)
I made two cards,both from the same set but with a very different feel.


This is super easy to do,and this set lends itself beautifully to both a focus and a background,and as you can see,you can make a card for someone whatever their age and taste. 


I hope you like these and they inspire you!
Lou x