Showing posts with label bannerific. Show all posts

Wednesday, 26 June 2013

Admit one


Hello.
I took the more is more approach with today's card lol.
Not my normal more cas style.
As the new lawn fawn stamps and dies have arrived at make the day special i was having a play with an older set Admit one, this set is out of stock but i guess most of you already have it :)
I also used the new matching dies which you can find here.
I love that by having matching dies it rings this set back to life and no more fussy cutting.
I used all the dies and the stamps that go with them.
Coloured with copics and layered them up.
I also used Bannerifiic and matching dies and happy everything for the sentiment.
You can see all our Lawn fawn products here.
Thanks for looking.

Wednesday, 5 June 2013

Critters ever after

Hello.
I'm here today with two cards made using Lawn fawns Critters ever after.
I have hardly used this set even though i have had it for ages.
I figured it was time to get it inked up and to practise my colouring.


For this card i started by stamping and colouring the  dragon  image and cutting it out.
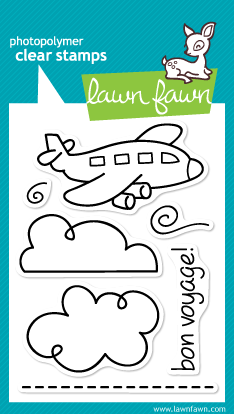
Then i used the clouds from Bon voyage and heat embossed them before using distress inks to colour the background.
I machine stitched the main panel just as a little extra.
Then layered some die cut clouds, the dragon is raised on pop dots.
I gave the clouds a silver lining too with some diamond stickles.
Benneriffic stamps and co-ordinating lawn cuts were used for the sentiment.


This card uses lots of Lawn fawn goodies too.
I wanted to used the lawn cuts that co-ordinate with A birdie told me stamps set.
I decide to kind of make a story board type card.
Inside says Make a wish.
Here are all the products i used for both cards.

Items used but currently out of stock are 
Bannerific
Bannerific lawn cuts/dies
A birdie told me lawn cuts/dies

Thanks for looking.


Saturday, 25 May 2013

A Roaring Good Birthday!!

Good morning...Jenny here :0)

After my last two weeks of Paper Smooches fun I thought I'd have a play with my Lawn Fawn
stamps and dies, I was in the mood for some paper piecing ....


Using the dies when paper piecing takes a little longer but the effect is well worth it!! 
To keep the white border around the edge of the image you have to fussy cut the pieces from 
patterned paper and then layer onto the white die-cut image ... the white border really makes
the colours stand out. I'd just like to add that the leaves where coloured with Promarkers on the die cut image... I didn't have the patience to snip them from patterned paper!!

The lion is from Critters on the Savannah... I was inspired by the sentiment to turn him into 
the lion from the MGM logo using a banner from Bannerific and some leafy branches 
from Blissful Botanicals... oops I've not remebered the logo very well!!
I'm probaly getting confused with a disney version!!!....he suits them anyhow :0)

Unfortunately all these sets are out of stock at this time but have you seen that you can
 pre-order from all the latest Law Fawn stamp sets and dies over at Make the Day Special here
The facility will stay open until the end of the week so to be sure to have a
 browse and place an order to guarantee delivery of your favourites :0)

Thanks for stopping by and I hope you have a 
lovely Bank Holiday Weekend

Jenny x


Friday, 14 September 2012

Pennant Banner Tutorial

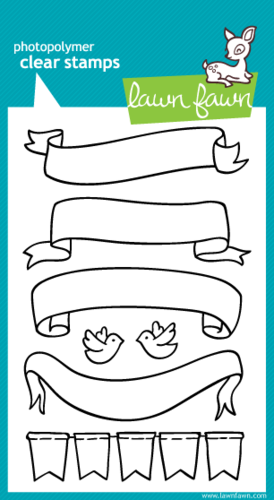
Today, I have a little tutorial for you all, inspired by The Counterfeit Kit Challenge. (I'm Guest Designing for them this month!) This month's Counterfeit Inspiration Kit contained some of Maya Road's Canvas Pennants. They're a little bit too big for my style, so I created my own, much dinkier version using the Bannerific Stamp Set by Lawn Fawn. I can highly recommend purchasing this little lovely. It really is one of my favourite sets because each of the elements is adorable - perfect for cards and scrapbook layouts; and most especially for counterfeiting your own embellishments.


Your first step is to gather up some scraps in a colour combination which will suit your finished project and I chose colours that would compliment September's Counterfeit Kit. I then stamped directly onto my little pieces of patterned paper scraps - sometimes managing to fit on all five of the little pennants, sometimes only one or two. It's doesn't really matter, because you'll be cutting them out individually, so use up as many of those small scraps as possible! Cut out all of your stamped pennant images and arrange them roughly into the order you'd like them to appear in your banner. Now it's time for some machine stitching. (If you're not a confident stitcher, try working your way through my recent series of tutorials Stitching On Paper.)


Start by setting your sewing machine to straight stitch and adjust the speed to it's slowest setting. Now place your first pennant piece under the presser foot, with the needle in place just above the outside edge of the pennant. Sew three or four stitches - aim to leave a little bit of space between your last stitch and the edge of pennant.


Ensure that you leave the needle in the 'down' position - then lift the presser foot and slide the next pennant into place, so that the edges of your pennants are close but not overlapping.


When the pennant is in place, drop the presser foot and continue stitching. Repeat until you have completed your banner - stitching to the very edge of the last pennant piece. Now remove the banner from your sewing machine, pulling on both working threads.


Knot the working threads at each end of your banner - this will stop the pennant pieces moving around - and use a needle or paper piercer to ensure that the knot is tight up against each end. Now display your banner proudly on your cards and layouts!

Maybe you could try this over the weekend? Whatever you do, have a good one! Clair x

Wednesday, 1 August 2012

Have Lemons....


...Make Lemonade.
Hello.
I'm still getting my Lawn fawn fix and have used this cute stamp from them today.
I stamped the sentiment into one of the banners from Bannerific.
The image is coloured with Copics.
For the background i used petite paper pack.
Thanks for looking.

Wednesday, 30 May 2012

Hello...Lawn fawn medley


Hello 
Ive a bit of a Lawn fawn medley going on here today!
For this little card i used ....
Single Twine

Petite Paper Pack

Collection Pack

Bon Voyage

Bannerific

I also used Chevron backdrops and Claire's ABC .
They are  not currently available but will be back in stock soon.
Thanks for looking.