Showing posts with label Julia. Show all posts

Sunday, 16 August 2015

August Challenge Final Week

I'm running a little late with my post this morning so I'll be back this afternoon with some inspiration using our new arrivals but for now, here's your final reminder to play along in our sketch challenge this month.


You can flip the sketch and change the shapes a little to fit your design, as long as we can see our sketch was your jumping off point.  You must also use at least one product we sell in store to be eligible for the £15 prize voucher.

Need a little inspiration?   Well the final two members of our fabulously talented design team are here this week with their interpretations.

Julia

My "gnomy" birthday card for my dad uses: You Gnome Me, Grassy Border Die, Landscape Trio Creative Cuts, and as an alternative for the background stars, try Confetti Background or Star Celebration Background.


Jill


I used Avery Elle's 'Peonies', and Avery elle's 'Thank you Elle-ments die'.


You have until 10pm on the 22nd August to link up your entry here when you've made it.

Wednesday, 15 July 2015

July Challenge Week 3

Its the final week for you to play in our Christmas in July challenge.  Ours has a twist - we don't want Christmas cards - we want you to use your Christmas sets to make ANYTHING BUT a Christmas themed project!


Here's some more inspiration from the design team to kick start the creative juices.


Jill

Candy coloured shaker card using Lawn Fawn's 'Sweet Christmas'.


Julia

A wedding card using Wplus9 Silver Bells stamps and Silver Bells dies.

Sarah
Using Altenew's Festive Silhouettes, Paper Smooches Fancy Frames and My Mind's Eye Woodgrain paper pad.

Link up to the challenge page when you're ready.  As long as you use products from the store then you have the chance to win a £15 store voucher!

The challenge closes at 10pm on the 22nd July.

Monday, 15 June 2015

June Colour Challenge - Final Week

You have just one week left to join in with our by the sea inspired colour theme challenge.  Just pick one picture and use 3 shades from it.


Our fabby DT have some more great projects to inspire you.

Jill

using Lawn Fawn's 'Quinn's abc's (lower case)', and Lawn Fawn's 'Life Is Good'.

Julia
using Sunshine Layers Dies by Wplus9 and Label Love by Altenew


You have until midnight on Monday the 22nd June to link up your entries to challenges page - make a card, a scrapbook page or even a 3d project - whatever takes your fancy for a chance to win £15.   Don't forget to use a product we sell!  http://makethedayspecialcards.blogspot.co.uk/p/challenges.html

Saturday, 16 May 2015

May Sketch Challenge Week 3


Here's your final reminder to join in with our challenge this month - you have until next Sunday to make something using products we sell in store based on the sketch below.

Here's our final design team inspiration posts for you:

Julia
Using Ella and Friends by Mama Elephants and the Timeless Tags 2 by Wplus9 with some Distress Inks and Copics. Full video tutorial on my blog.

Jill
Used Lawn Fawn's 'Hearts', and 'scripty hugs' dies,
Mama Elephant's 'Happy everything' and various sequins and glitter.


You have until 10pm on Sunday 24th May to play along and you can combine with other challenges as long as we can see our sketch in there somewhere.   You must include a link to the challenge in your blog post and you must use at least one product from the store to be eligible for the prize.  Link up your entry on our challenge page when you're ready to play.  http://makethedayspecialcards.blogspot.co.uk/p/challenges.html


Whilst we're talking challenges I need to do a little admin and announce the winner of our Stamping Contrasts play-along challenge from last month. 

Kate was very brave and made both a colourful and black and white floral card inspired by one of our posts in Stamping Contrast week so she is our winner.


A stamp set is in the post for you Kate ;-)

Friday, 24 April 2015

Stamping Contrasts - Die Cutting vs Stamping


For today's penultimate Stamping Contrast post Keren and Julia are focussing on Fresh Cut Florals from Wplus9 and their contrast is focussing on Stamping vs Die Cutting with a set that has matching dies. 


Julia


To me, the Fresh Cut Florals is the stamp set that introduced me to multi layer stamping. Before, I had no idea such delight existed, but seeing this set used for the first time was like a revelation. For today's card, I decided to focus on a) doing a color that contrasts with Keren's card and b) do a twist on the multi layering of colors. I decided to only go with one base color (light blue) and then use gold embossing powder for the second layer. Some of these stamps have more images (three or more layers), but I decided to leave it at two so the contrast between the blue and gold would be as stark as possible.

Keren
    

We wanted to do things focussing on die-cutting and when I looked carefully at the set, the little leaves jumped out to be used in a different way. By die-cutting the leaves over 40 times (yes, I know!) then stamping in different colours and using the leaf veins stamp to add as petal veins it helped make it look less like leaves and more like a flower. Having the dies were so helpful as otherwise I'd have been there for ages and also, the uniform white line around the flower petals helps separate the different colours more effectively. The flower set up involved tracing around a circle die, adding the outer layer first and then working inwards.
I cut around the whole flower and cut straight lines either side of the flower to give a more streamlined look. I've added this onto a base of acetate and added the Trio of Happy dies and some Christmas washi tape


Have we inspired you to join in the fun?
If you fancy having a go and challenging yourself to stamp a contrast along with us then link up your entry below - just pick a contrast from any we'll be demonstrating this week and make your own.   You could either make 2 cards to show the contrast or just choose one of ours and make the contrast to match it (so choose Julia's layered stamped card and make a project focussing on the matching dies like Keren did with whatever stamps and dies you have - you don't have to replicate the project - just the contrast of using the dies as your focus)   We'll leave the link open for a week after our final post on Saturday so you have time to see all the contrasts before picking one to join in with and then have a full week to play.   You never know, we might even find a prize for the best contrast ;-)


Monday, 20 April 2015

Stamping Contrasts - Christmas


We're so glad you're back to join us for our second day of our special week of stamping contrasts.   Today we have an interesting challenge - Christmas vs Non-Christmas using a Christmas stamp set.  There are so many gorgeous stamps which only see the light of day in December so we thought we'd try and make you look at them in a different light so you can show them a little all year round love! 


Jenny

You'd think making a CHRISTMAS card with a Christmas stamp set would be easy... not for me when we're in April!!! At least the Winter Wonderland set is a 'subtle' stamp set for Christmas cards and to match the serene feel of the set I inked a soft winter sky and stamped the trees using  Brown Sugar pigment ink. On a separate panel of card I stamped the deer in Hazel Ink and used Prismacolour pencils to add shadows to the body. I partially cut around the front half of the deer using the matching die and sponged a little blue ink at its feet to continue the scene onto the panel. To finish, I stamped a sentiment from the set and mounted both top panels of card using foam dimensionals.


Julia


Surprisingly enough, creating this card was actually super easy (in terms of coming up with the idea), but a bit time consuming since I used all these rainbow colors. I grabbed one of the tree trunk stamps from the Winter Wonderland set and simply turned it sideways. The sides of the front panel were masked off so I wouldn't get any ink on them and then I started stamp the tree trunk in all these colors, using Hero Arts shadow inks and cleaning the stamp inbetween with the Hero Arts Cleaning Fluid and the Scrubber Pad to make sure I wouldn't get any contamination. Rounding off the card is the sentiment by Paper Smooches called Uplifters, and the little dots I stamped are again from the Winter Wonderland set and I covered them with my glitter pen to get some shine. Easy peasy!


Have we inspired you to join in the fun?
If you fancy having a go and challenging yourself to stamp a contrast along with us then link up your entry below - just pick a contrast from any we'll be demonstrating this week and make your own.   You could either make 2 cards to show the contrast or just choose one of ours and make the contrast to match it (so choose Jenny's and make a non-Christmas card with a Christmas stamp set just like Julia did)   We'll leave the link open for a week after our final post on Saturday so you have time to see all the contrasts before picking one to join in with and then have a full week to play.   You never know, we might even find a prize for the best contrast ;-)


Sunday, 15 February 2015

February Challenge Week 3

This is your final reminder to enter this month's challenge - you have until 10pm on Sunday the 22nd February to link up your project.


Remember you can change the heart to another shape if you'd prefer - just keep the overall feel of the sketch so we know our challenge inspired you and make sure to use at least one item we sell to be eligible for the £15 prize.

Julia


Lydia


Once you've got your project ready, link it up on our challenge page.

Saturday, 20 September 2014

Create Your Own Patterns (and Use Your Dies in Unexpected Ways)

Hello fellow stamp addicts! This card is somewhat of an "accident" – I actually just wanted to play around with my new(ish) 
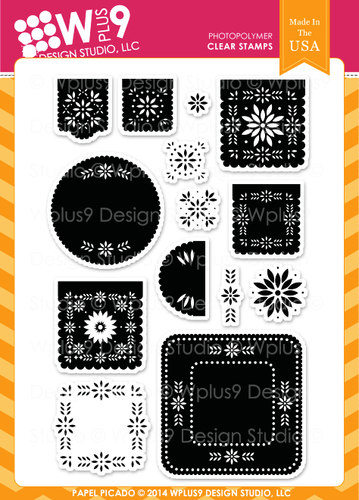
Papel Picado stamp set by Wplus9 and the 
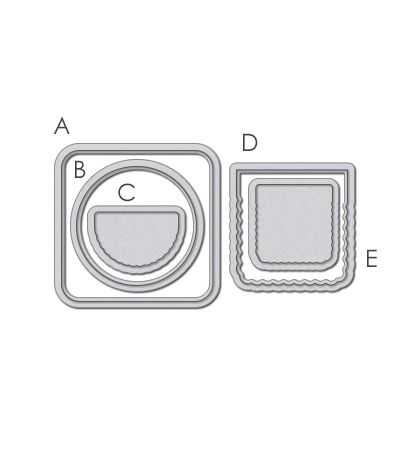
matching dies. My first plan was to create a card what would open in a more creative way by having sort of a "label" stick out which you can grab and open the card to. Needless to say, the biggest effort was in figuring out how to send this through my die cutting machine to make it work ;)


But I think it looks different and creative enough to make all the headache worthwhile. The trick is to cut just far enough to create the sticking out "label" but not so far that you actually cut out the entire shape. In case you want to try this too, here are the steps (images below):
  1. Line up the die correctly on your card. Fix it in place with some low tack tape and also draw a thin pencil line that marks where your cutting plates need to be. Line your paper up on the bottom cutting plate, with the die on top of the cutting plate, but only as far as to the pencil line.
  2. Place the second plate on top, but again – only as far as the pencil line goes. Basically, the smallest part of your card is between the plates, and most of your card isn't even inside of the sandwich. Make sure that the top border of the die is not between the cutting plates because you want to partially die cut, not completely.
  3. Use a crafting knife, a cutting mat, and a good stable ruler to cut along the pencil line to get rid of the bottom part of the card.
  4. Done!

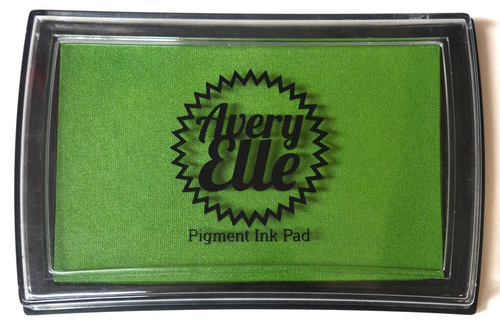
Once that is done, the rest was easy. I used some of the smaller stamps from the Papel Picado stamp set to create the pattern. I didn't draw any guidelines, just started in the middle and worked my way across the card. Since I was using pigment inks from Avery Elle (currently OOS, sorry!!), I just needed to make sure I wasn't touching the just stamped images (pigment inks need a while to dry).


On the inside, I used a Versa Gold Ink and also one of the little stamps from the same stamp set. I intentionally skipped the green here because I wanted to have some contrast so the recipient of the card would see immediately that it would open there. To increase the contrast between the outside and the inside, I smushed my ink pad onto some white card stock, then cut a thin stripe and glued it to the bottom of the front.

For the finish, I die cut the 
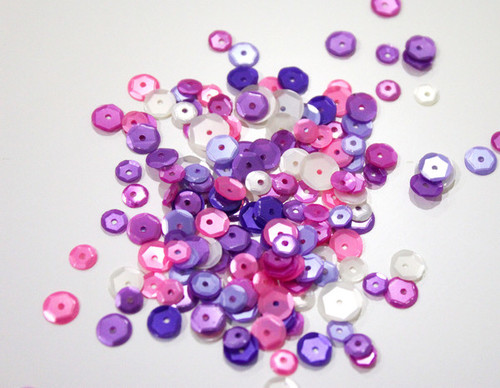
Hand Lettered Thank You, also from Wplus9, multiple times from white card stock and then used Glue 'n Seal (like Multi Medium Matte) to stick them all together. I prefer the matte glue because you can have boo-boos and no one will ever know. I added some white Wink of Stella brush and then coated the thick sentiment with glossy accents to trap the shine. And of course, this card wouldn't be finished if not for some sequins.


I hope you enjoyed today's card and it will make you look at your dies in new creative ways. Cheers!

Supply List