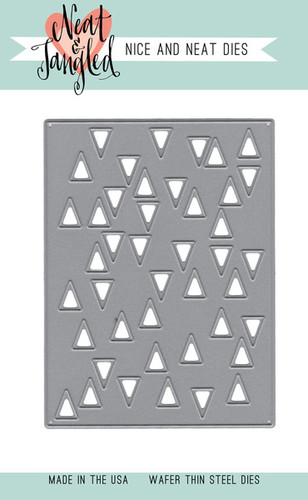
Showing posts with label Neat and Tangled Tiny Triangles Die. Show all posts

Tuesday, 18 August 2015

Nightmare Surfaces!

 Ever start a card and wish you hadn't?!!
This one definitely fits into that category.. vellum, stitching acetate and flakes plus trying to photograph them too!
So- how do you do the whole 'don't let the glue show' thing ?
The acetate.. washi, Stick It (a fantastic adhesive available in store that's pretty invisible!) or stitching. like I've done here.
The acetate is the same... use the same sort of devices, or use an embellishment over the top to hide the glue.
I've used the following supplies
Trying to photograph it?
Ha.
The acetate shows your reflection and then if you angle it, it looks weird, but there is help in taking the photo when the light's not too bright- early morning so there are less rays bouncing off your picture.

Just pop a few sequins to add some colour to it. I added silver flakes to vellum which worked surprisingly well. You could easily use cardstock but I wanted to keep the light and airy feel to it.

Hope you like my unusual card- just don't have a clue where to write the greeting now ;-)

Tuesday, 11 November 2014

Warm Wishes

Good morning - Keren is taking a little break this week, so I thought I'd take the opportunity to show off some of the new release from Neat and Tangled that arrived yesterday.


I started with the new warm wishes stamp - although this is Christmas focussed, you could easily use it for those people who have winter birthdays too - and decided to play on the "warm" for my colour palette.   I embossed the image in gold and then used distress inks to make the panel "glow" (does it remind you of ready brek adverts from the 80's???) 

I wanted to add some more gold so opted for a die cut panel using the new tiny triangles die - I've used it landscape and used the partial die cut method to extend the panel and cut it twice to get a panel double the size of the die.  It's easier to do than you might think - just line the edge you do not want to cut up with the edge of your cutting plates and make it hang over the edge of your base plate and then hey presto, no cut.

I layered up my panels at angles, adding a deep red glitter paper underneath and then carefully coloured the mug with copics to match and make it stand out.  A scattering of sequins from the Festive Fall collection was the my final finishing touch as they match my colours perfectly.

Catch you all on Sunday

Tara