Showing posts with label Lawn Fawn Critters in the Arctic. Show all posts

Tuesday, 2 December 2014

Narwhal Alert!

 Hi! Hope you're ok and wahooo.. it's December.
I recently got this set, 'Critters in the Arctic'
Isn't it great? 
I have to admit not knowing what a Narwhal was- even though I've seen Elf. 
I immediately thought of Santa's sleigh- and imagined the Narwhals pulling it over the Arctic. 
Yes, my brain goes strange places.
See the little hat? Thought I'd give them each some warmth and a little personality. By angling the hat and placing it in different directions, you can make them look a little different.
I added a piece of red thread through their bodies (don't worry- I found a fleshy bit that didn't hurt). I gathered them together and attached them to the inside of the front cover. I've created the ocean with some vellum.
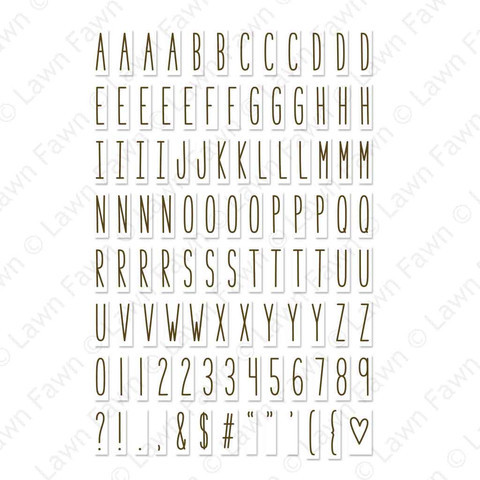
The sentiment is using the Milo's font stamp set
http://www.makethedayspecial.co.uk/shop.php#!/Milos-ABCs/p/28361545/category=2717768

I just created the sky using some distress inks and made some little 'sleigh pieces' out of Snow Days paper
http://www.makethedayspecial.co.uk/shop.php#!/Snow-Day-6x6-Paper-Pad/p/39872511/category=2717767
I have so many ideas for this set- you might find it popping up on some other Tuesdays.

See you next week,

Keren x

Thursday, 27 November 2014

Throwback Thursday

Hello!
Feeling Christmassy yet? Everyone seems to have a lot more enthusiasm for decorating early this year-everyone I know has their tree up already! 
Today's card is a fun scene made using Lawn Fawn Winter Bunny and Lawn Fawn Critters in the Arctic,for a Winter rabbit team up.


The snowflakes are from the Lawn Fawn snowflake dies (oh I LOVE love those!) The bunnies are Copic coloured and fussy cut out (although both stamp sets do have matching dies) and the snow is just torn up glitter card.


Well that's it from me this week-hope you like it!

Lou x


Sunday, 23 November 2014

Gift Giving on a Budget

Get yourself a cuppa, this is a loooooong post with lots of images, but I've done something a little different today and wanted to do a bit of a tutorial on how I did it so step-by-step photography was required.

I'm always looking for thrifty ways of making homemade gifts, especially at Christmas when we're all on limited budgets, and for me "adding handmade value" to standard gifts, like bottles of wine, is always a winner.  So today I have both a simple tag to dress up a bottle for a last minute gift, and also a set of wine glass charms that you can tie on a bottle to make the gift a little more special.


For the quick and simple tag - you need the fabulous stamp and die set from Avery Elle called Cheers.   I simply die cut the bottle tag from kraft card and then added strips of washi tape from the Sleigh Bells Ring washi tape collection and die cut it again before stamping the very appropriate sentiment in the gap I left in the middle.  I finished with a wooden snowflake from Lawn Fawn.  This is such a quick and easy way to dress up your bottles and much cheaper than those boring old bottle bags!

Now for the slightly more complicated gift - a set of 6 wine glass charms on a nice big tag.  This is still an easy make but does take a little longer - you will need:

  • Shrink Plastic
  • A selection of large(ish) stamps - shrink plastic shrinks by 70%!
  • Stazon Ink
  • Copic or other markers
  • Matching dies or scissors for fussy cutting
  • A hole punch
  • A heat gun/oven
  • Wine Glass Charm blanks (as these could be hard to get hold of I have added them to our basic supplies section of the store)
  • Jump rings

I decided to go down the Lawn Fawn critters route for this set and selected 6 critters with a winter theme from Critters in the Arctic, Into the Woods and Critters in the Snow.

First you need to stamp your chosen critter using stazon ink onto the shiny side of your shrink plastic.


Turn it over and colour the back lightly with copics or other markers - you won't be able to do lots of blending and shading as the ink just sits on the surface, and bear in mind that when it shrinks the colours will intensify as well.


Use your matching dies or scissors to cut it out.  If you use a die - they will cut shrink plastic - you may need a couple of passes and/or a shim but they do cut the plastic surprisingly well.


You must remember to punch a hole in your critter before you shrink it - and again remember it needs to be large as it too will shrink with your critter and it needs to be big enough to get a jump ring through when shrunk.   I used the small size on my crop-a-dile.


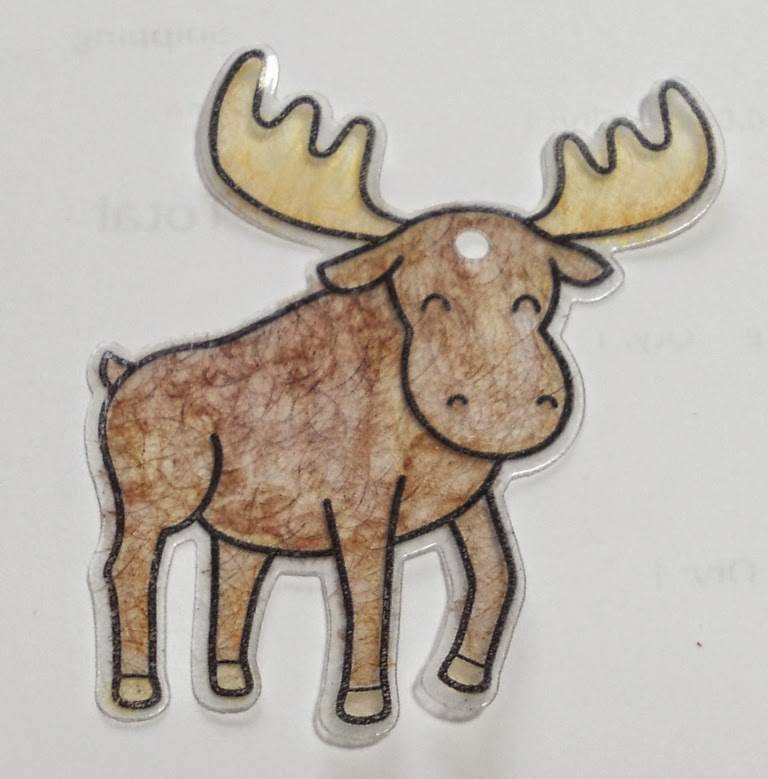
Shrink your critter down with your heat gun or in the oven as per the manufacturers instructions.  I use my heat gun and put them one at a time into the lid of a cardboard box to stop them blowing all over the desk (holding them down with tools can cause them to shrink unevenly so free and easy is better for shrinking).  Turn them out and whilst still hot flatten them down with an acrylic block.   Here's the moose finished inside the die so you can see just how much he shrinks!


All that is left to do then is to pop a jump ring through the hole, close it and hang it off one of the wine glass charm blanks and they're ready to use at your Christmas party so everyone knows who's glass is who's.


To turn them from individual charms into a gift you ca give, I made a tag to hang them on.  I used the gorgeous large tag from Tags A Lot from Mama Elephant and die cut it from kraft again and decorate the bottom with more washi tape.  I stamped the large Cheers! from the cheers set from Avery Elle at the top and then to hang the tags I drew some light pencil lines at the 1/4, 1/2 and 3/4 points to get 3 columns, and then drew two horizontal lines at the height of the charms to get 2 rows.  You then need to make a hole on the horizontal lines a couple of mm's on either side of every vertical line.  Make sure all your charms are facing the same direction (ie with the eye on the same side) and then feed the hook through both holes securing into the eye so they hang on your tag.   Add some ribbon and tie around your bottle - et voila - a gift the recipients can keep using long after the contents of the bottle has been drunk....


Happy Shrinking!   See you next weekend.

Tara

Monday, 6 October 2014

Coloured Christmas Cards...part 2


Hello again :0)
I hope you all enjoyed Colouring week on the blog and managed to find some crafting time on World Card Making Day this weekend.... I certainly enjoyed all the projects and colouring tips from my fellow teamies :0)

Well I'm back today with the last two cards of my Mini Christmas card set and the box to store or gift them in ....

This is my favourite card of the set...so simple and cute!! The little plump penguins fit so well into the sentiment which has been diecut using Finley's ABC's... twice to create a shadow to each letter too. The ice patch is embossed onto vellum and easily adhered by disguising the glue behind the penguins and letters :0)


For this card I've used last years winter bunny and he's having some fun in this snowy scene. To make the sky I've used a promarker in the Tim Holtz spritzer tool and a bumpy mask to make cloud shapes. Instead of adding a sentiment I've used the 'Be Merry' stamp to make a repeated tone on tone background for interest.


To decorate the box I've used the penguin design again and just changed up the sentiment. 

To make a box I wandered around You Tube and Pinterest to find a good tutorial that I could adapt for the size of my card set and found this style, so this design is certainly not my own but I have made and photographed a net shape to show you. You can make this easily from a piece of A4 cardstock (I've used Crumb Cake by Stampin Up)

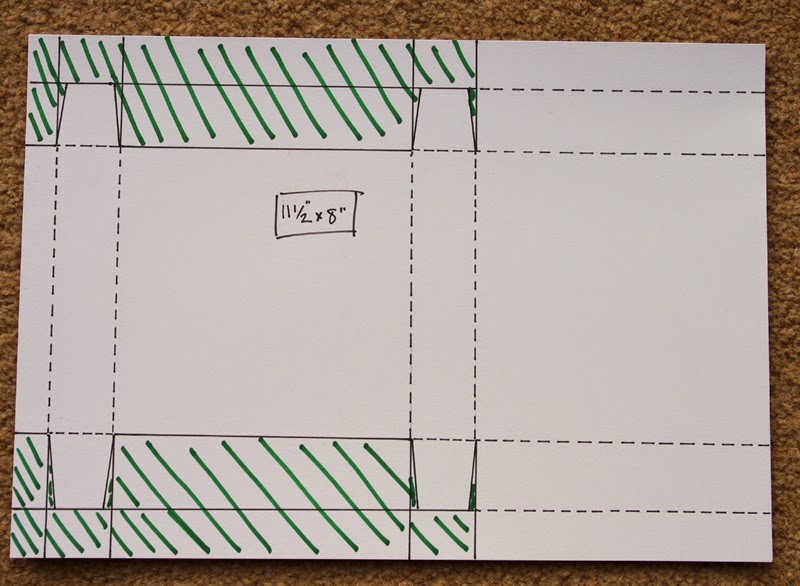
 1. You need to trim your A4 card to 11.5x8 inches and the drawing below shows the increments to score at.

2.The green areas in the photo below show which areas need to be cut away and the dotted lines are to be folded and burnished with a bone folder

3. Your net shape should look like this after cutting and folding, it's easier to use a circle punch at this point to add a notch as shown in the photo, this helps with opening the box. I've also rounded the two corners of the top and bottom flaps.

4. Fold the left end in and apply strong glue along the back of the narrow strip then folding where indicated in the photo below bring the right hand side across and adhere the box sides together.

I hope that all made sense and you should have a lovely little box that measures 4.5inches square and an inch deep. The cards and their envelopes fit nice and snug in the box... if you didn't see my blog post last week showing the first three cards you can find it here ..this is the set of 5 designs

Well that was another marathon post...well done if you made it to the end.
Don't forget to check out our latest challenge here and also it's Anything Goes week over at Paper Smooches Sparks this week, here's my DT card using Falling for You, Spring Fling and I Heart Art.
It would be great to see you in the gallery for both challenges...you could even be clever and combine them :0)

Jenny x


Monday, 29 September 2014

Colouring Christmas Cards...part 1

Hello and welcome to day two of Colouring week!!


   Wether you are new to colouring or proficient with your marker pens, I think that, by far the easiest images to colour in the stamping world are Lawn Fawn and Paper Smoches images as they are not too detailed and have good bold outlines...very much like colouring book images from our younger days :0)

I have made a set of five mini Christmas cards using Lawn Fawn Stamps, three of which I'll share with you today and then next week I will show you the remaing two and the Gift box I've made to put them in :0)

So lets kick off with the photos....
                                                    
By using small 10x10cm square cards I've kept the designs simple which is perfect for the Lawn Fawn Critters. I've used matching dies if I have them so this means I can stamp out a load of images onto a sheet of alchohol marker friendly card and colour lots of images in one go....this is a great way to practice as well as making a good reference sheet for Colour Combinations in the future.

Unlike a lot of crafters I use Promarkers as they were cheaper to start me off with but I love them and wouldn't change them at all. I tend to stick with the same combinations of colours...browns are my most used as I just love colouring furry critters.I've used Cocoa, Burnt Sienna and Umber for Mr Moose and I start by laying my lightest colour down first and work through to the darkest before going back through to the lightest. His antlers are shaded using Umber and Warm Grey 5 with a touch of black for a slight shadow underneath. Do you see the highlight along his back? I left this area un-coloured with the first application of colour... this means it only has one layer of colour which is applied when I blend over the image with the last layer of the lightest colour. Goodness that was a tongue twister!!!

These cute Winter Sparrows use a similar colour palette but I swapped the Cocoa for Cinnamon instead so the highlights are lighter. With small images like this you don't really need to use three colours as the card can become too saturated and bleeding can occur outside the lines...... I used very minimal strokes of the Umber here.
*TIP* If you have the matching dies for these little fellas it's worth die-cutting extra branches and birds to use stacked underneath the coloured image... that way you don't need to be cutting tiny pieces of foam to mount them onto your card front..much easier :0)


Colouring these Christmas lights was great fun as you can really exagerate your dark areas and highlights because they're meant to be shiny.... the hardest part was fussy cutting them out (fingers crossed matching dies will be released for this set). I've shaped the stamp on my acrylic block to make different curves, you can also repeat the pattern for larger areas if you wanted too :0)

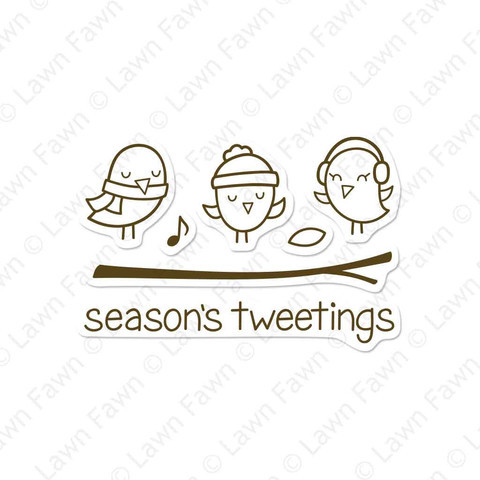
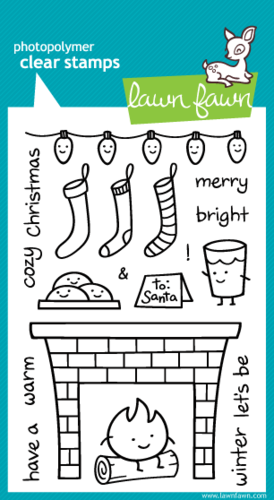
                          Critters in the Arctic  Winter Sparrows  Cozy Christmas
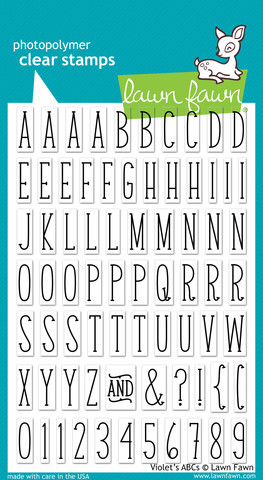
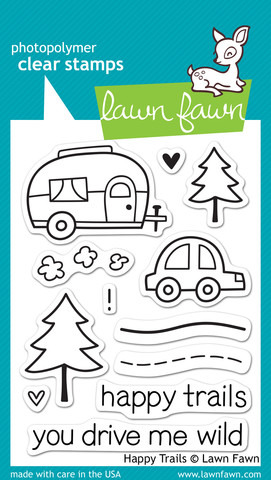
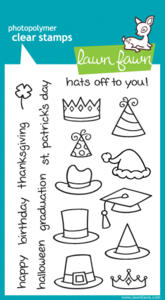
                                     Violet's ABCs  Happy Trails  Hats Off To You

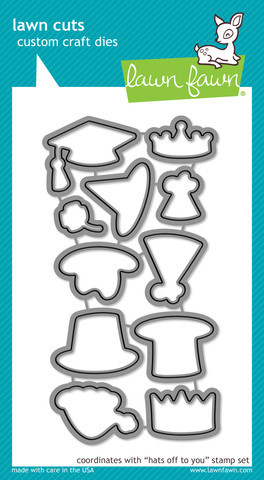
         Critters in the Arctic Creative Cuts  Hats Off to You Lawn Cuts  Winter Sparrows Dies  Happy Trails Die
As you can see from the above montage I'm a bit of a Lawn Fawn addict!! Click on the pictutres above to take you to the store if you're interested in any of the sets.
 I've made five different designs but you could equally choose one design to suit your stash and colouring technique and stamp a whole load of images out to colour at leisure in front of the TV or with music playing... using the co-ordinating dies helps speed up the process of cutting out, great for producing batches of cards :0)

Catch ya next week with the rest of the gift set
Jenny x

Thursday, 18 September 2014

Throwback Thursday

Hello! Happy Day-After-Humpday!

Do you have a Harry Potter fan living with you?! I do! Today's card is made using Lawn Fawn Gnome Sweet Gnome and Critters in the Arctic


The lightning bolts are from Lil' Inkers Cut it Out Clouds dies and the sentiment is made using good 'ol Lawn Fawn Milo's ABC's

I had to reverse stamp 'Hedwig' onto 'Dumbledore',or he would have had an owl butt in his face ;-),coloured them both with Copics and fussy cut them out. I think the little gnome works pretty well as a wizard,no? 

There is still time to play with this months challenge-its a sketch one,and has lots of lovely ideas from the DT to get you cracking!

See you next week!
Lou x


Sunday, 14 September 2014

Arctic Lights

With all the talk of coronal mass ejections that have been happening this week and their effect on the Aurora Borealis I was inspired to make a card with the northern lights and as the best place to see them is the arctic circle I thought it was  great excuse to ink up the new adorable Critters in the Arctic set from Lawn Fawn!


To make the arctic background I used LuminArte shimmer paints and did a basic blue wash - light blue for the icy water and darker for the sky.  Once it was dry I added some lime green for the light from the Aurora and then let that dry too.  For the Aurora detail itself I used two shades of green and dry brushed it on top with an upwards flicking motion - it is a lot more shimmery in real life but shimmer is so hard to photograph - here's a close up


For the icebergs I used the one stamp that comes in the set and stamped it on vellum adding wow vodka sparkle for the glittering edges.  To get the larger berg for the Walrus to sit on, I stamped half the berg (using a little masking) and then stamped it again joining up the "bumps" for a bigger berg.

Then the super cute Walrus was stamped on copic colouring card and coloured with copics - dotting the palest grey over the coloured image to finish to get a realistic looking texture to the skin.  The sentiment is from the same set.


News from the Store:

There will be some new Paper Smooches made live this afternoon.

Mama Elephant, Wplus9 and Avery Elle are all in Customs Clearance and will be here as soon as they clear.  Hopefully this week (Avery Elle should be here Wednesday - the other two may be later or early next week)

Restocks from Lawn Fawn have been requested - we're just waiting for them to package and ship it but I hope it will be here by the end of the month.