Showing posts with label gingham backdrops. Show all posts

Monday, 18 May 2015

Two of your Five a Day!!


Hello there :0)... yes I've turned my attention to Fruit and Veg for my Monday morning blog post and it just so happens that today also marks the start of National Vegetarian Week too!!. I could pretend I planned it that way but that would be fibbing!!

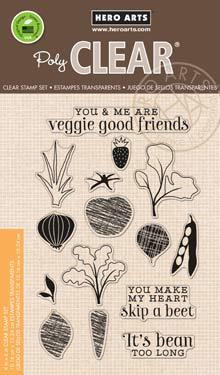
I fell in love with the sketchy images in the Hero Arts 'Stamp Your Own Salad' set, they have a bold graphic feel and I could see textiles and patterns popping out at me so I suppose it's a bit odd that I should be trying watercolouring with these images. They help you cheat a little at watercolouring but the recipients of your projects will think you've spent ages on them :)


Because the images have a crosshatch scribbled look to them it means they lay down a nice amount of ink when you use distress ink pads so all you need is a damp waterbrush to fill in the base colour. I found second generation stamping best because its best to start with a pale colour!! Once the base colour is dry you can then build up extra layers and shades to add shape and texture to your images. It's all about taking some scrap watercolour card and having a play with ink and water :)


With the tomatoes above, I completed one fruit first and then blasted it with a heatgun to dry it off before stamping the second image behind it. You don't really need to make masks because you can roughly judge where to wipe the ink away from your image before you stamp it.... any overlap or gaps can easily be rectified when you add water. I got brave and tried inking half the tomato to make a wedge shape.... by wiping some of the ink away in the centre and using second generation stamping I managed to get a paler impression to work with. I Googled an image to make sure I replicated the inner colours and shapes right. I had a few practices first on scrap card :)


The carrots are created pretty much the same, one at a time and allowing them to dry in between layers. The tops aren't quite right for carrots (think they're supposed to be parsnips actually) but that's okay unless you show your husband who's a keen gardener!!
I stamped the tops in a pale green and used darker ink to colour them. The colour bled a little with these so I decided to go with it and work on that look but it's quite hard to make an accidental colour bleed look accidental!!

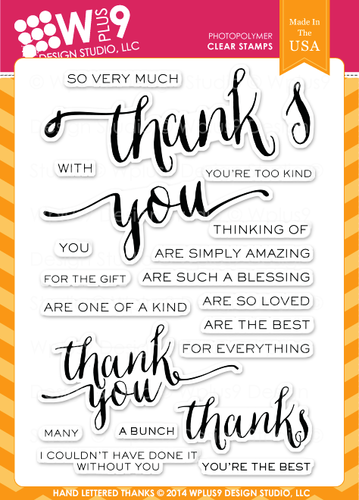
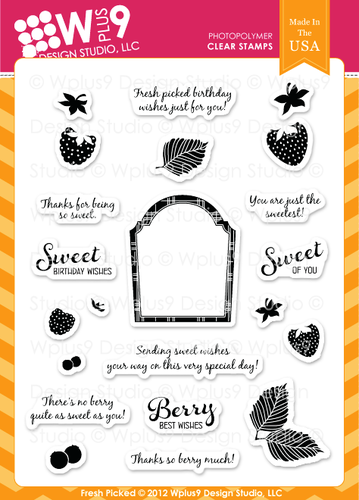
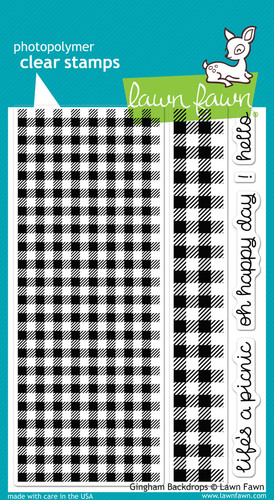
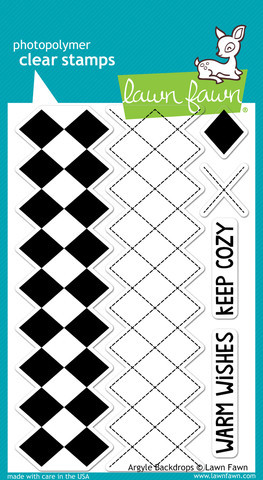
To finish them off I kept the base card simple and used Lawn Fawns Argyle and Gingham backdrops to add a subtle pattern. The sentiments are from Wplus9's Hand Lettered Thanks and Fresh Picked.

         Stamp Your Own Salad  Hand Lettered Thanks  Fresh Picked  Gingham Backdrops 
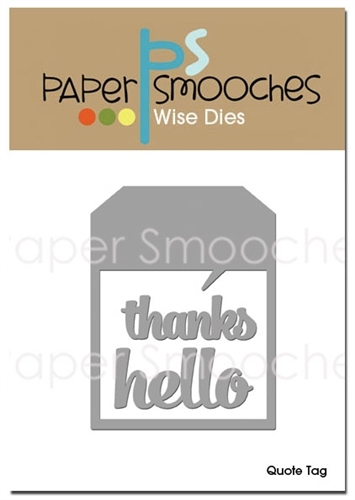
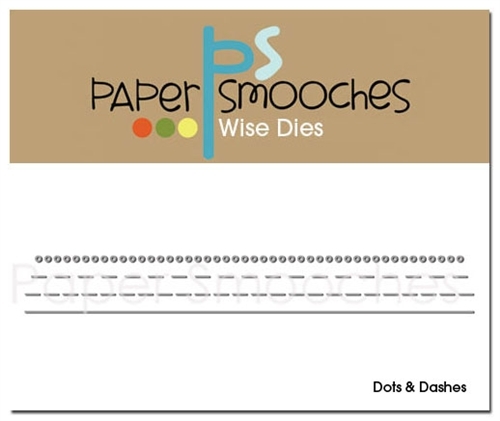
                       Argyle Backdrops  Quote Tag Dies  Dots and Dashes Dies

Thanks for stopping by :)
Jenny x

Wednesday, 6 May 2015

Sweet birthday


Hello.
We had lots of Lawn fawn back in stock recently and I managed to get one of the awesome baked with love sets. 
I just love the mixer and I love baking...although I don't have a  snazzy mixer like the stamp image.
I have a tonne of ideas for this set but for this week thought I would share this fun shaker card.


Firstly I stamped and die cut lots of the images.
They are all coloured with copics.
As the dies are just the outline its super easy to line up the stamps and the die cuts so you could do it either way.
I then die cut two stitched rectangles one from lawn fawn patterned paper and the other just my normal white card.
The patterned piece was adhered to my card base and i place all the images and some clear sequins onto it.
Using the white piece I then cut out another rectangle and stamped in bright yellow with the gingham backdrops stamp set.
I placed foam tape on the back and placed over the patterned piece and the shapes.
Finally I added the die cut banner with the sentiment and some little hearts that were finished with glossy accents.


Gingham BackdropsBaked with LoveBaked with Love Lawn CutBannerific

Bannerific DiesLarge Stitched Rectangle Lawn CutsCrystal Clear Sequins

Thanks for looking.

Wednesday, 29 April 2015

Happy mail


Hello.
With all the  cards i make i rarely send many out, i have decided to make more effort in changing that. 
The gleeful gardens stamps from lawn fawn have a wonderful snail mail sentiment that helped me decide.


Both cards are simple in design.
I used the gingham backdrops with hero arts ombre inks on the card base.
The die cut images are all coloured with copics and then adhered to the stitched circle panel.
The  cards as they are going to be mailed are mostly flat with no embellishment just the envelopes and bird on foam tape.
I selectively inked the sentiment to just use the parts i wanted.

Gingham Backdrops  Gleeful Gardens Lawn Cut Gleeful GardensSmall Stitched Circle Lawn Cuts

Ombre Ink Pad Mint to Green

Thanks for looking.