Hello!
I hope you are well and haven't caught any bugs recently even though my two cards today feature fun get well sentiments. They are the kind of card that I never have to hand when I need them so when I broke out the Paper Smooches Healthy Vibes set I decided to make two cards on a similar theme for good measure....
This cute bug is fun to work with and I have stamped it in light grey across the background with one bug highlighted in black and coloured in with spectrum noir pencils. I have added glossy accents too.
The bugs are caught on camera here with the polaroid die from Lawn Fawn. Hopefully it would bring a smile to the face of the recipient!
Thanks for stopping by :)
Sarah x
Thursday, 23 July 2015
Wednesday, 22 July 2015
Hello.
Hello.
I have a really easy card to make today.
It features the Altenew set Floral motifs.
By stamping the image in black repeatedly and just colouring the one image with whatever you have to hand you can really get a pop on a simple card.
I used a watercolour pen to colour the flower and leaves.
I loosened the pink colour with a water brush and its much more blended than it looks in the picture.
Keeping the design simple gives the flower centre stage on my card front.
Thanks for looking.
Tuesday, 21 July 2015
Just One tiny Stamp..
Hi! Thanks to Julia for filling in for me last week. This week I'm championing little things.. or more precisely.. the little stamps.
Those ones that aren't always exciting enough to be a focus of themselves.
Take this card, I thought I'd use the spoons from the Lawn Fawn set..Baked With Love
Just a length of sturdy acetate, measured so its longer than the gap you'll fill. Measure two slits where you want to insert the acetate & fold the strip at either end (leaving enough either side to glue down at the back).
Slot in the acetate and secure at the back. Now you just want to suspend the hanging elements from some washi (or double sided tape) and secure onto the acetate curve.
Just decorate and you're done.
Yeah, I know it would be tricky fitting into an envelope. You could always create a square version that would fold flat, but I think this shape is lots of fun and you could always send it in a little box.
It would look amazing on a bigger card with lots of the cooking items dangling down. I wanted to keep it simple- I thought the spoons looked a little like hanging balloons!
Hope you have fun creating a 3D card,
See you next week,
Keren xx
Those ones that aren't always exciting enough to be a focus of themselves.
Take this card, I thought I'd use the spoons from the Lawn Fawn set..Baked With Love
I stamped lots of spoons and coloured them in with alcohol markers. Then I pierced the tops & threaded some cotton through.
I love creating what I've named 'chandelier' cards- so very easy.Just a length of sturdy acetate, measured so its longer than the gap you'll fill. Measure two slits where you want to insert the acetate & fold the strip at either end (leaving enough either side to glue down at the back).
Slot in the acetate and secure at the back. Now you just want to suspend the hanging elements from some washi (or double sided tape) and secure onto the acetate curve.
Just decorate and you're done.
Yeah, I know it would be tricky fitting into an envelope. You could always create a square version that would fold flat, but I think this shape is lots of fun and you could always send it in a little box.
It would look amazing on a bigger card with lots of the cooking items dangling down. I wanted to keep it simple- I thought the spoons looked a little like hanging balloons!
Hope you have fun creating a 3D card,
See you next week,
Keren xx
Monday, 20 July 2015
Make you Smile !!
I've got summer and children covered today with the new Tiger and Lily stamp and die set from Waffleflower Crafts......
This stamp set is something a little bit different which really appealed to me... or should I say the child in me :)
Great for kids cards and even better for themed party invites etc!!.... lots of images for building scenes too, you have to check out the Waffleflower blog and videos to see this set in action. I decided to stamp and colour my images in the same style as Nina showed in her video here and frame my beach scene with a pierced circle frame from MFT.
The sentiment I found to fit on the frame was from the Surprise Sentiments set by Mama Elephant and hopefully the recipient will smile at the surprise when they see the inside....
Here's the links to the products I've used


Thanks for stopping by :)
Jenny x
Sunday, 19 July 2015
Busy July
July is a really busy month for me with LOTS of birthdays and anniversaries so I'll be busy in the craft room creating lots of cards all month. I have a couple to share today which are totally random.
This one uses four related products from My Favorite Things which I just adore and know I will be using a lot of all the teenagers in our life. The background is created using distress inks and the equalizer stencil. The headphones and MP3 player are die cut from black and grey card and then a sentiment and musical note from keep on rockin' stamp set that co-ordinates with it all.
This anniversary card started with the strip of paper from the new Dots and Stripes Sorbet paper pack from MFT - it's sometimes fun to pick a paper to be your inspiration. A strip of that behind a white panel topped wit the gorgeous flower from the Lotus set and leaves from Leafy both by Waffle Flower give a focal point - in this instance embossed in white and coloured with inktense pencils. The sentiment and the teeny-tiny hearts which pull the colour of the paper across the design are from Mama Elephant's Bountiful Blessings.
NEWS FROM THE STORE
- We've had new releases from Mama Elephant, Reverse Confetti and Newton's Nook this week.
- We've also had massive restocks on Altenew inks and dies as well as some of the out of stock stamps. They have another new release in a week or 2 so I will attempt to re-order out of stock products then but please note they have very slow turn-around times so I have no idea how long it will take to get them in store.
- The new release from Neat and Tangled will ship early next week and be with us by next weekend fingers crossed.
Saturday, 18 July 2015
Make Your Images Stand out on Craft Cards
Hello crafters! Today I have a super fun car to share with you, and that is both because of the motive and because of how I put it together. The stamp I'm using is from a brand that is new to the Make The Day Special Stamp Store and it is called Stamping Bella.
The moment I saw this girl with the monster behind her, I fell in love with the stamp. That could totally be me :-) I love to read and when I read I usually get totally lost in the story, so monsters, cities, and all the characters come to life for me and I'm literally an entirely different world.
I colored it with my Inktense pencils and actually started while I was in my short vacation in Italy at Lago Maggiore, but it ended up being too hot to do anything so I finished it back home. I will be having a few videos featuring colorings Inktense pencils because I found it quite challenging when I started out and maybe it's the same for you. Basically, you work in layers. You put on your lightest color first, activated with water, let it dry, then going with your darker colors and you repeat this process until it looks great to you. everything in this image has at least five layers, and the monster even ended up having nine.
The fun frame that I created on the front panel is from a die from Avery Elle and I can see myself using this a lot. It just adds the right amount of interest to a front panel without having to add any bulk because of layers.
Thank you so much for stopping by today and I hope you give the Stamping Bella product range a look. They have just wonderful motives and I will be having more cards with their stamps in the future. Have a great weekend!
Friday, 17 July 2015
Just because...
I've got some simple colouring on kraft to share with you today.
I'm a massive fan of kraft card, and I especially love colouring with pencils on it, it creates such an organic look.
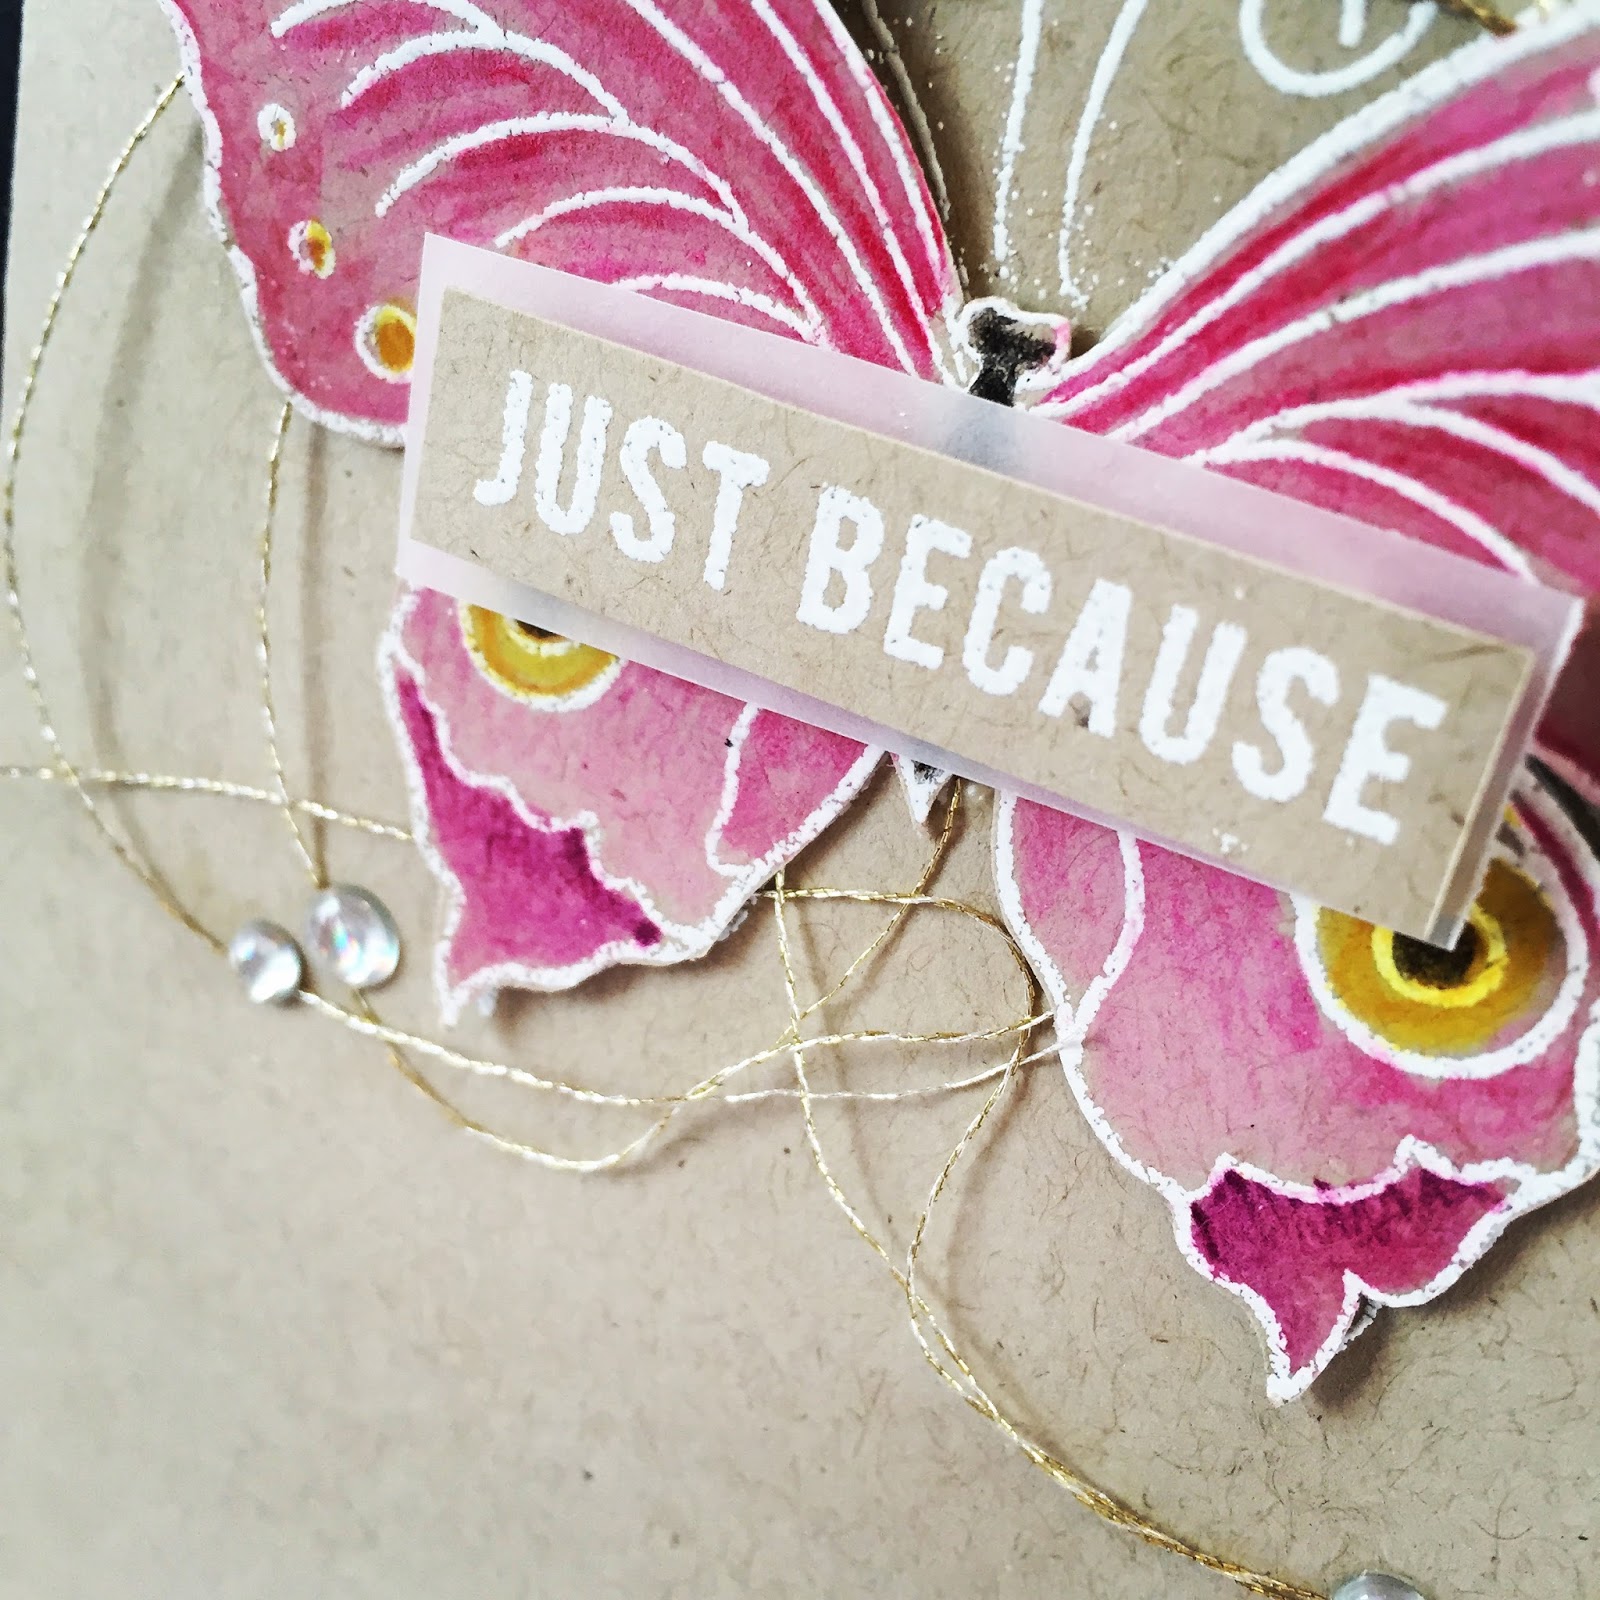
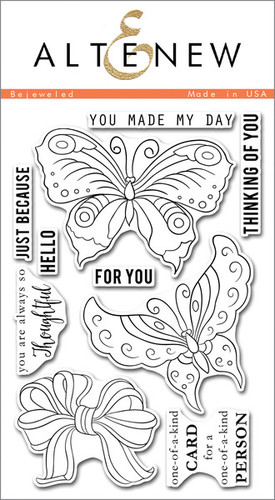
I started by stamping out the butterfly, twice, once on my card panel, and a second time on a separate piece of kraft card, and heat embossing in white. I then got out my coloured pencils, (I used Crafter's Companion but obviously any would work), and coloured my second butterfly in, using soft pinks with a splash of yellow to help make the colours pop. I stamped out my sentiment, again heat embossing in white, and cut around it. Like I said, I love the organic look and wanted to keep that theme throughout, so wasn't too concerned about perfection. I also cut a piece of vellum to put behind my sentiment for a bit of extra pretty...coz we all need some extra pretty, right?
I then layered all my pieces on top of one another, adding some gold twine behind the whole thing. I wanted my butterfly to really stand of from the card, so added some foam tape behind the wings to really make them stand proud.
I finished with a scattering of clear domed gems as I thought they worked perfect with the pretty simplicity I was aiming for. And there you have it. I love this set, it's really good for all types of colouring, and I especially love the sentiments in it, the fonts are clean and modern and have really sweet simple messages. I hope you like it.
As always, everything I used is linked up below.
See you next week.
Jillx
Subscribe to:
Posts (Atom)