

Hey! Hope you've a few minutes to spare- this is a bit of a longer post than usual, but thought I'd show you how to create this card, for those of you who've not made a slider before! Here's what happens when you pull the Congrats bit...

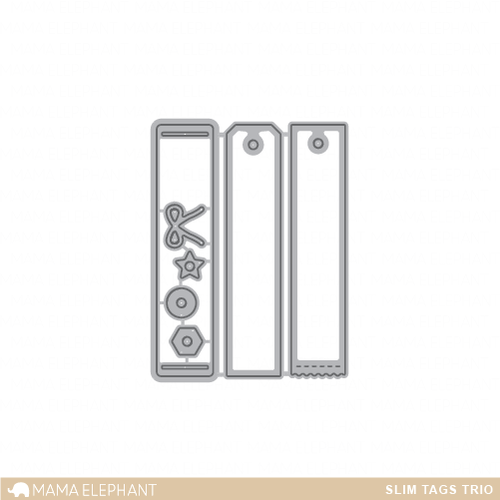
plus for a quick shortcut- this Mama Elephant Slim Tags die set
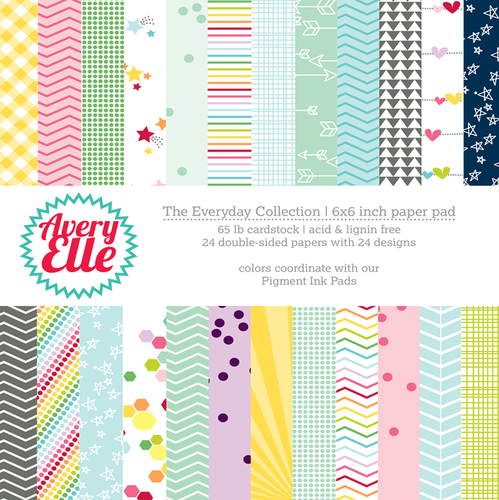
and lastly this beautiful double sided Avery Elle Everyday Collection paper pack


Next, colour in and punch out two circles- again these have to be slightly bigger than the aperture. Fold each circle in half and add glue to the edges of the two folded sides and press together. Once the glue has dried, open them out carefully to create this 3D shape.

Now stick the plane onto the 3D circle shape so the glued join is in the centre and you can then ease the back two circle 'flaps' onto the reverse of the aperture. This gives the plane the sideways movement. Hopefully the picture makes more sense!

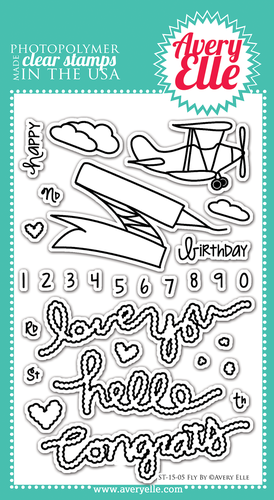
Add a stamped and trimmed out 'congrats' to the edge of the plane and cut out a strip of card that is wider than the aperture. Stick the plane onto this strip so the end of the 'congrats' matches up to the edge of the card strip & secure with some 3D foam pads at the end

Next, lay the aperture over the top of a base card that you've added a cloud effect to and a strip of paper. Position the sentiment stamp over (aren't clear stamps just perfect for aligning easily!).Make sure that when the plane is pushed to the right, you can see the sentiment and when pushed to the left, it hides it. Mark the edges of the aperture lightly to help with lining up at the next stage.

Now you just need to turn the aperture piece over and run foam tape (or individual pads but it takes an age to place them all down!) along the top and bottom edges (just slightly away from the card pull piece) and on the opposite edge to the pull strip (the right hand side when the piece is turned over on the wrong side).
Remove the tops of the foam tape and position back over the base card, lining up with the pencil markings... and that's it. An easy and fun birthday card!

See you next week!
Keren xx
PS- anyone spot the rookie error in my finished photographs? x
3 comments:
Nice card~ I love interactive cards. They are fun! Oh... and a great tutorial. Very clear. I can't spot any errors in your photos. Where? ^_^
How much fun - making and playing with! Also can't spot any errors.....
Very colourful and great tutorial! Must try this at home.
Maybe the congrats smoke coming in front of the plane?
Post a Comment